macOS

Add a macOS-device.

Apple Mac (macOS) enrollment

Requirement: macOS devices must be registered to your company through Apple Business Manager. Please contact IT to ensure your device is ready to be enrolled. See Add device to Apple Business Manager.

Add macOS device to Apple Business Manager

Requires assistance from an IT administrator

Start the device and select language and country/region.

Scan the image using the Apple Configurator app.

Enroll macOS device

See the video guide below, or follow the steps below the video.

Start the device and select language.

Connect to a Wi-fi network from the menu or attach a network cable.

The device will be restarted. When it boots, select language and country/region.

Connect to a Wi-fi network (a second time), or connect a network cable.

The device will now ask you to sign in with your Microsoft account for remote management. (Two-factor authentication might be needed).

Continue to set up the device.

Sign in with your private Apple ID, or create a new private Apple ID if you don’t have an account.

Create a local user account on the device.

After the setup is completed, allow the Microsoft Update Assistant to send notifications.

Click OK on the Required Data Notice popup.

Your device is now ready for use!

Enroll macOS personal device

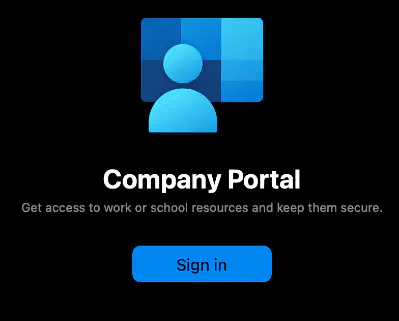
  1. Download and install the Company Portal for macOS.

  2. Open the app and sign in with your company account.
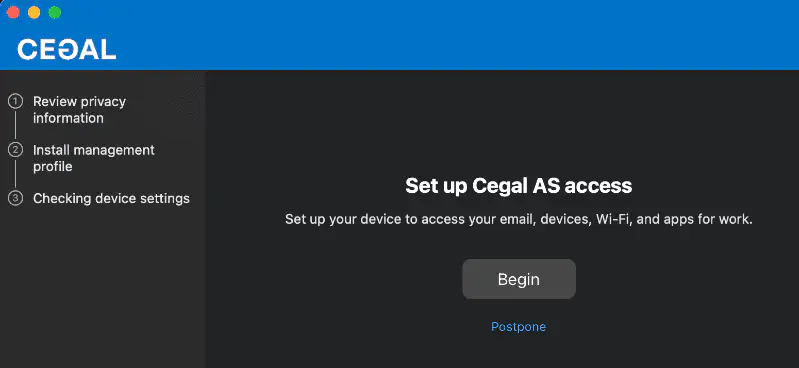
picture 1

  1. Click Begin.

picture 3

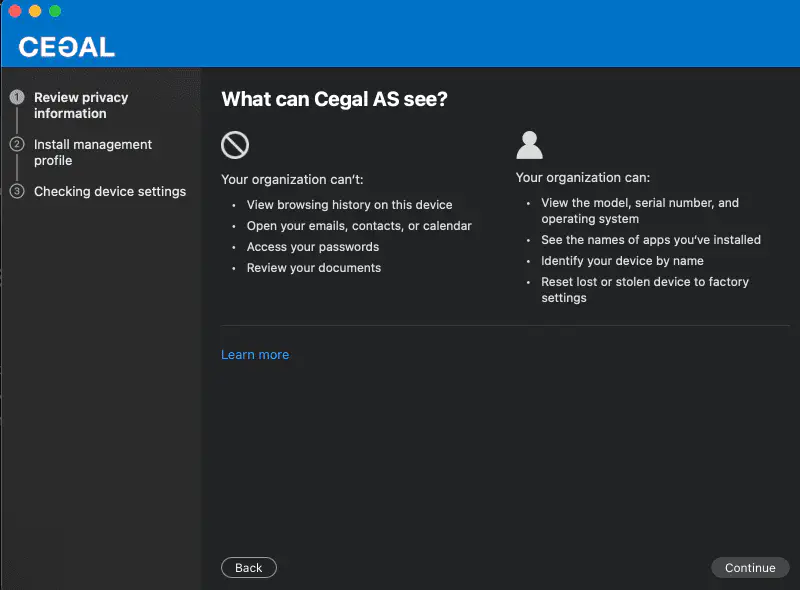
  1. Read what your organization can / can’t see and click continue.

picture 4

  1. Click Download profile

picture 5

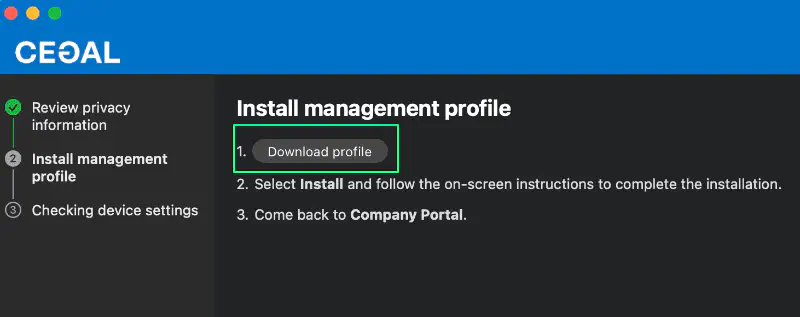
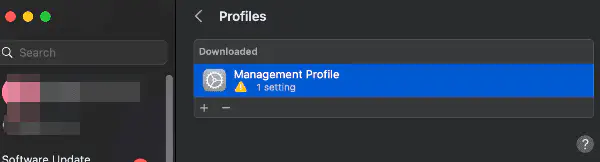
  1. Double-click the Management Profile.

The downloaded profile will open in the Settings window automatically after downloading.
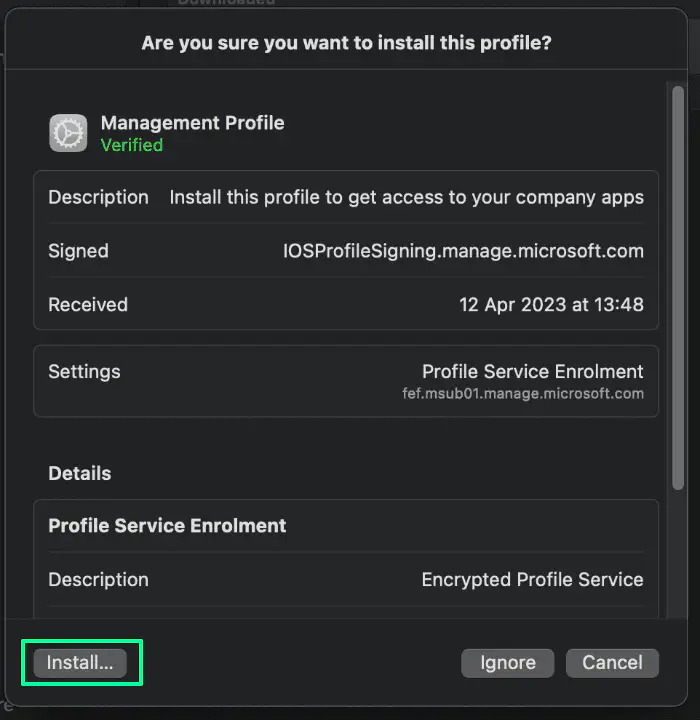
picture 6

  1. Click Install.

picture 7

Enter your password.

picture 8

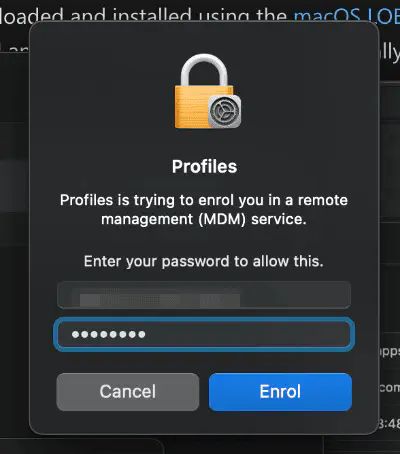
Navigate back to the Company Portal app to finish the setup.

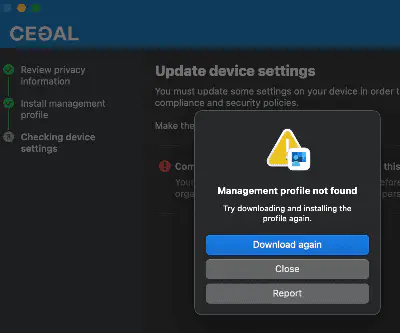
If you see the following error message after the profile has been installed, click Close, and close the Company Portal app. The device is registered successfully.

picture 10