Enrollment
Cetegra Workspace enables end-users to add their own devices to the Cetegra Client solution. If you are replacing your old mobile, Windows- or Mac device with a newer model, you can easily set it up yourself instead of raising a support request and waiting for assistance, although that is still an option if you are not comfortable with self-enrolling your devices.
Go to Cetegra Workspace -> Client View and click “Add Device” as illustrated below.

Select the device type you are planning to enroll and follow the on-screen instructions. Here you will find instructions and video guides on how to prepare, register & enroll for each of the device types.
The registration/enrollment procedure differs between the device types. Common for all device types is that they are straightforward to enroll when you follow the video instructions. Do not hesitate to contact your IT department or Service Desk if you encounter any issues during the enrollment.
Enrollment requirements:
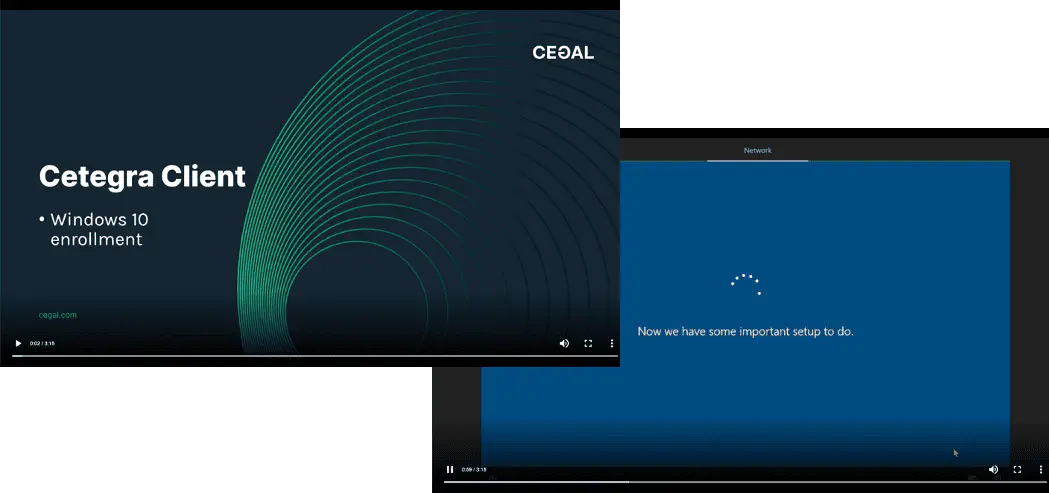
- New Windows devices must be registered to your company before you can enroll it in the Cetegra Client solution – Follow the instructions in “Windows device registration (step 1)” before you continue to Windows device enrollment (step 2).
- New macOS devices must be registered to your company before you can enroll them in the Cetegra Client solution – Check with your IT department/Service Desk if the device is already registered and ask for assistance if it is not registered. The registration procedure must be handled by an IT administrator.
- All devices require an internet connection during the enrollment procedure. Ensure there is an internet connection available before you start enrolling. Mobile devices can be enrolled over 4G/5G connection, while Windows and Mac devices require WiFi or cabled internet connectivity.
See the following pages for a detailed guide on how to enroll each device type: