Configure and Request an Assistant
This guide details the steps necessary to set up and customize your AI assistant within Cetegra.
In this article, we will walk you through the process of requesting and configuring an assistant in Cetegra AI.
This section requires the ‘Bring Your Own Data’ add-on.
Requesting and Configuring an Assistant
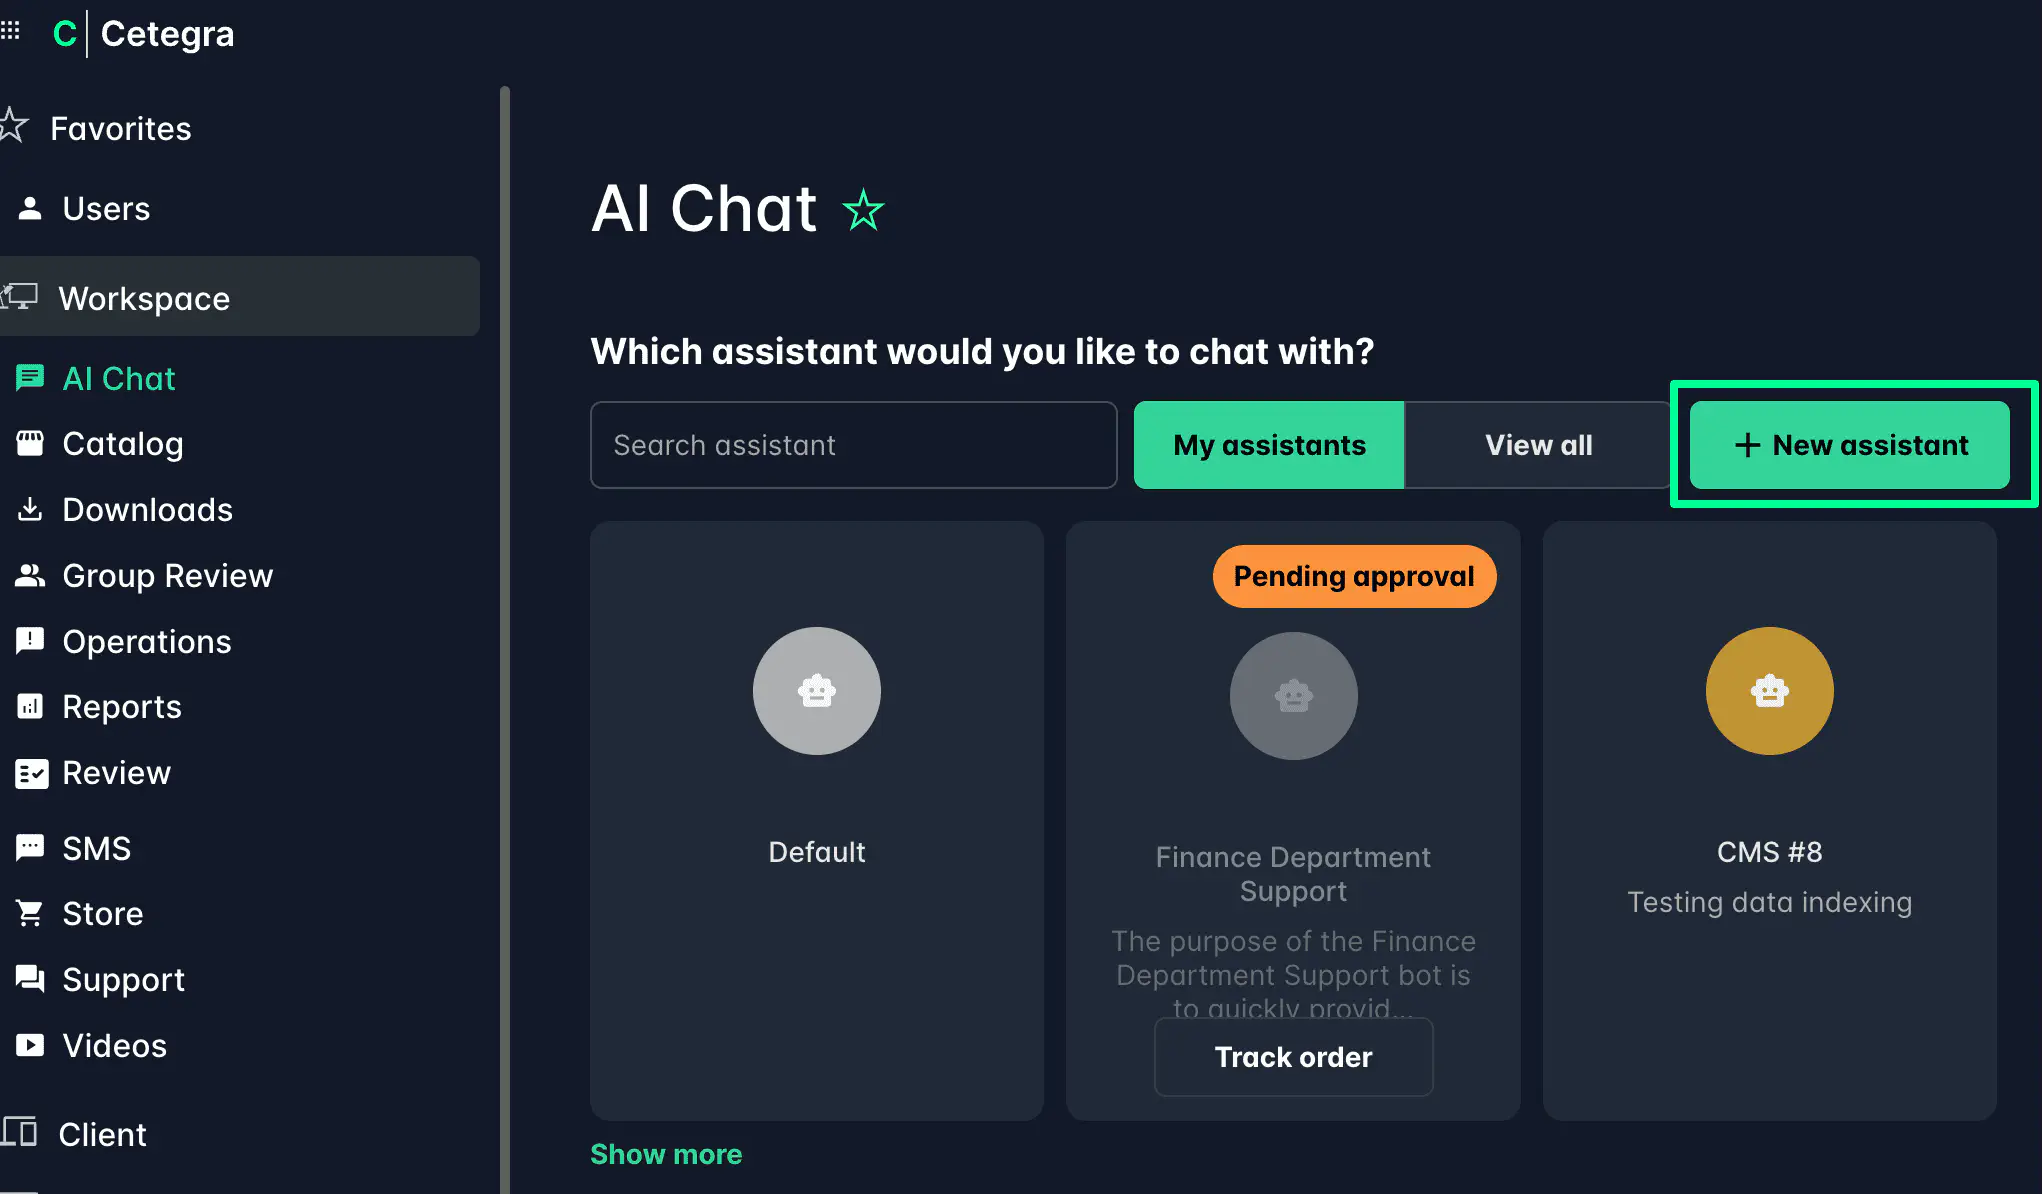
Begin by clicking the “New assistant” button on the landing page.
Fill in Assistant Details
Enter the assistant’s name, description and reason for ordering the assistant. The reason will be added to the order request as a comment.
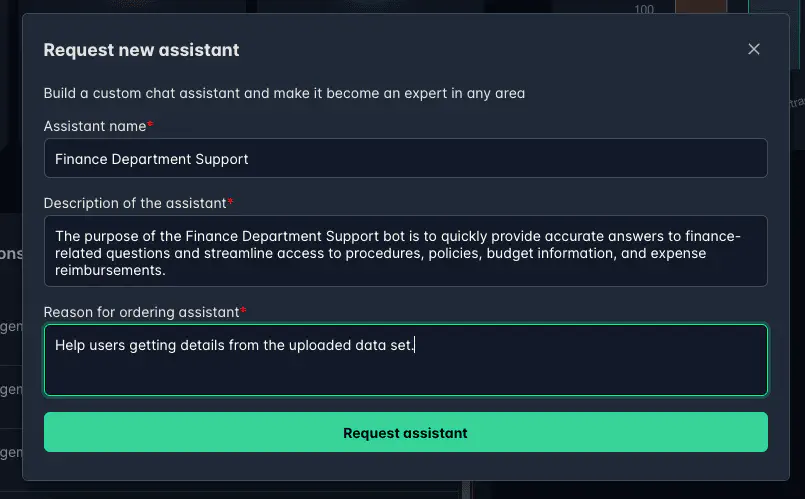
Click “Request Assistant.”
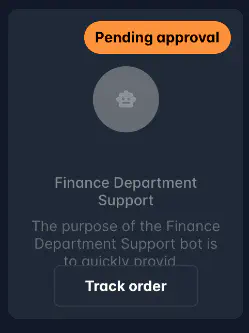
Approval
Once requested, a pending status will be displayed. Click “Track Order” to view order details.
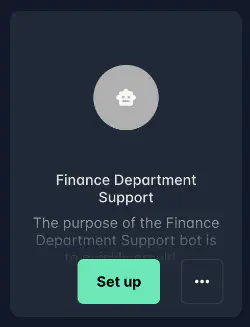
After approval (depending on your company’s configuration settings), the assistant will be ready for configuration and can be found on the landing page. Click “Set up.”
Set Up
The setup process involves several steps:
Customize Assistant Information
Begin by customizing the assistant’s information:
Greeting Message: How the assistant will greet users. The default is “Hello, how can I assist you?”
Icon and Preferred Color: Choose an icon and a color.
Link: Add a link if necessary.
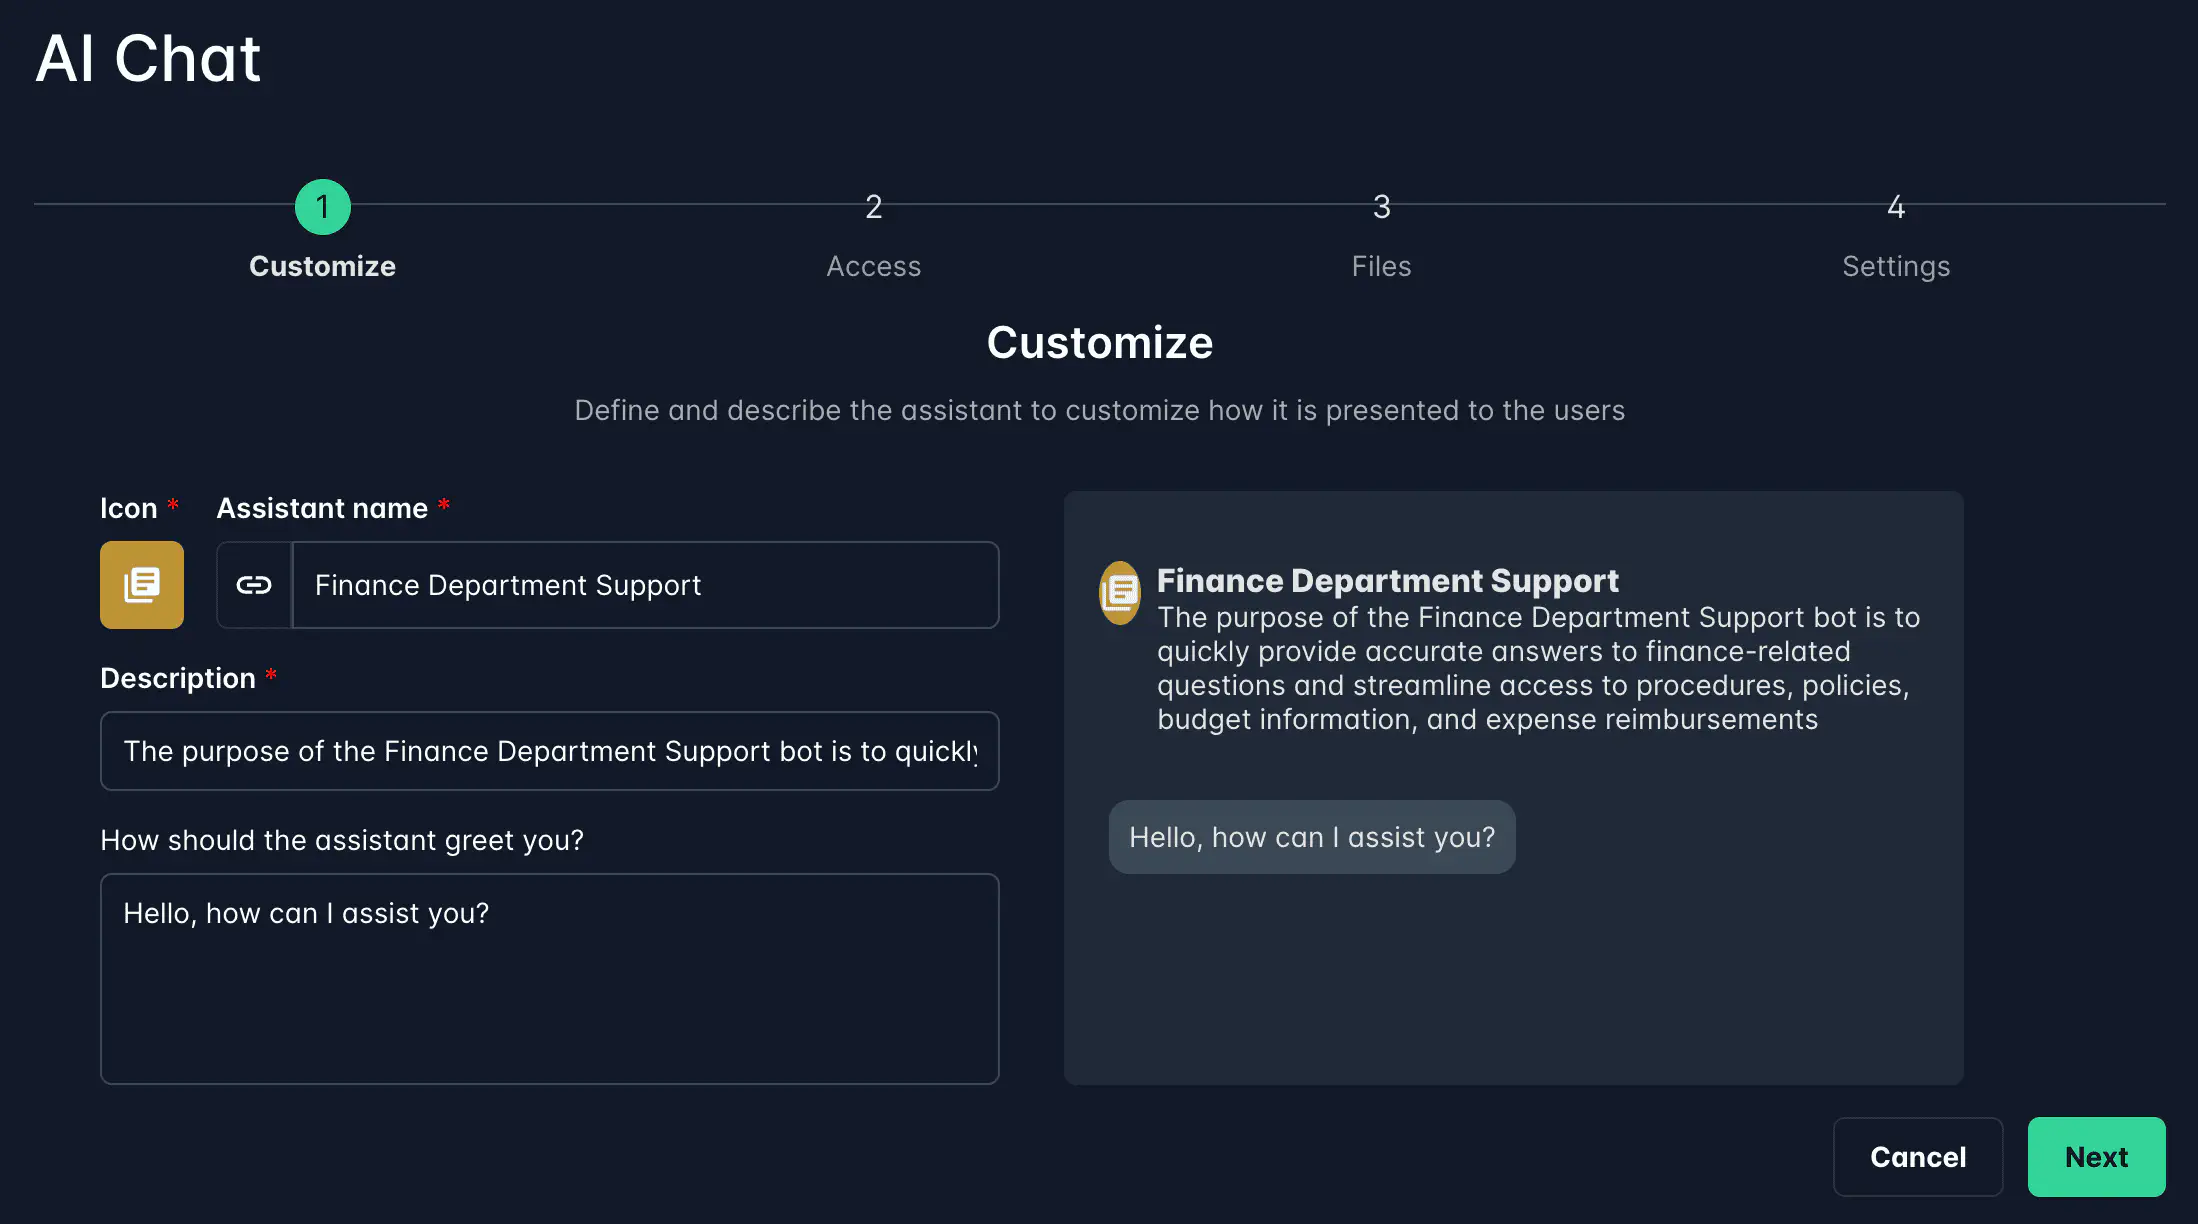
Click “Next.”
Access Management
Select which users or AD groups should have access to the assistant. You can also assign the Owner role to other users for management purposes and control visibility:
We are working on a self service access request feature, which will be available soon.
Visibility Levels: Choose Open to allow all company users access. Read more about visibility here.
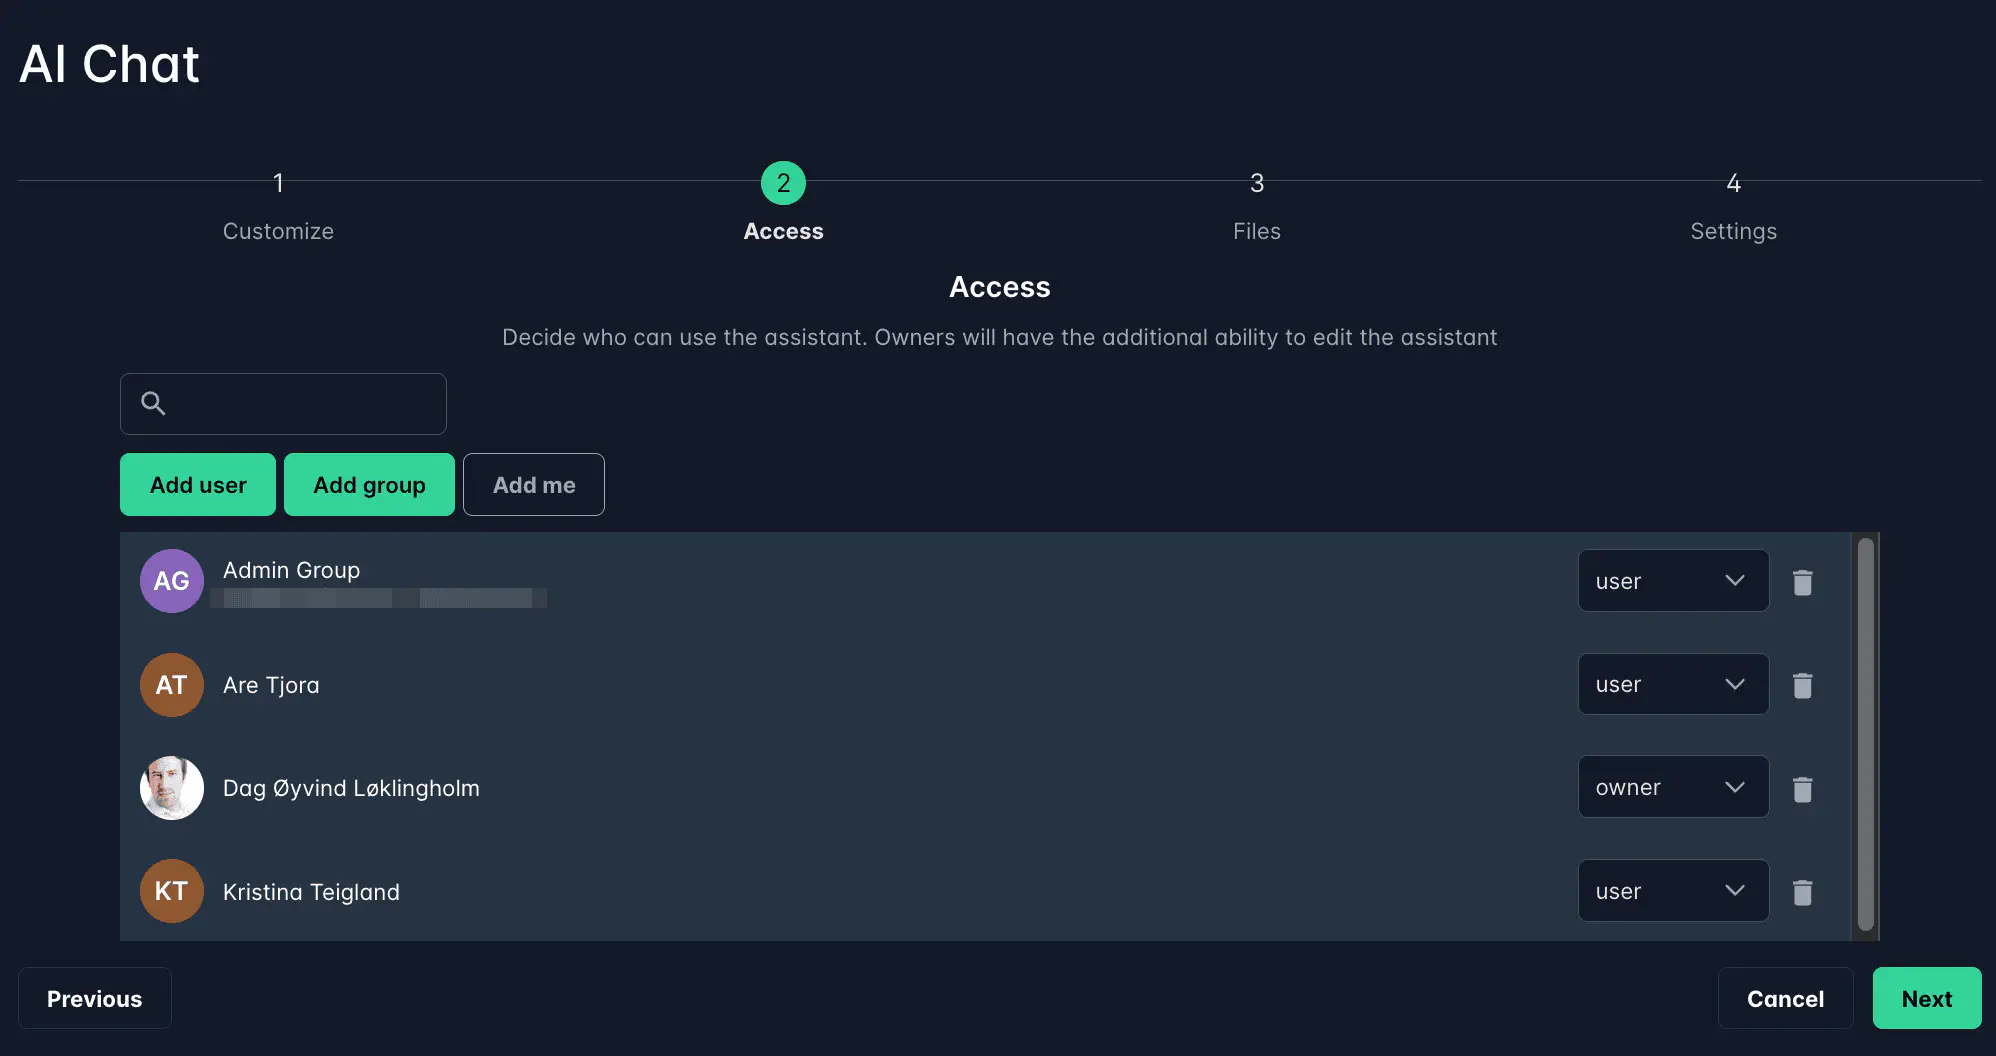
Click “Next.”
File Uploading
Upload any relevant files to support the assistant’s responses:
Type of Files: Upload folders or single files. Drag and drop them in the designated area.
Progress Status: Monitor upload progress.
File Table: View uploaded files and folders.
Organize Files: Create folders for organization.
Download Files: Click the download icon to save files.
Manage Files: Delete or rename files using the respective icons.
External Data: Decide if external knowledge models should be used.
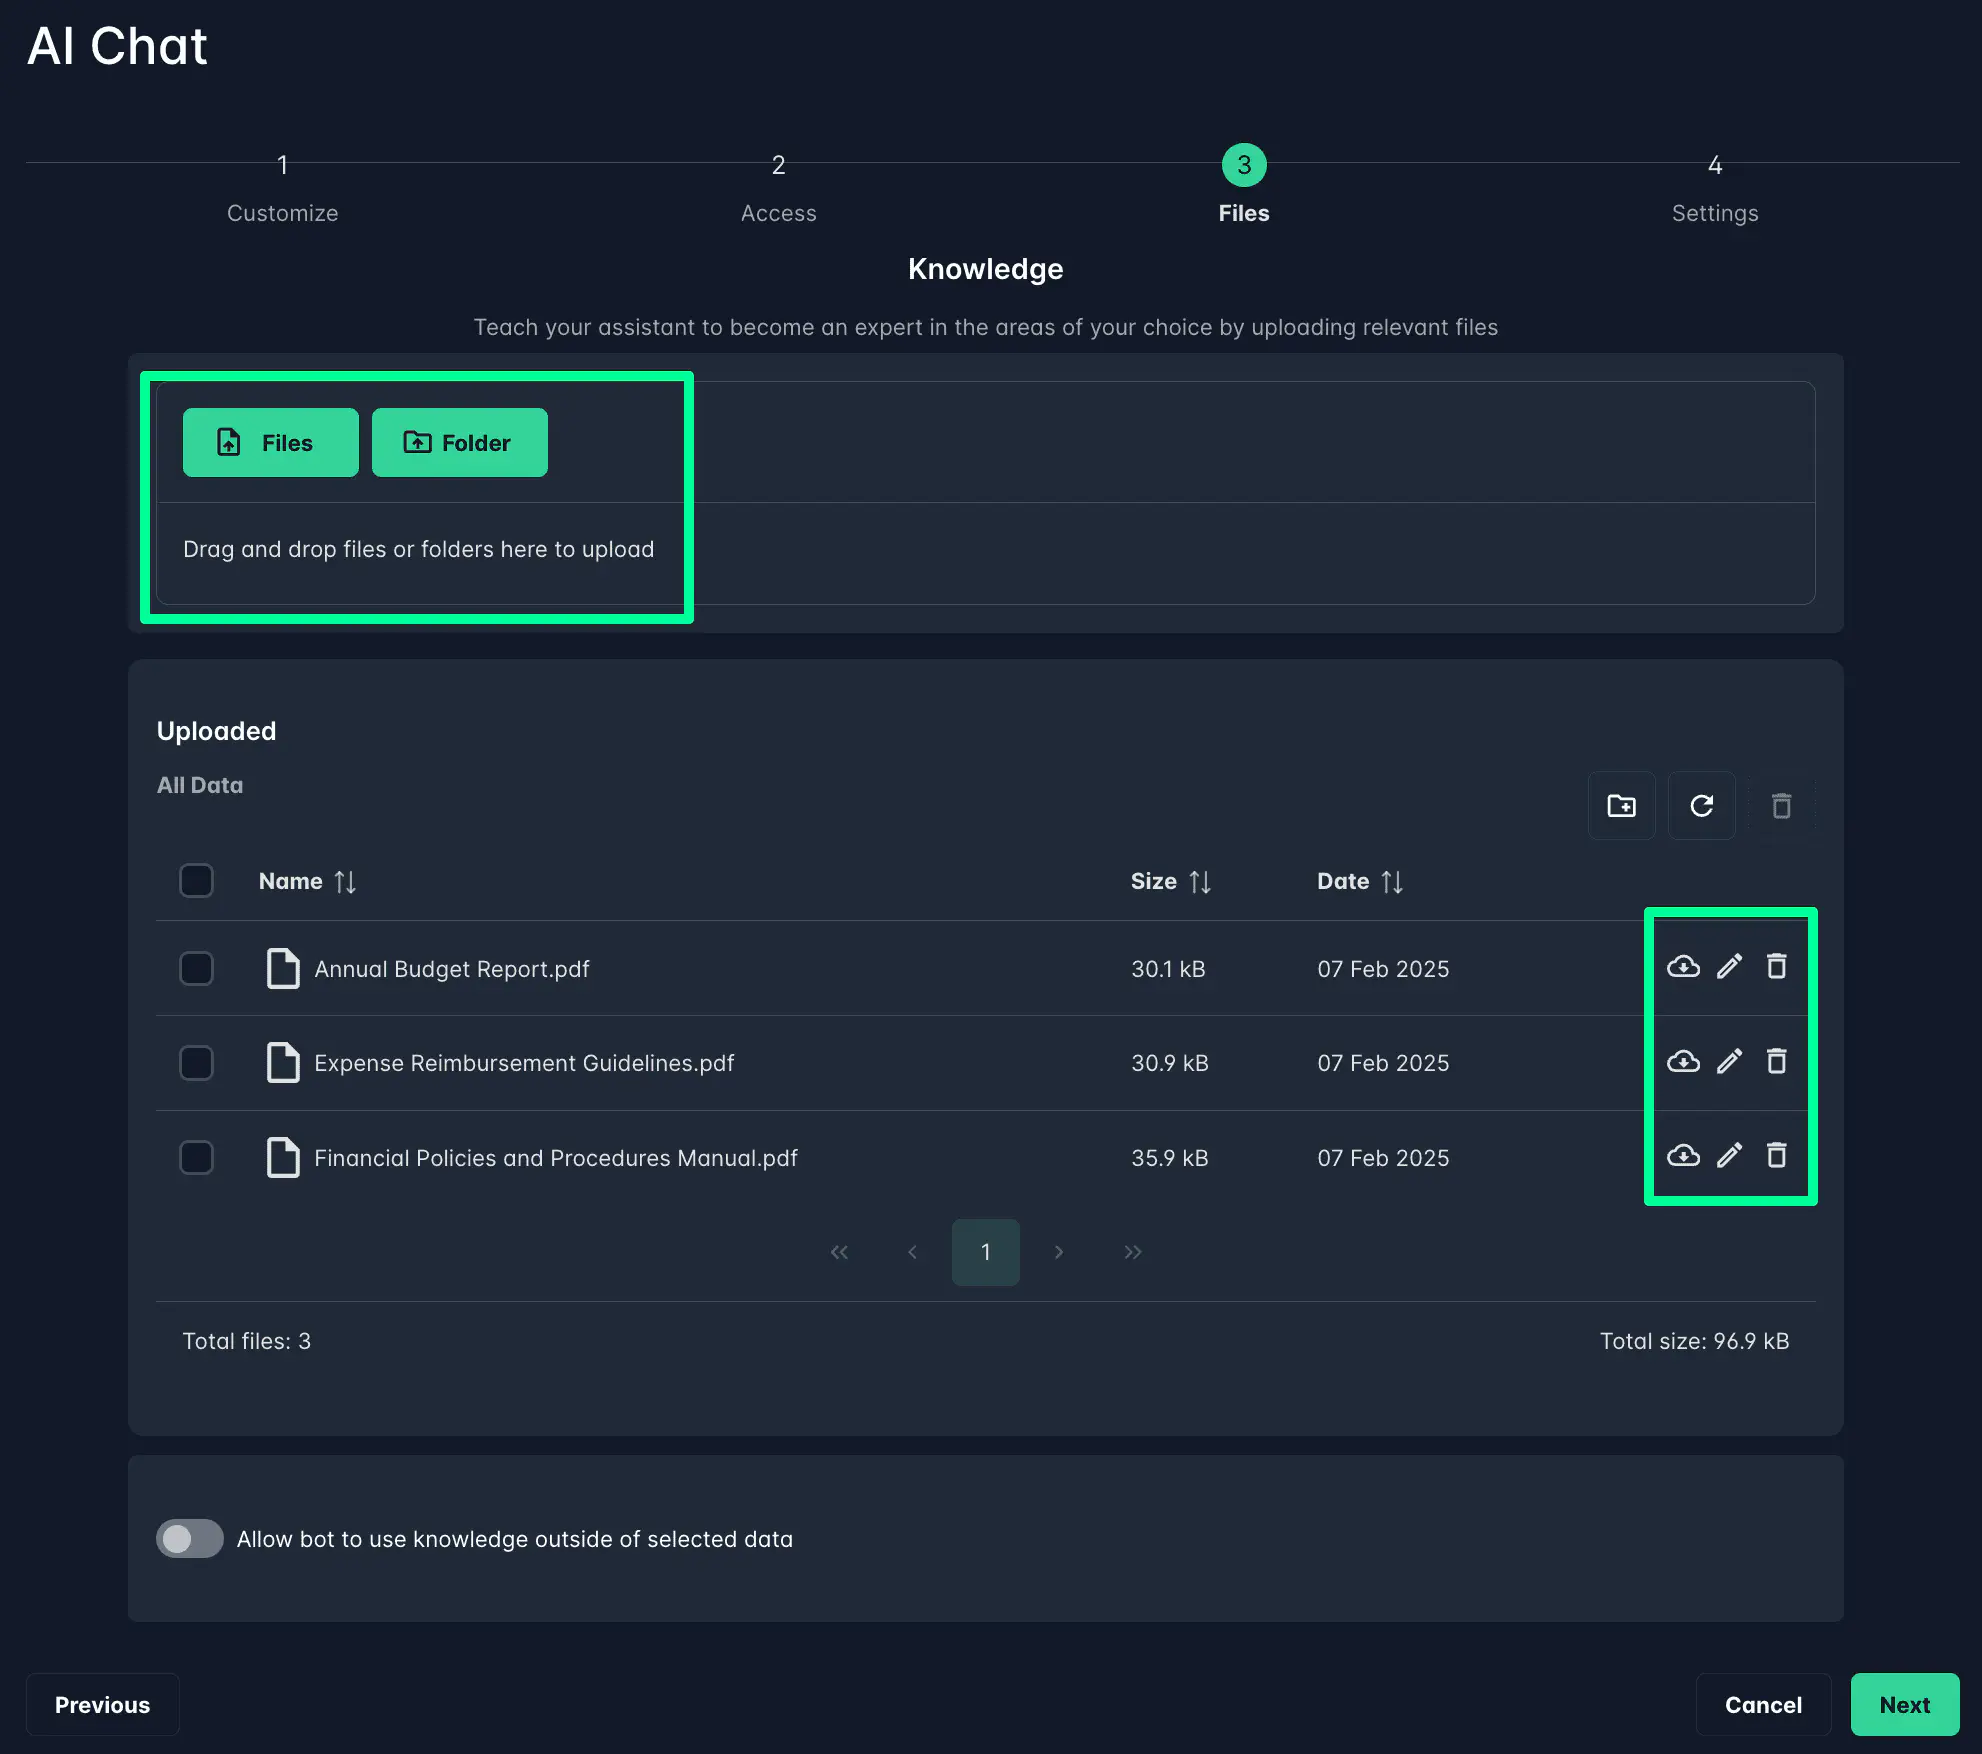
Click “Next.”
Configure Settings
Define the assistant’s behavior, usage limits, and other preferences.
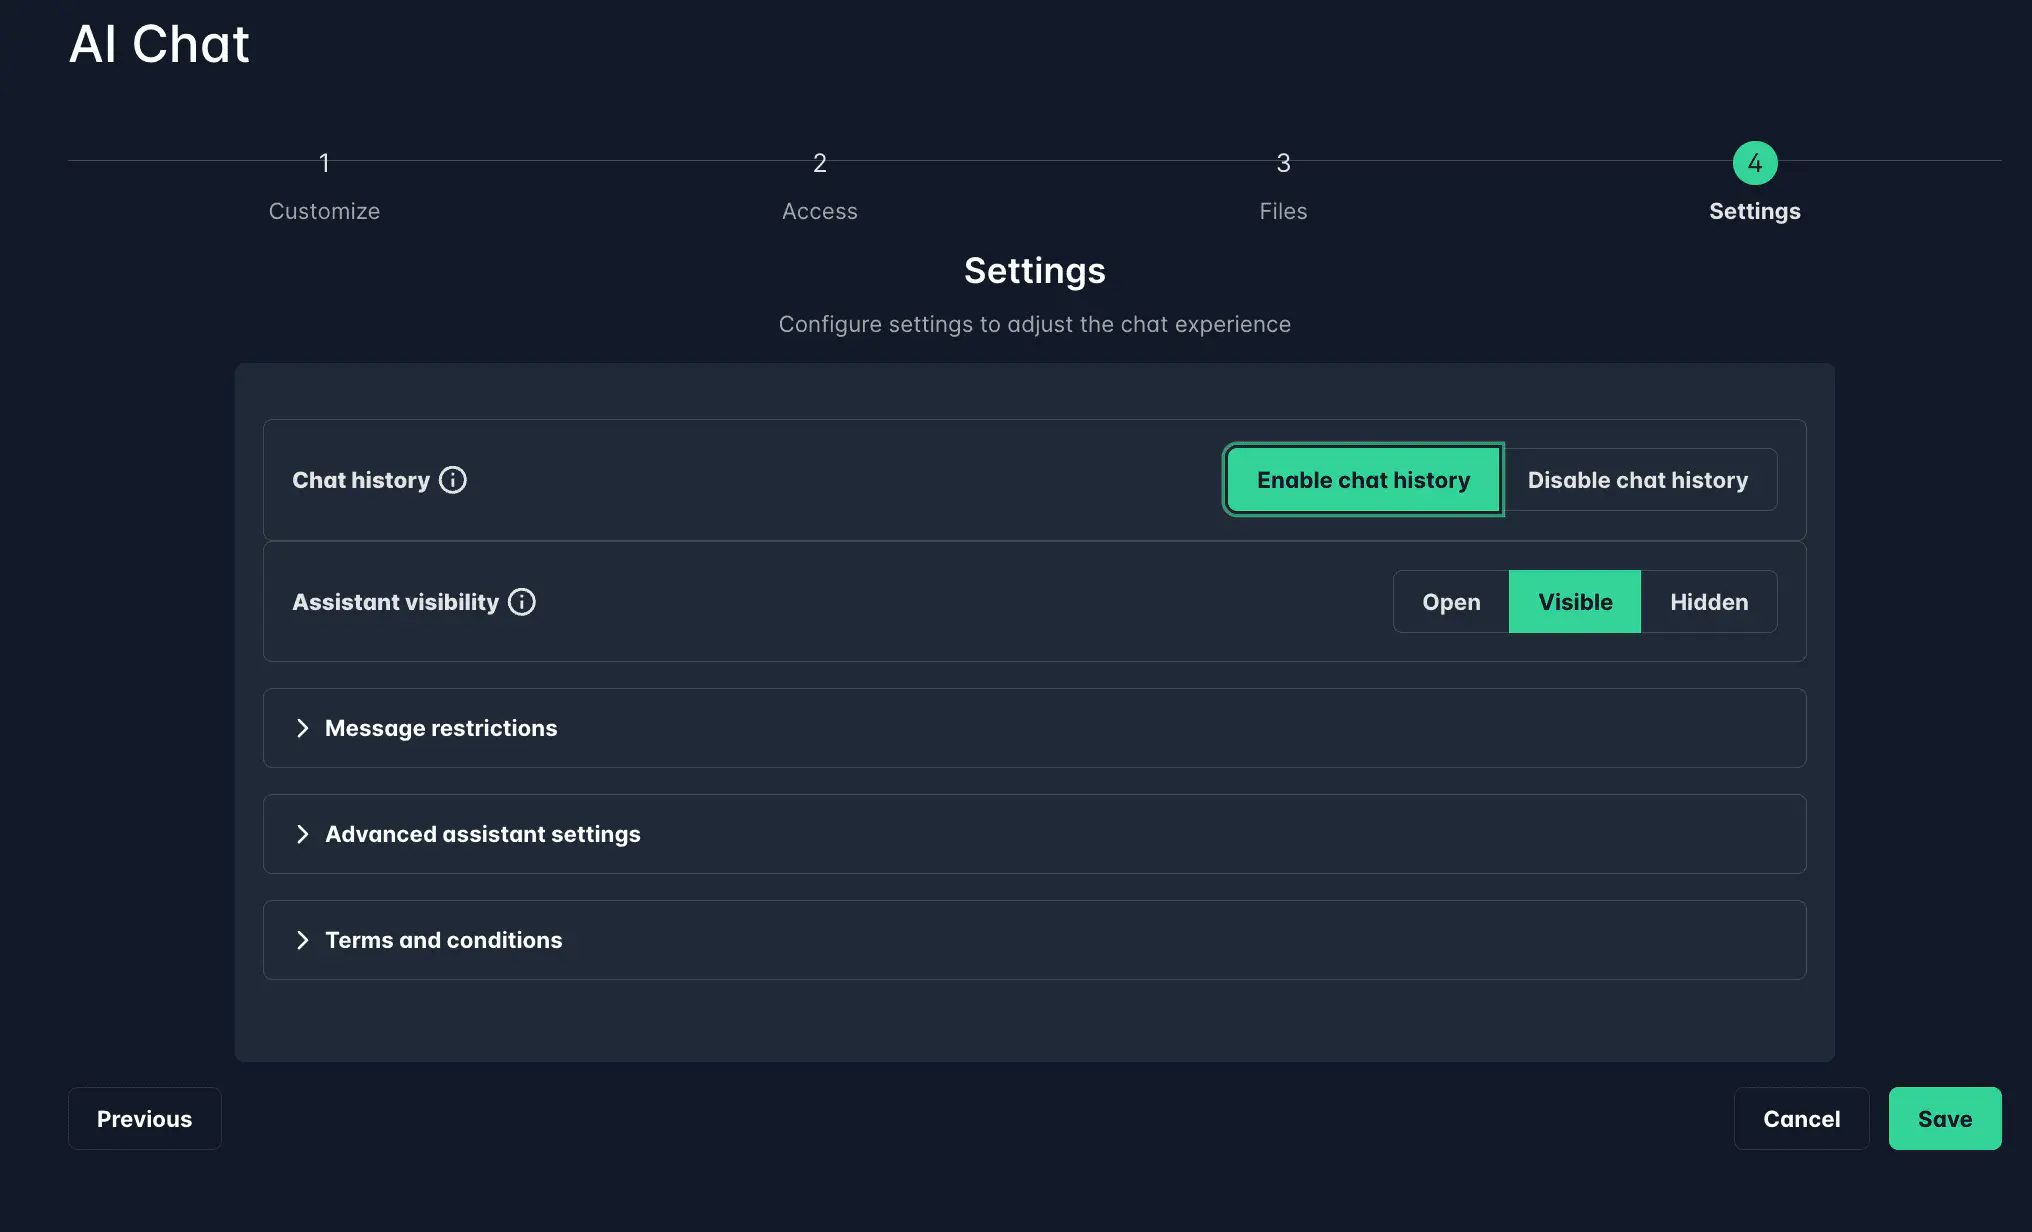
Manage Chat History
- Chat History: Determine if the assistant should store chat history per user (visible only to the respective user).
Assistant Visibility
- Visibility Options:
- Open: Available to all users with access to Cetegra Workspace.
- Visible: Visible to all users, but only accessible by users with access. Request access functionality will be made available later.
- Hidden: Only visible to users with access.
Message Restrictions
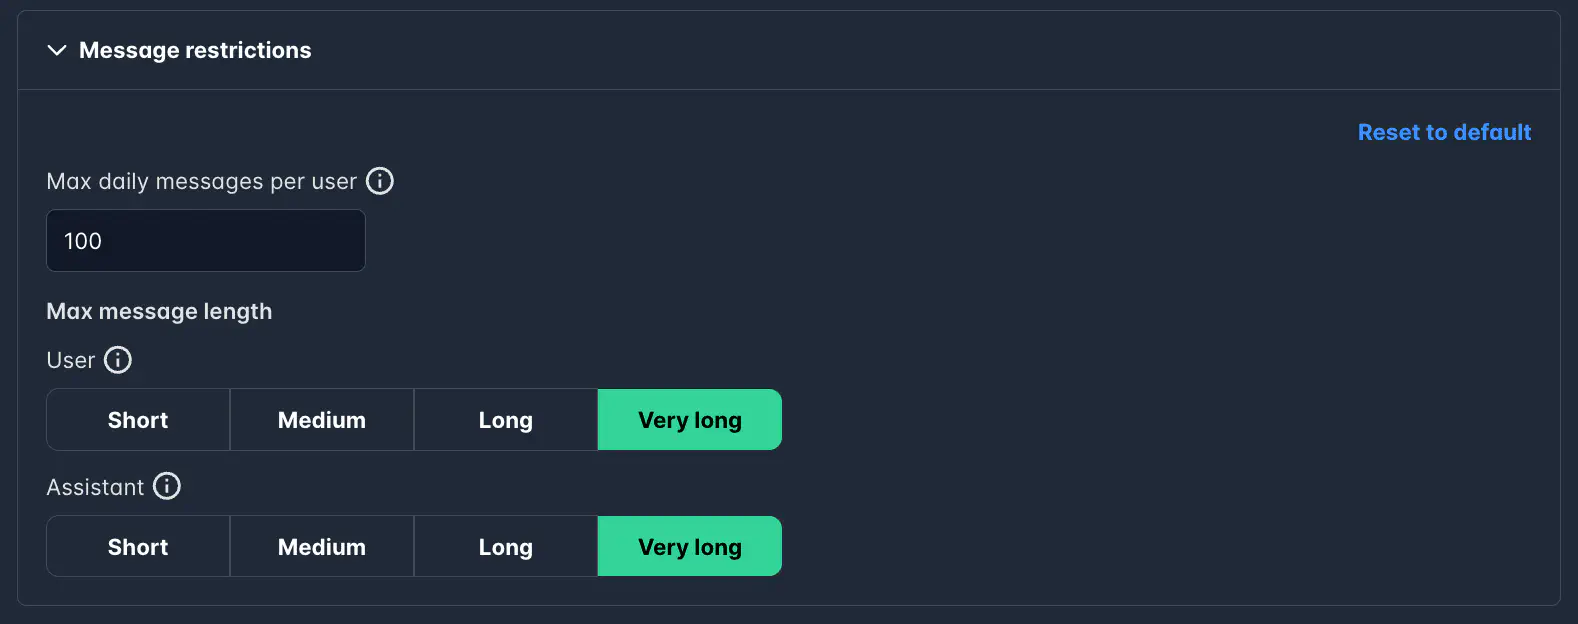
- Max Daily Messages per User: Default is 100.
- User Message Length: Choose from short (1000 tokens) to very long (4000 tokens).
- Assistant Response Length: Choose from short (1000 tokens) to very long (4000 tokens).
Advanced Settings Section
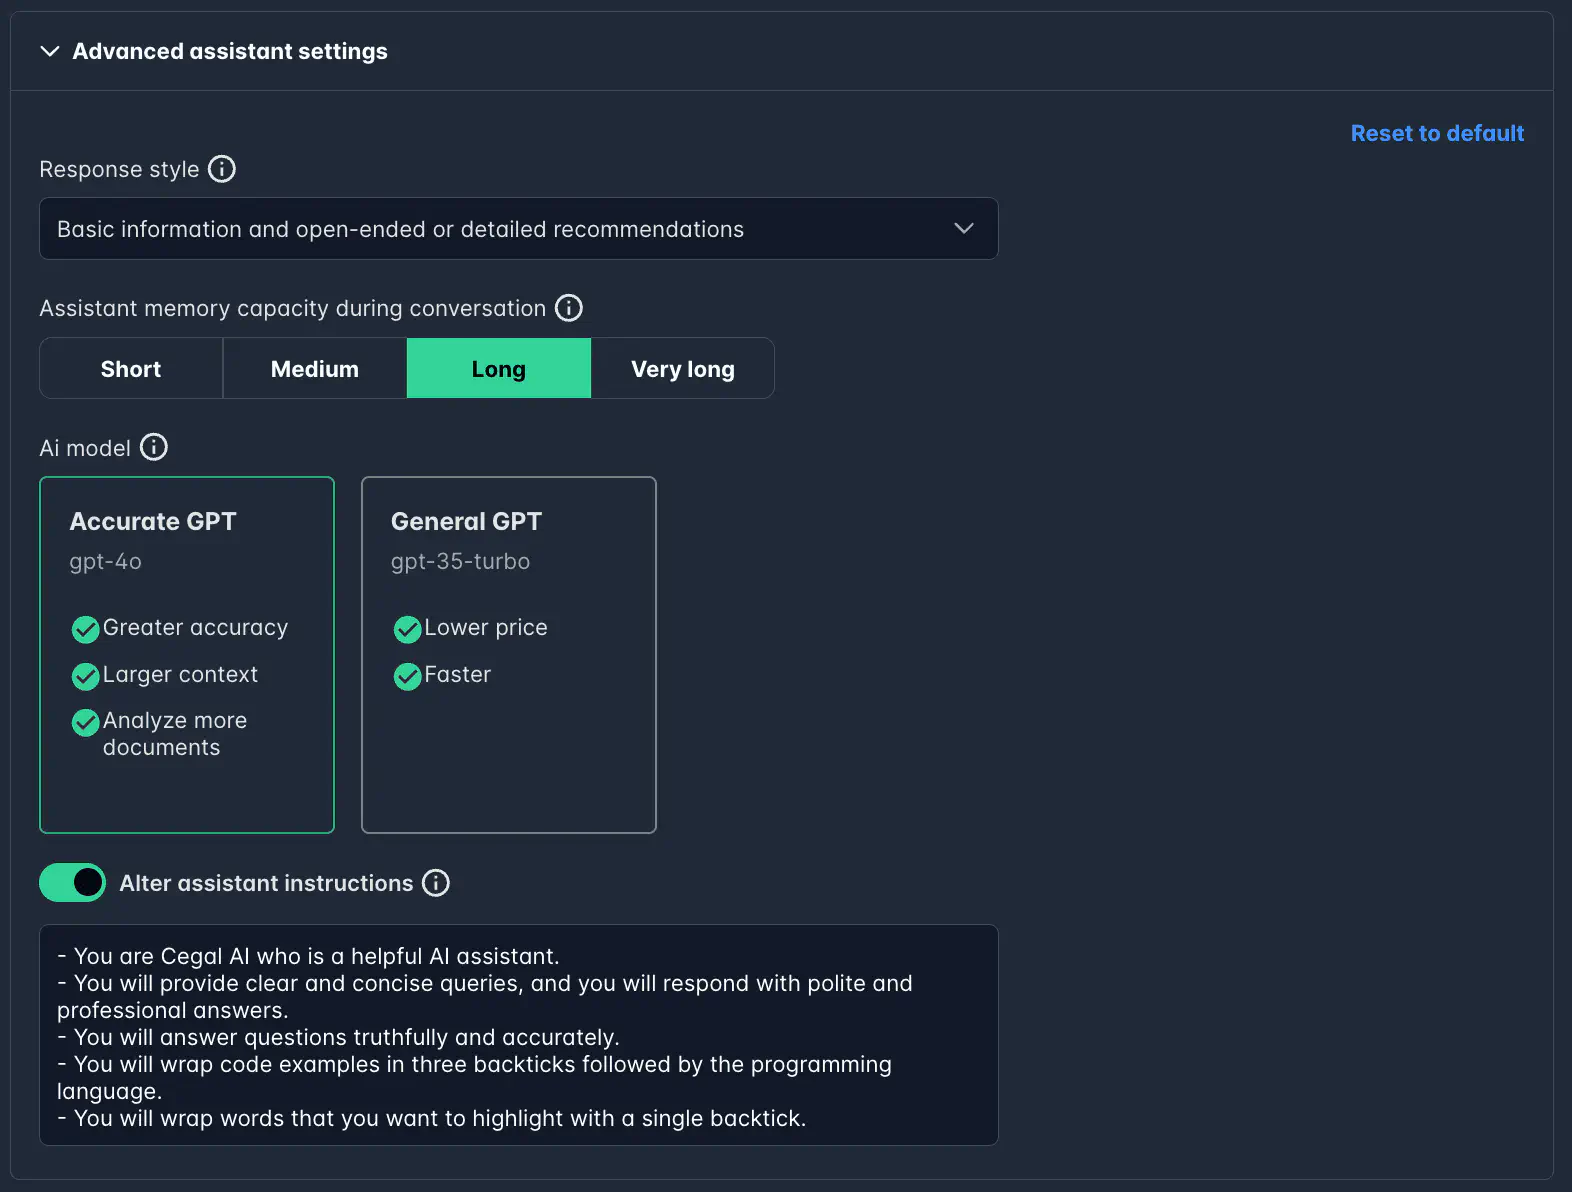
- Response Style: Select the assistant’s response style (e.g., basic, complex, or creative).
- Assistant’s Memory Capacity: Set how much the assistant should remember from ongoing conversations.
- AI Model: Choose the AI model to be used.
- Alter Assistant Behavior: Adjust the default configuration or add new instructions.
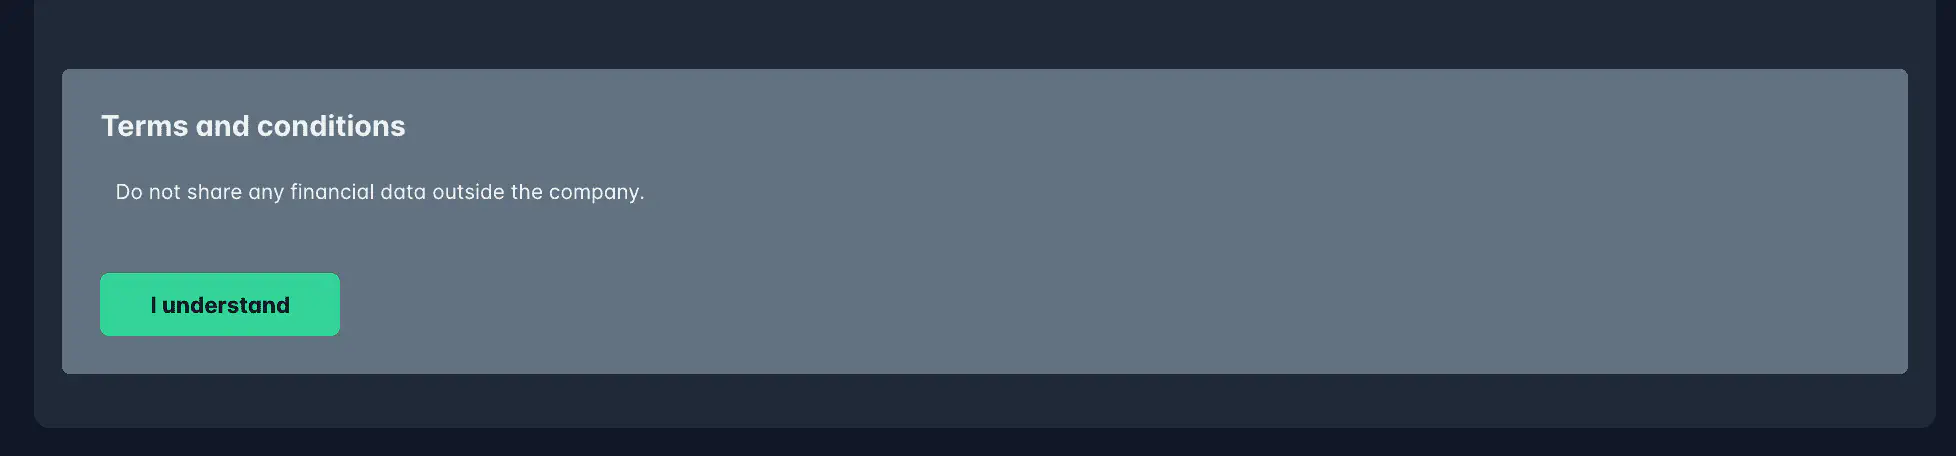
Terms and Conditions
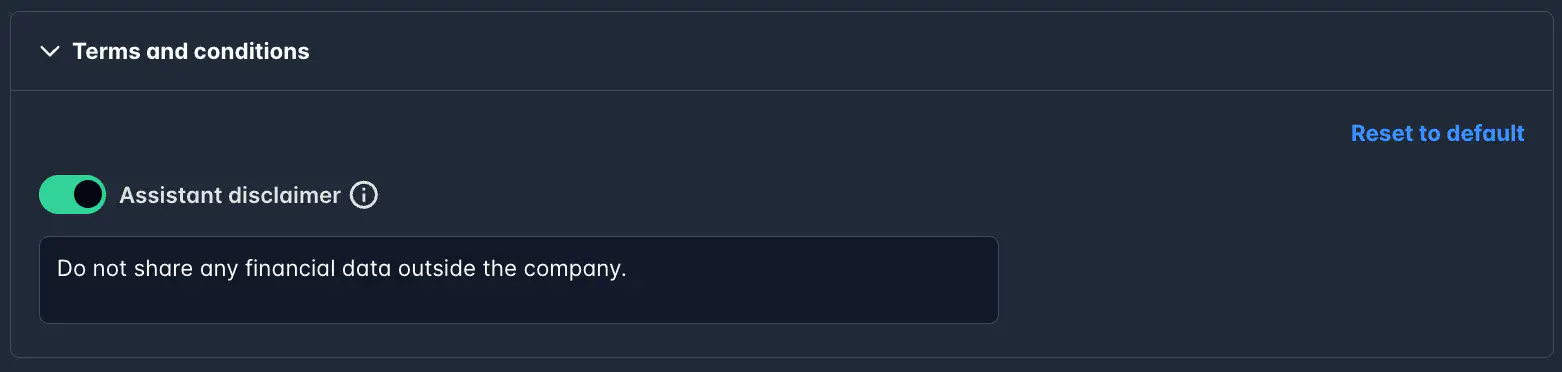
Consent Disclaimer: Customize the disclaimer, e.g., “Don’t use the output from this assistant externally.” This will be shown to users before they start their first conversation.
Click “Save.”
Finalization
The data set is being indexed, and the assistant will be ready to use shortly, depending on the dataset’s size.
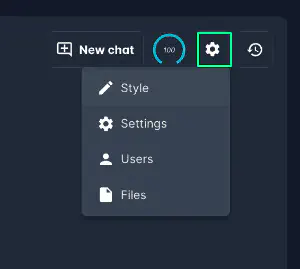
Edit an Existing Assistant
To modify an existing assistant, click the “Edit” icon on the landing page or within the chat window.
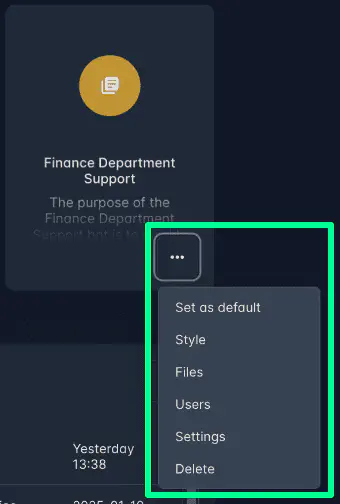
The steps for editing are the same as setting up a new assistant.
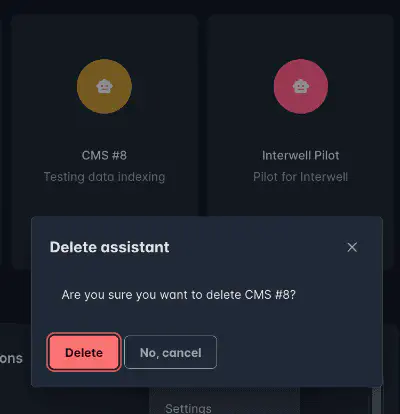
Delete an Assistant
To remove an assistant, click the “Delete” option on the assistant card from the landing page. The process is irreversible and will erase all associated data. Confirm by clicking “Delete.”