Applications
In the Cetegra Workspace, the Applications module under Administration enables admins to manage and configure the applications available to users.
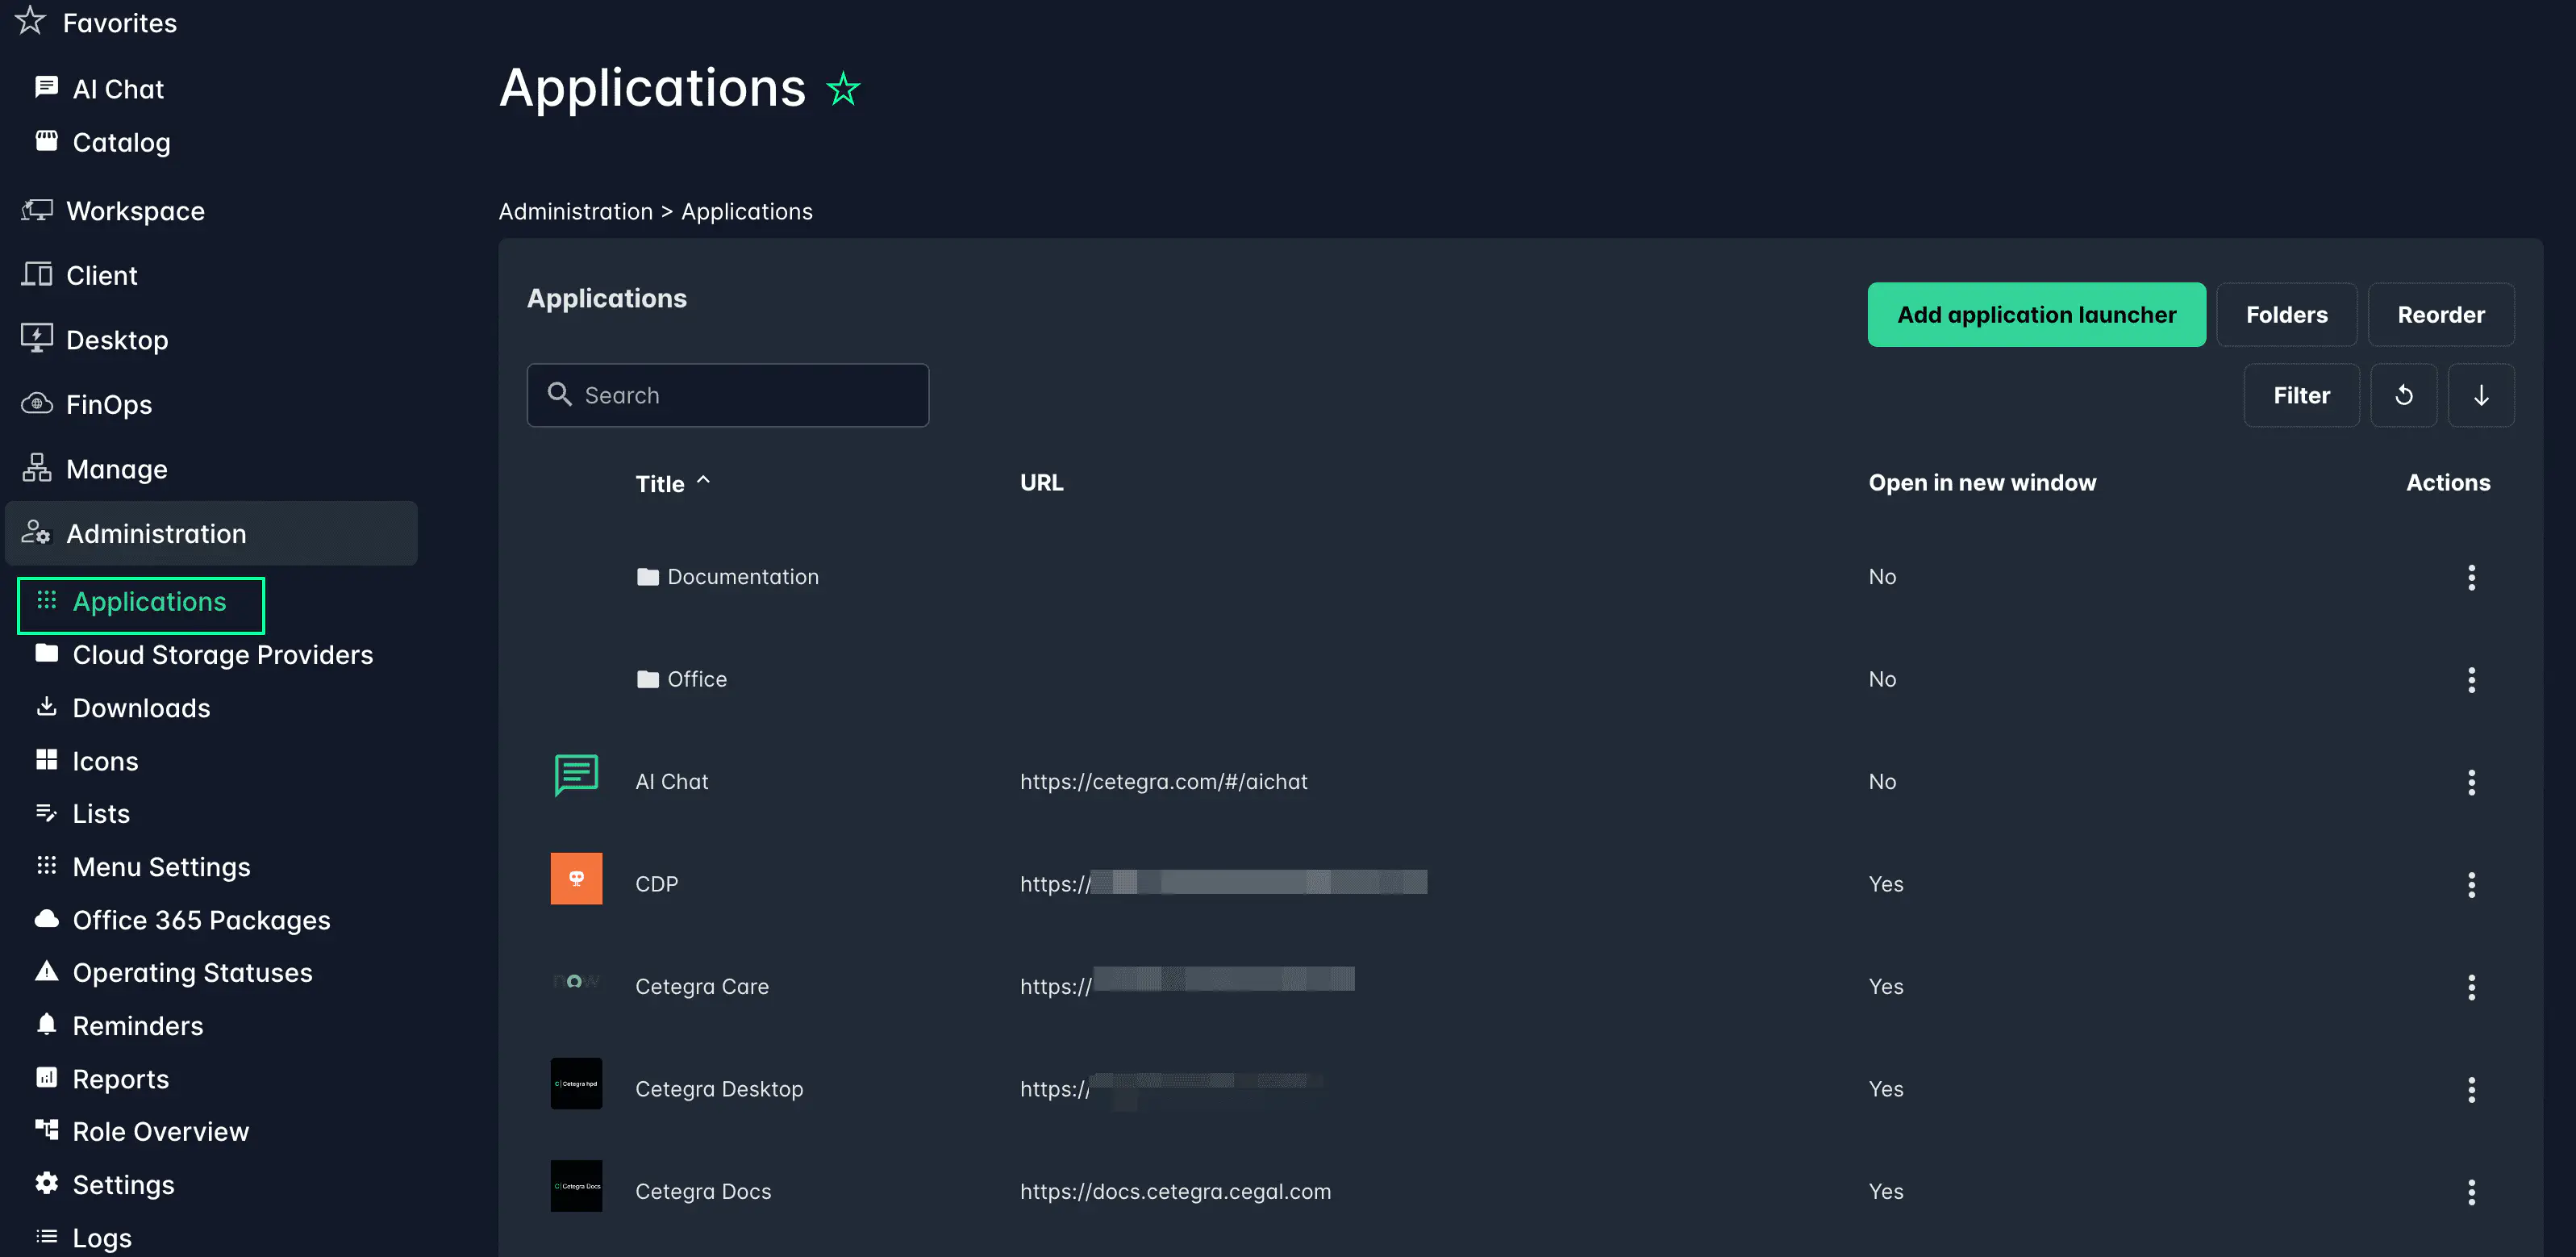
This module is exclusive to admin users. Admins can create new application launchers, organize them into folders, set access permissions, and more.
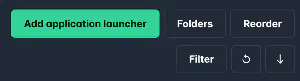
Adding an Application Launcher
To configure a new application, click Add Application Launcher.
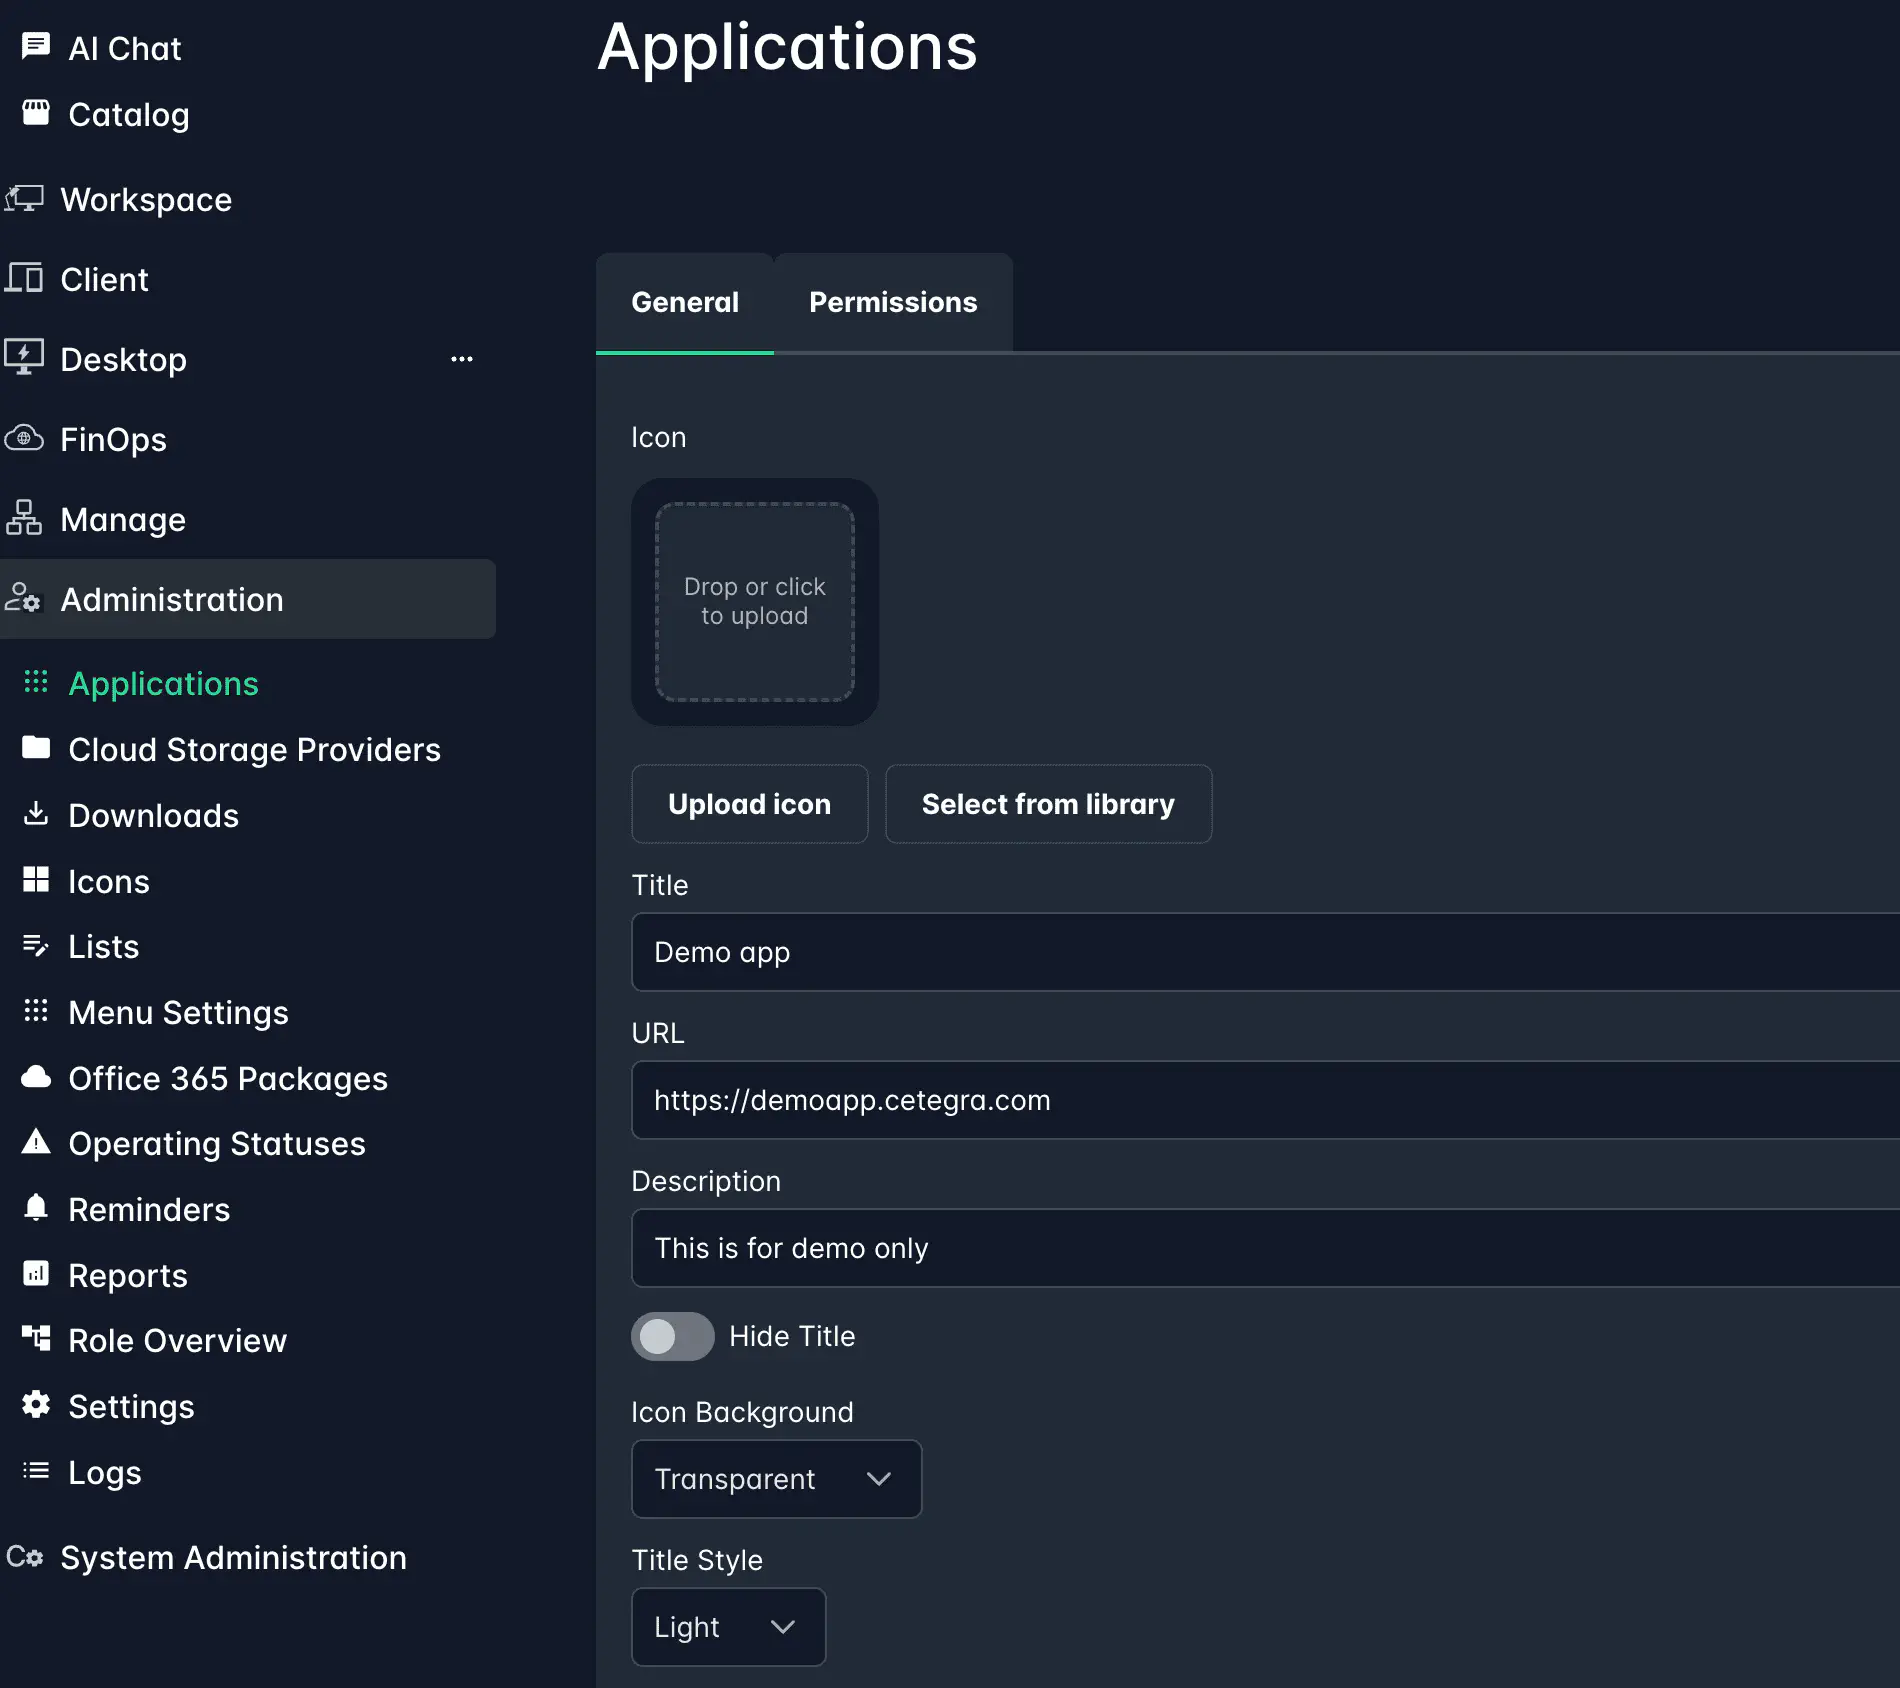
General Settings
Fill in the following information:
Title: The name displayed beneath the application icon.
URL: The application’s web address. Ideally, use a URL that supports single sign-on.
Description: A brief description of the application (not visible to end-users).
Hide title: Opt to display/hide the title beneath the application icon.
Icon background: Customize the icon’s background, especially useful for PNG icons with transparent backgrounds.
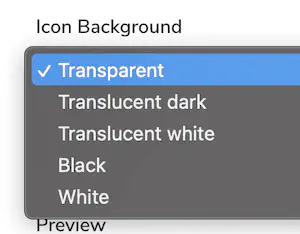
Icon background examples:
- Transparent:

- Translucent dark:

- Translucent white:

- Black:

- White:

- Transparent:
Tile style: Choose how the application title is displayed.
- Light:

- Light with dark background:

- Light:
Preview: Preview how the app tile will appear with the chosen icon, background, and title.
Application type: Define the type of application.
Open in new window: Opt to open the application in a new browser window.
Availability: Define if the application is accessible only to internal or external users based on IP addresses:
- Only available for internal users: If selected, the application will only be available for users with IPs that are defined as internal. Internal IPs can be managed in Administration > Settings > Settings. Read more about internal IPs.
- Only available for external users: If selected, the application will only be available for users with IPs that are NOT defined as internal.
Folder: Group the application in a specific folder. Learn more about application folders below.
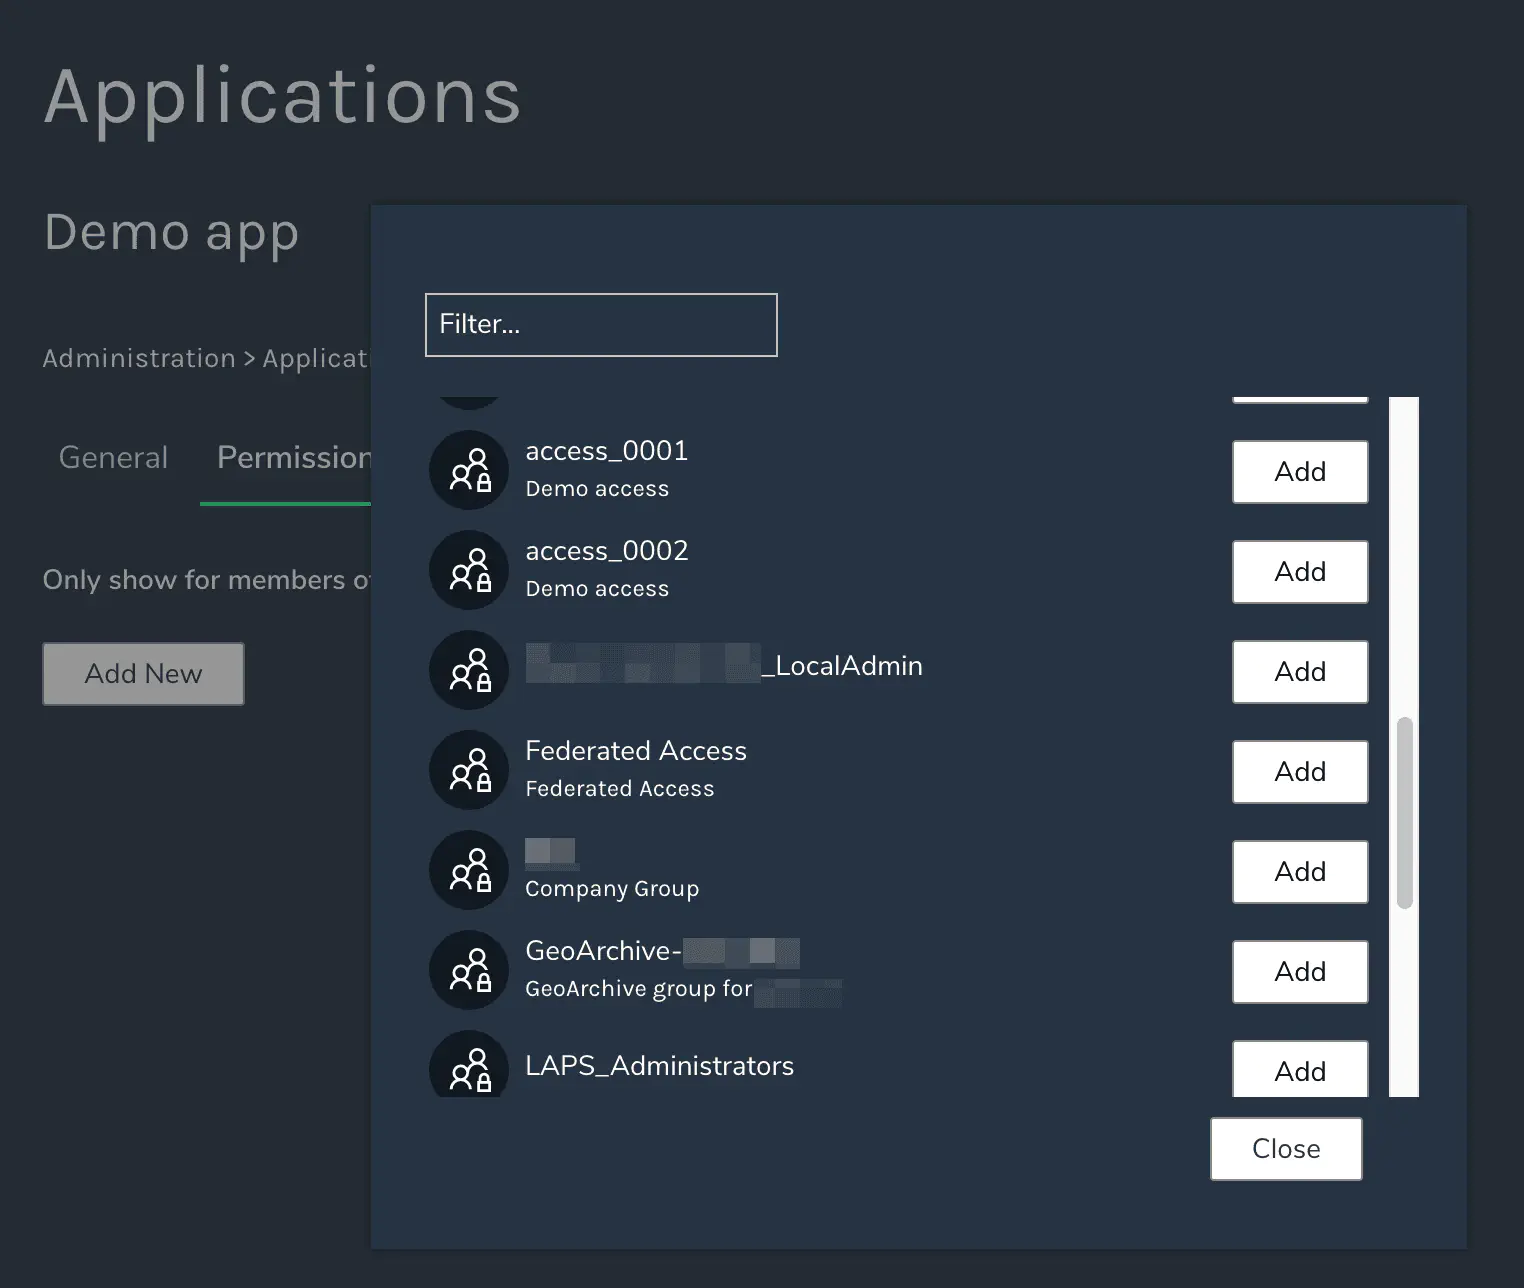
Setting Permissions
Control application visibility by assigning Active Directory (AD) groups in the Permissions tab.
Icon
Choose an appropriate icon for the application from the Icon uploader area. Upload an icon or select one from the existing icons in the Icons library.
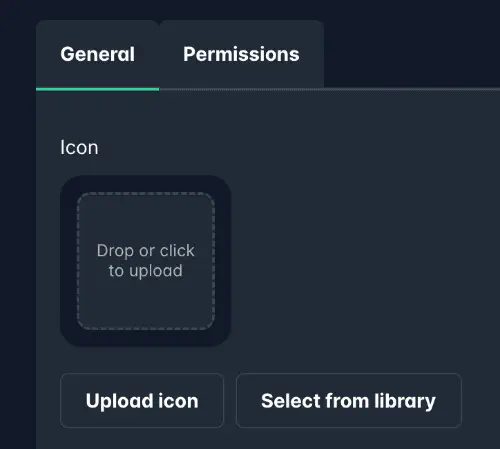
Click the icon area or the Upload icon button to upload a new icon. Drag and drop is also supported.
To select an existing icon, click the Select from library button.
Click an icon to select it. Close the library by clicking the X in the top-right corner.
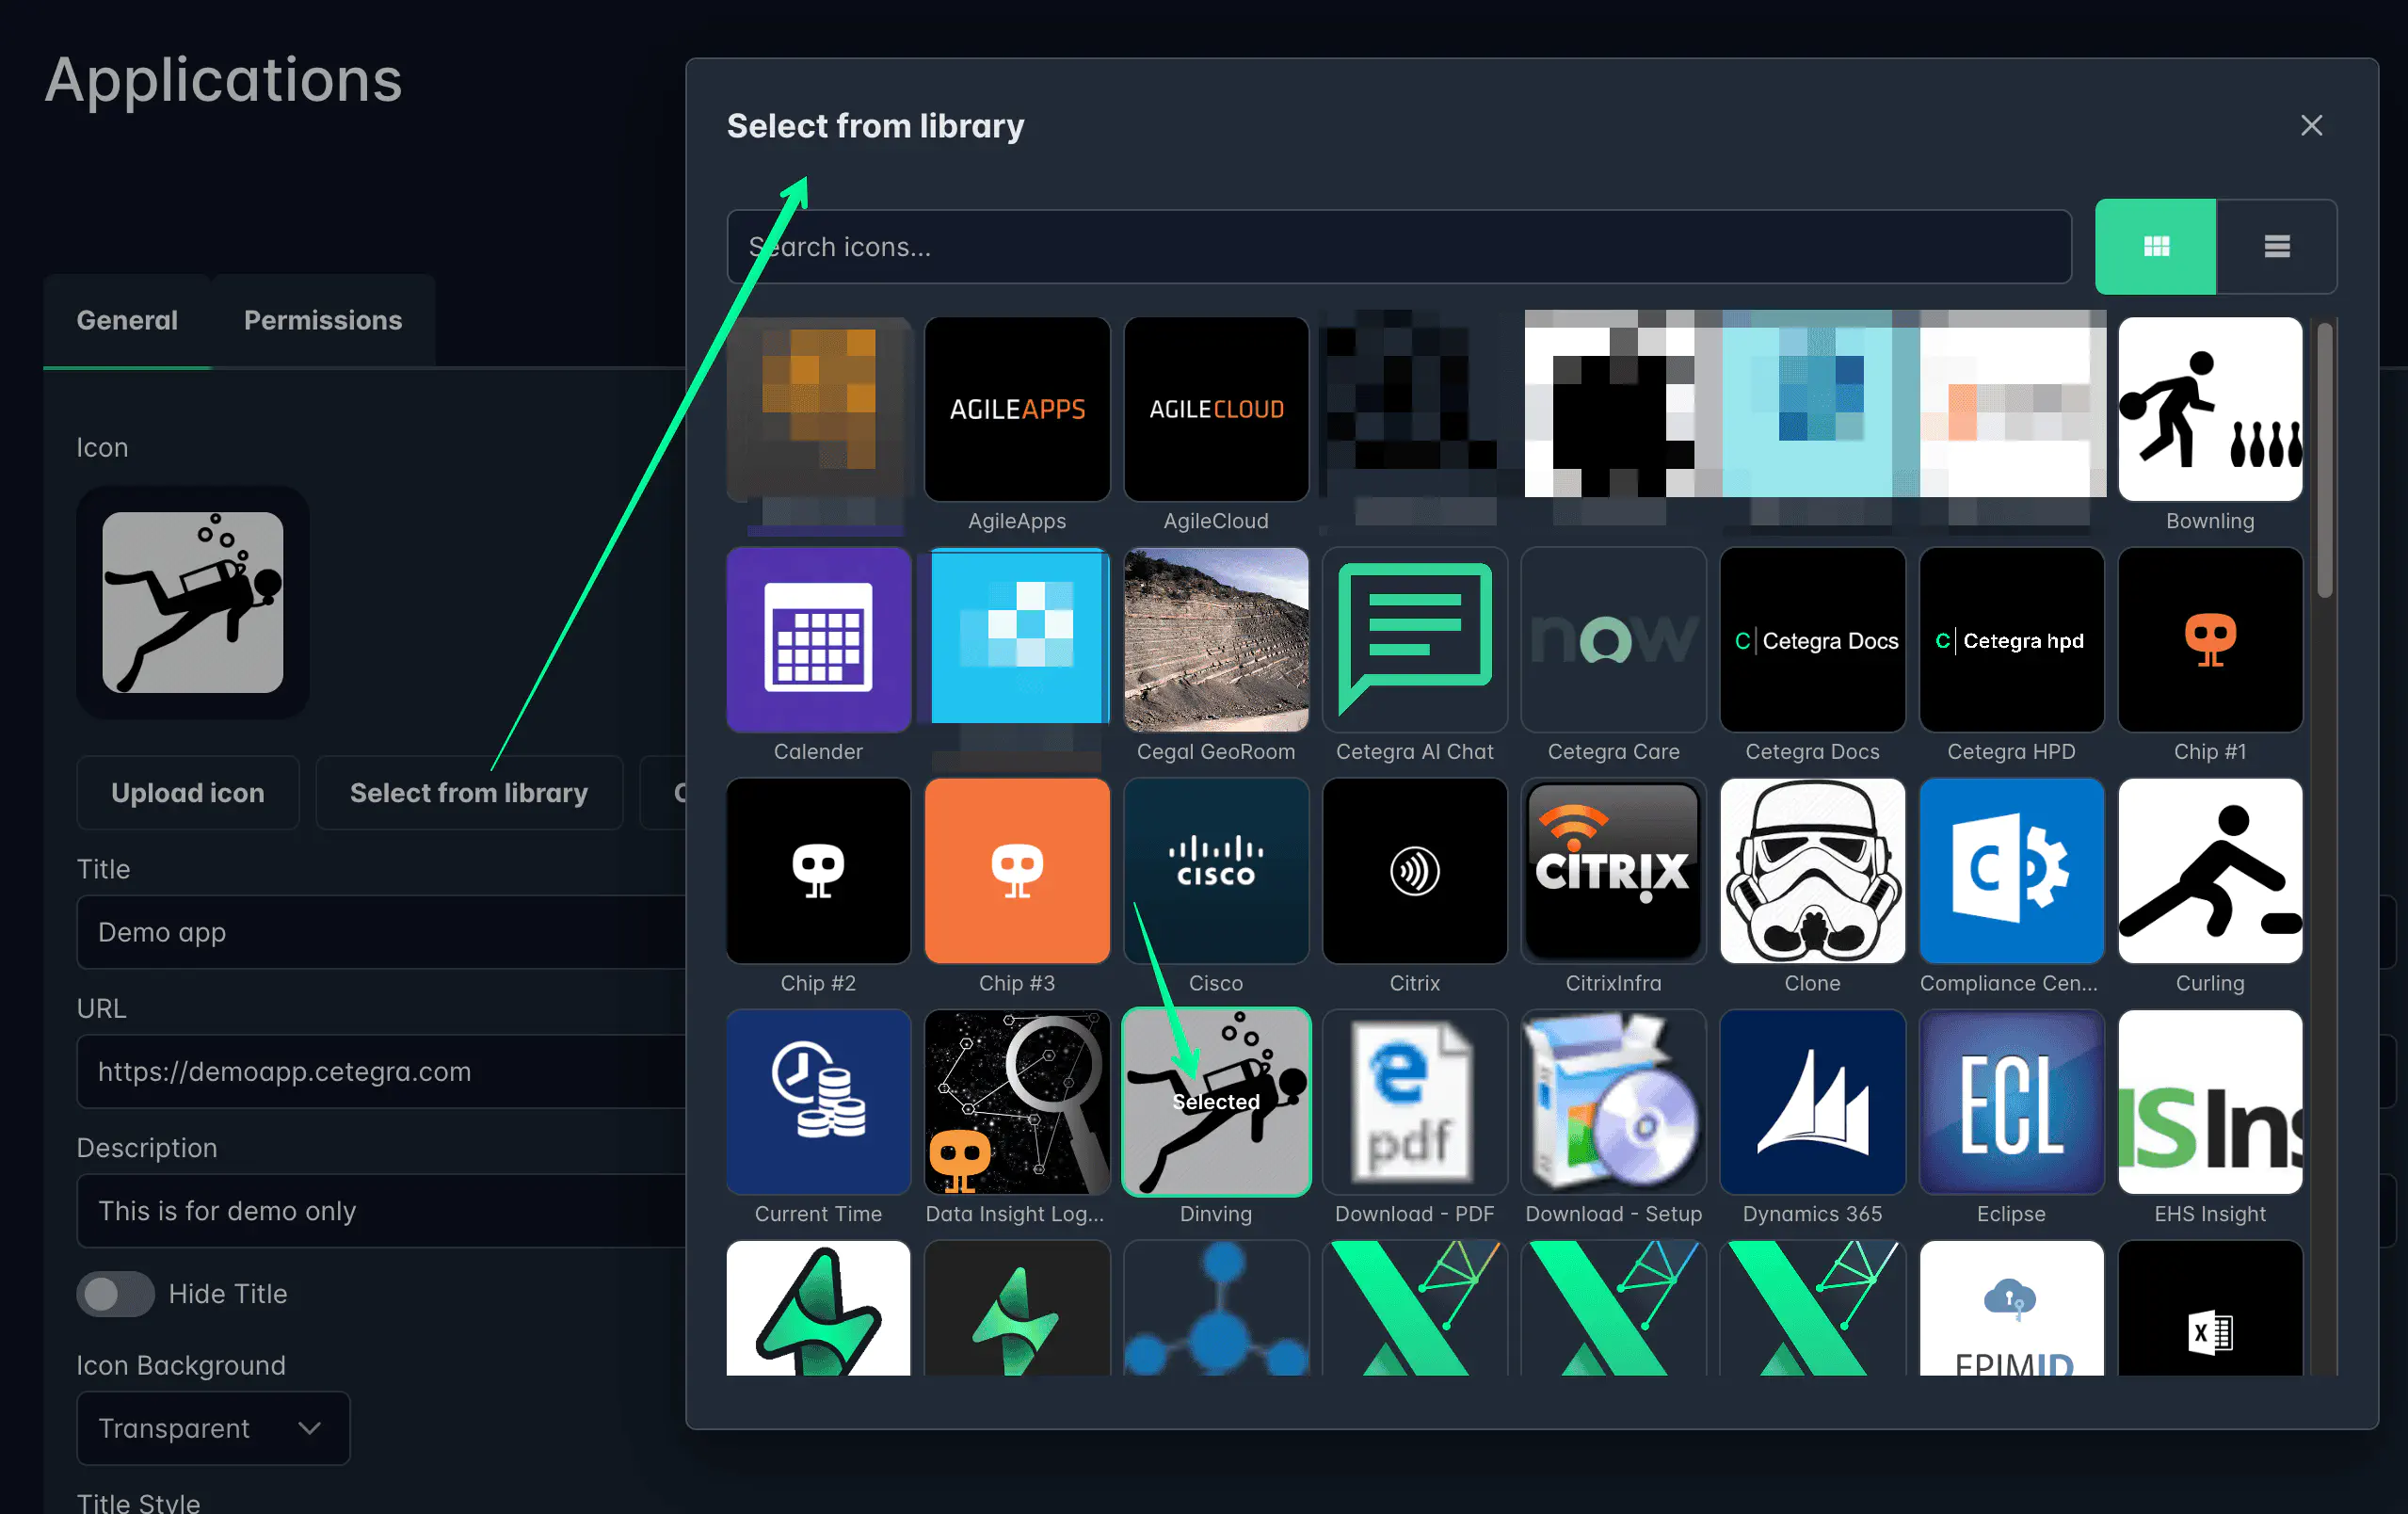
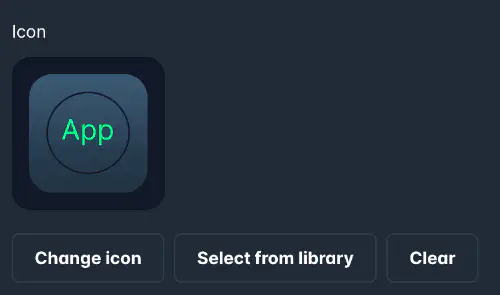
The icon will appear in the icon uploader area once selected, so that you can preview it.
Organizing Applications in Folders
Use the Application Folders tile to manage and group applications.
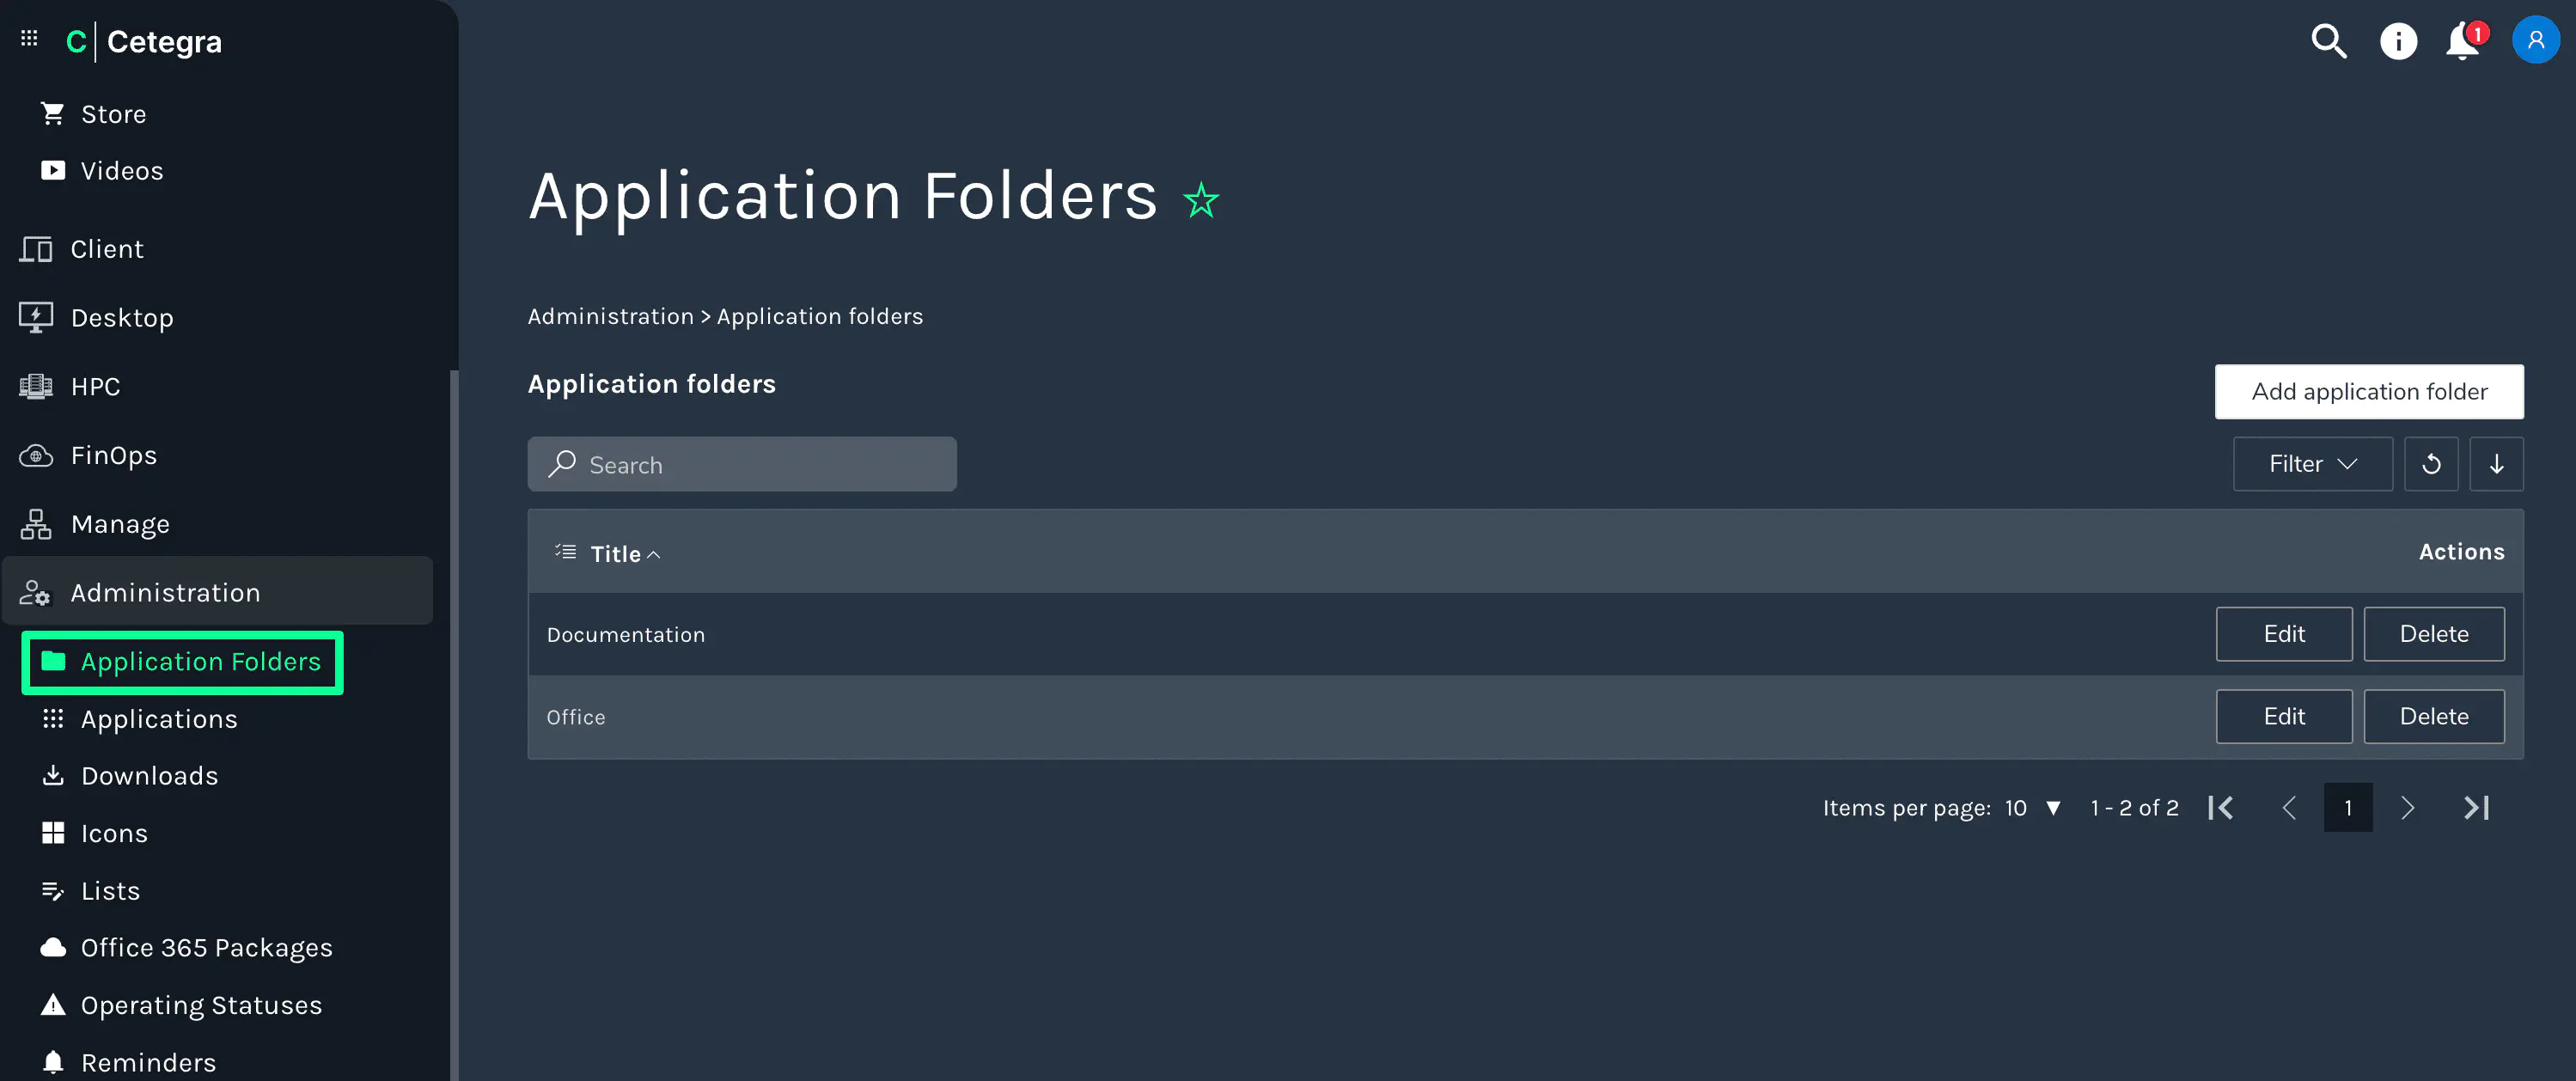
To create a folder, click Add application folder. Input the folder’s name and select the applications to include in it.
Applications can also be allocated to folders directly from their settings. See the General Settings section above for more details.