Actions
The Forms and Actions system in the Cetegra Catalog allows you to build workflows that range from simple notifications to advanced automations.
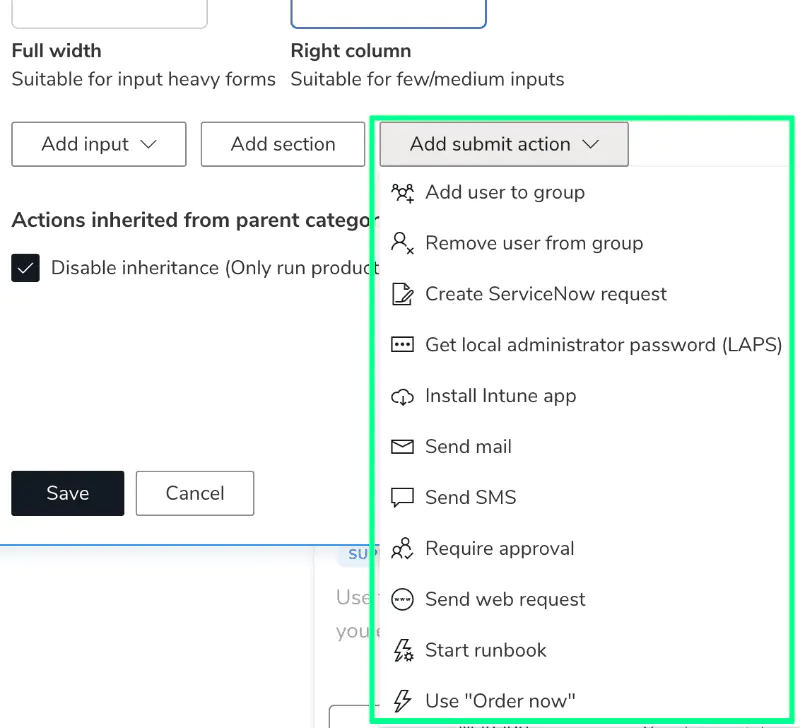
Submit actions can, for example:
- Send emails or SMS messages.
- Add or remove users from Active Directory (AD) groups.
- Trigger approval processes or automation runbooks.
This page focuses on the submit actions — how they work, how they use form input values, and how to configure them for different use cases.
For an overview of the entire system, see the Introduction page.
Forms and actions can be configured on both product and category levels. Products inherit actions from their category unless inheritance is disabled.
Configuration
Open a product or category in edit mode, and click the Forms and actions tab.
Read more about the rest of this panel in the Forms documentation.
Configuration of Submit Actions
Submit actions define what should happen after a user submits a form or places an order.
Actions are executed in sequence, from top to bottom, so it’s important to ensure that—for example—approval steps are placed before user provisioning or group membership changes.
Some actions can access input values from your form, as long as the inputs have been given a name.
Conditions
Most submit actions support conditions, allowing you to control when an action should run. Conditions can reference form inputs, system attributes such as user information, or configured elements like selected location.
You configure conditions at the bottom of each action pane. Multiple conditions can be added, and you can choose whether they should be evaluated using AND or OR logic.
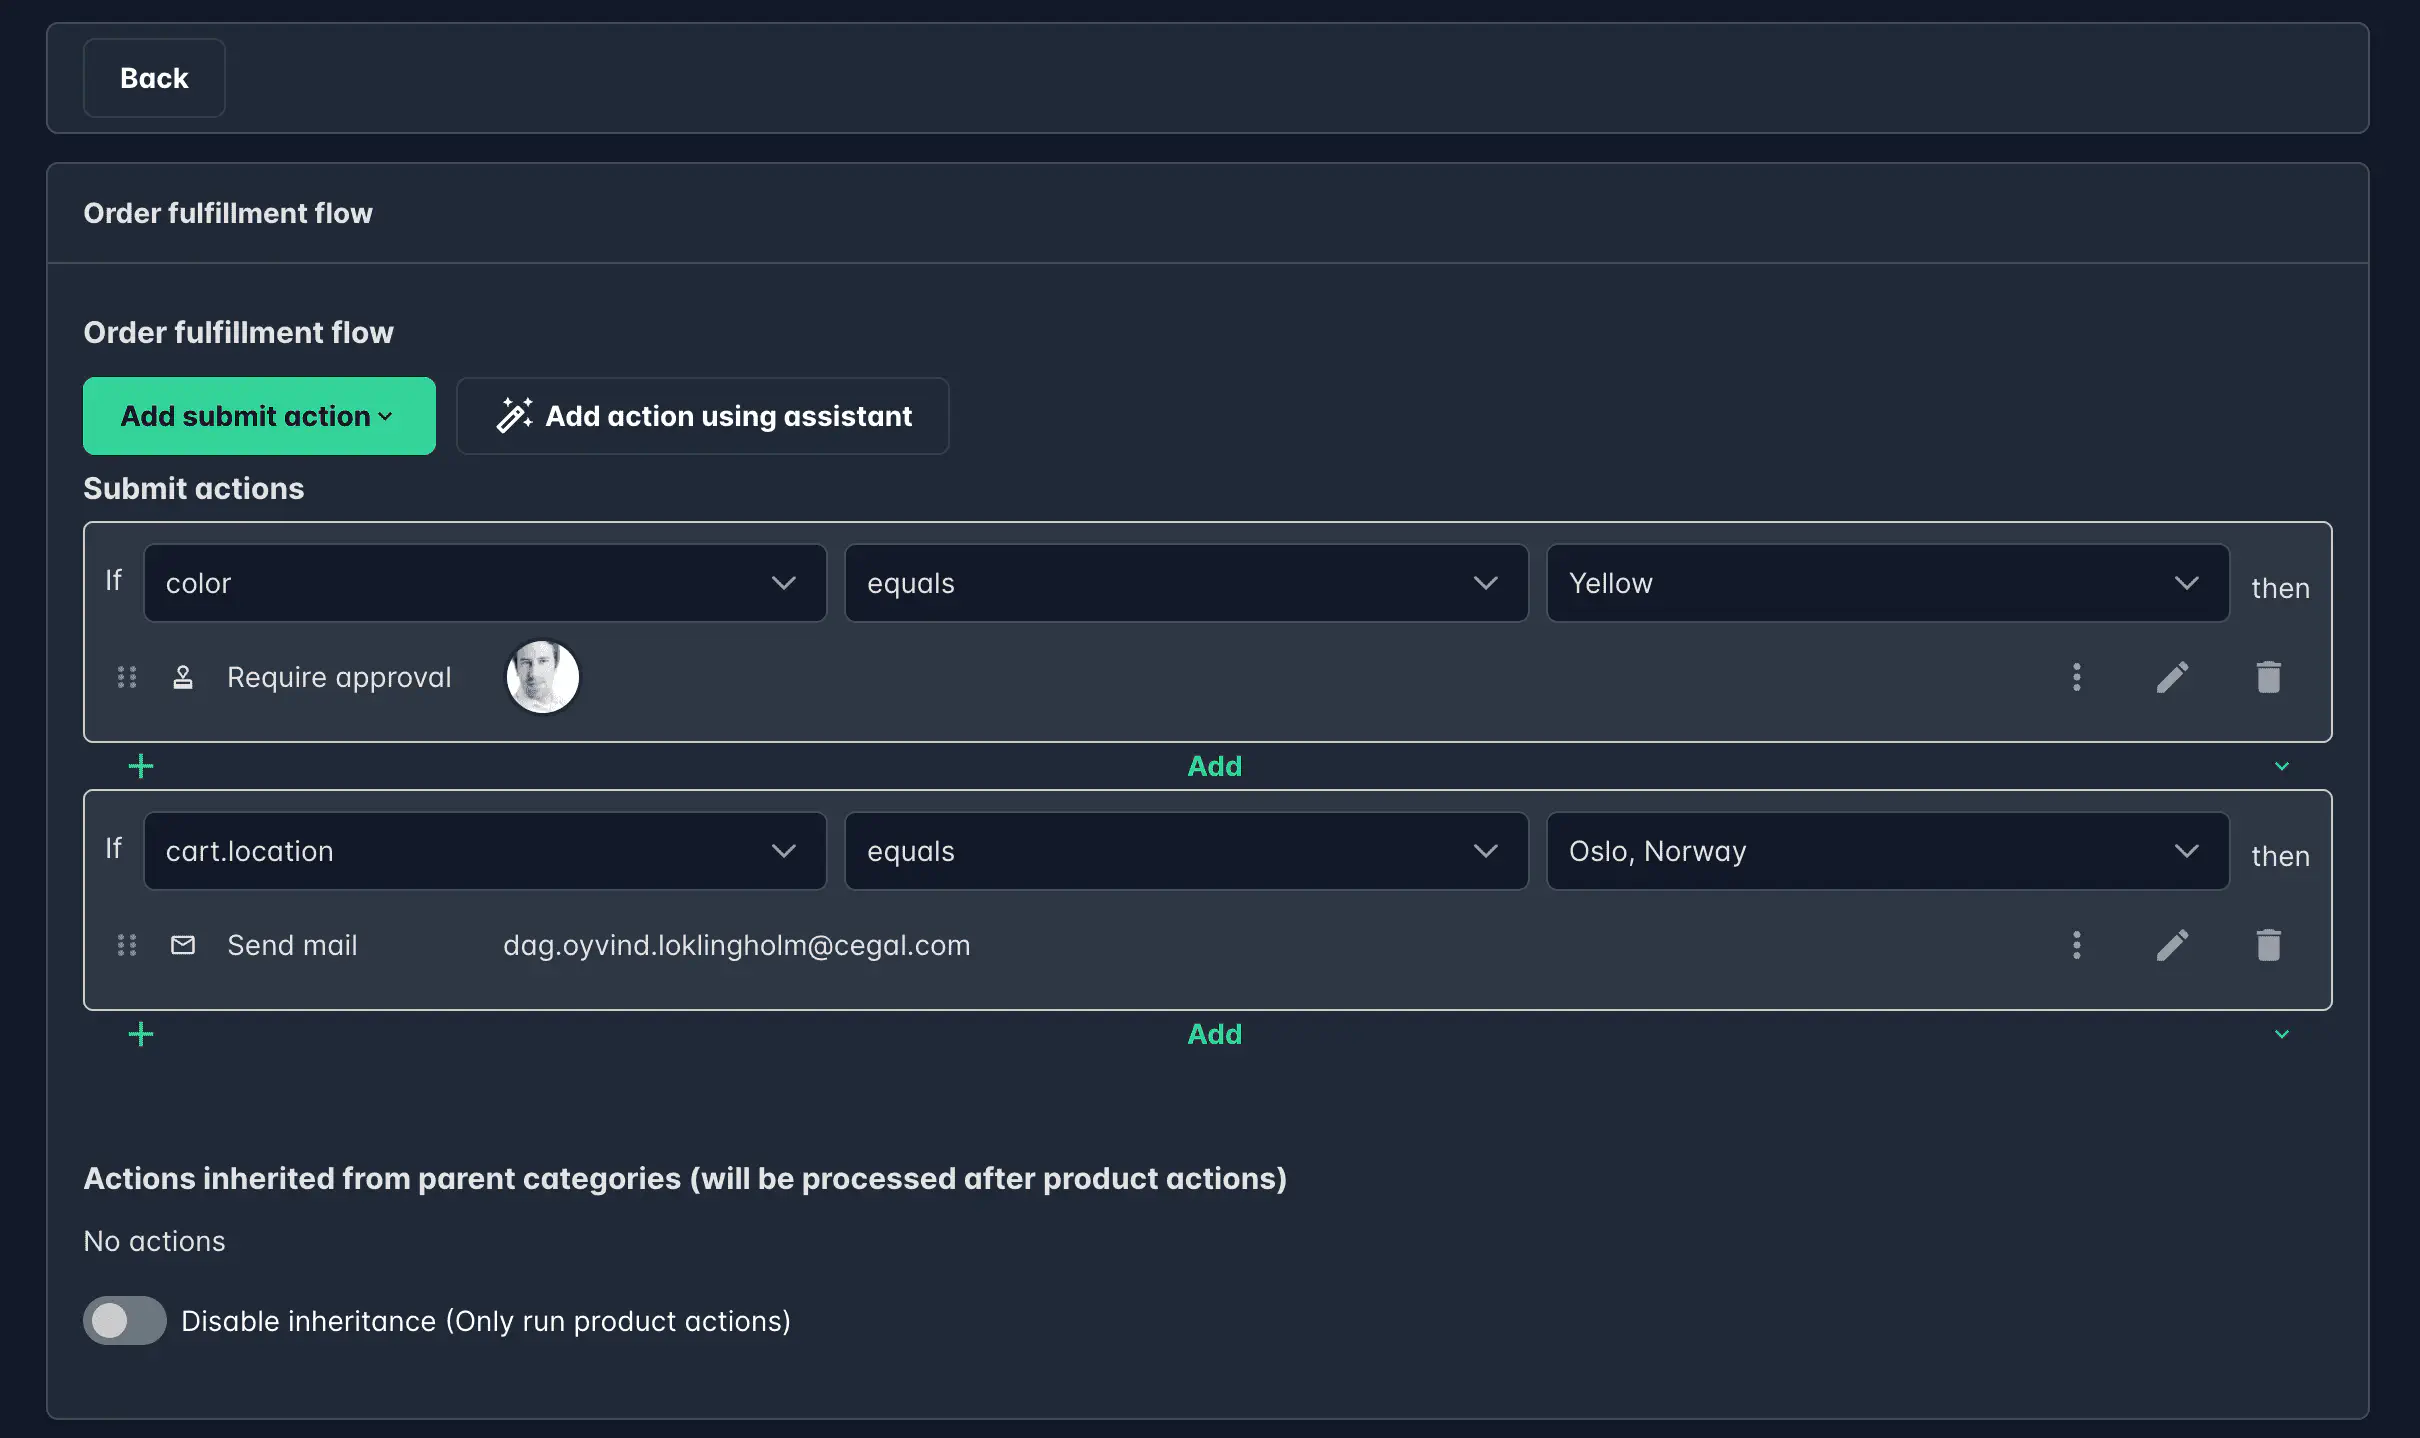
In the example below, a product has two actions:
- Require approval — This action is set to run only when the user selects the color Yellow in the form’s color dropdown.
- Send mail — This action is configured to trigger only when the cart location is set to Oslo.
Form Tokens
Form tokens let you insert dynamic values from the form, product, or order context into actions like emails, SMS messages, or web requests.
They can be used to personalize content, reference order details, or include user-specific data automatically.
Usage of Tokens
Tokens can be used in the following actions:
- Send email
- Send SMS
- ServiceNow request
- Send web request
You can use them in any action input — for example, in the email subject, body, recipient, or sender fields.
Default Tokens
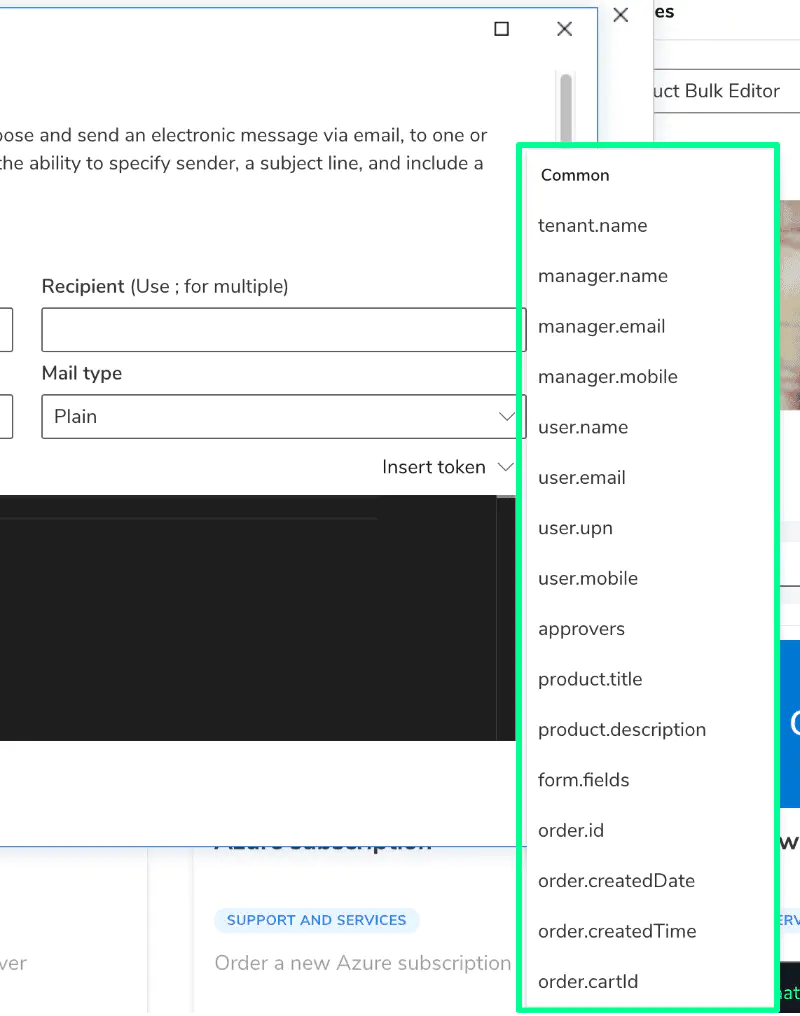
Default tokens give access to dynamic system values such as product names, order details, or user information.
Available default tokens:
tenant.name– Company namemanager.name– Requester’s manager namemanager.email– Manager’s emailmanager.mobile– Manager’s mobile numberuser.name– Requester’s full nameuser.email– Requester’s emailuser.upn– User principal nameuser.mobile– Requester’s mobile numberapprovers– List of approversproduct.title– Product titleproduct.description– Product descriptionform.fields– All form fields and their values (useful for including a full summary)order.id– Order IDorder.createDate– Order creation dateorder.createTime– Order creation timeorder.cartId– Cart ID (can be used for direct links to the order)
Custom Tokens
Custom tokens come from named inputs in your form.
Once an input is given a name, its token becomes available automatically and appears at the top of the token list.
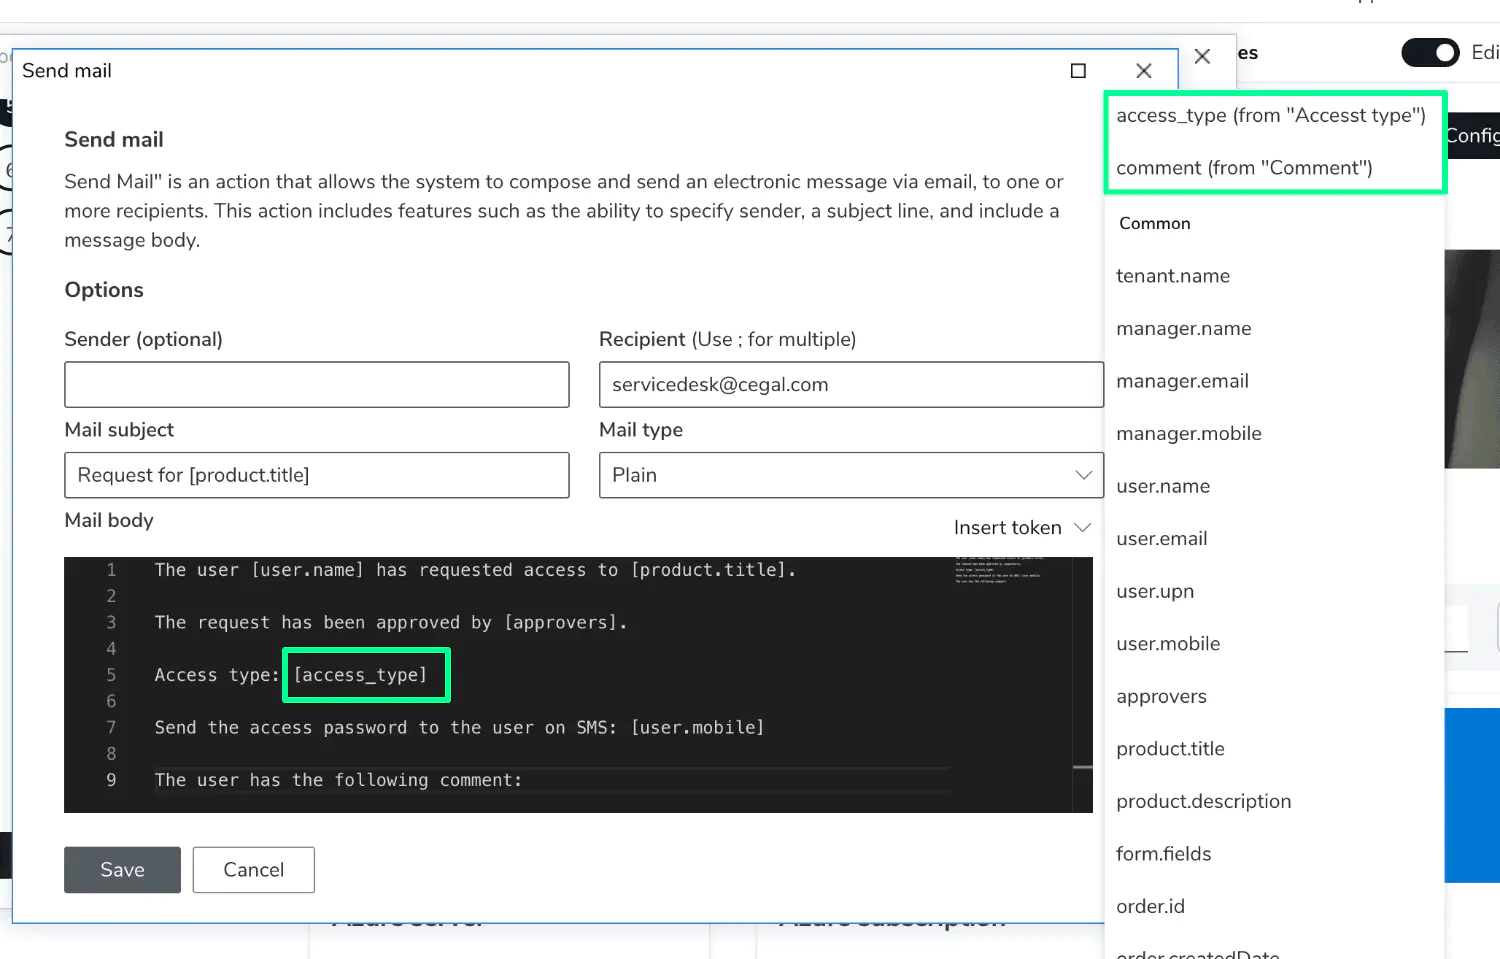
You can use custom tokens anywhere default tokens are supported — for example, in an email body or ServiceNow description.
Submit Action Types
Below is an overview of the available submit actions and their purpose.
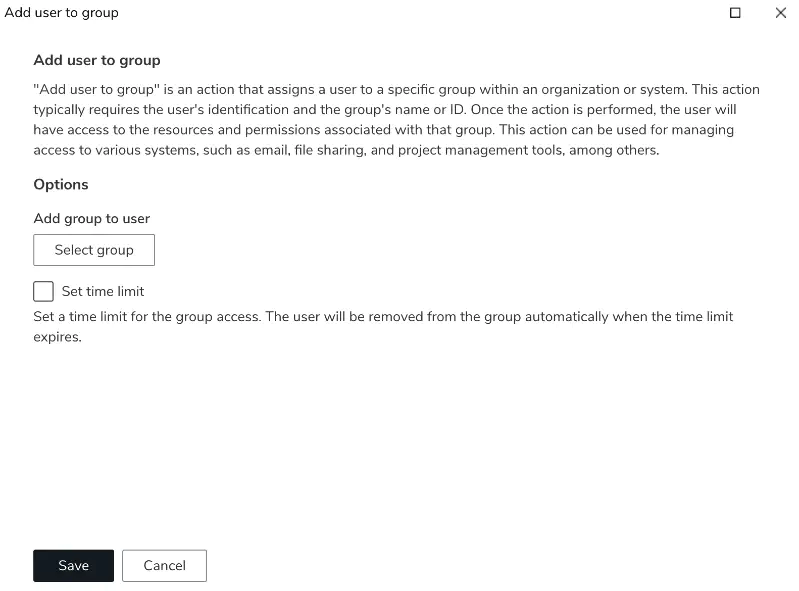
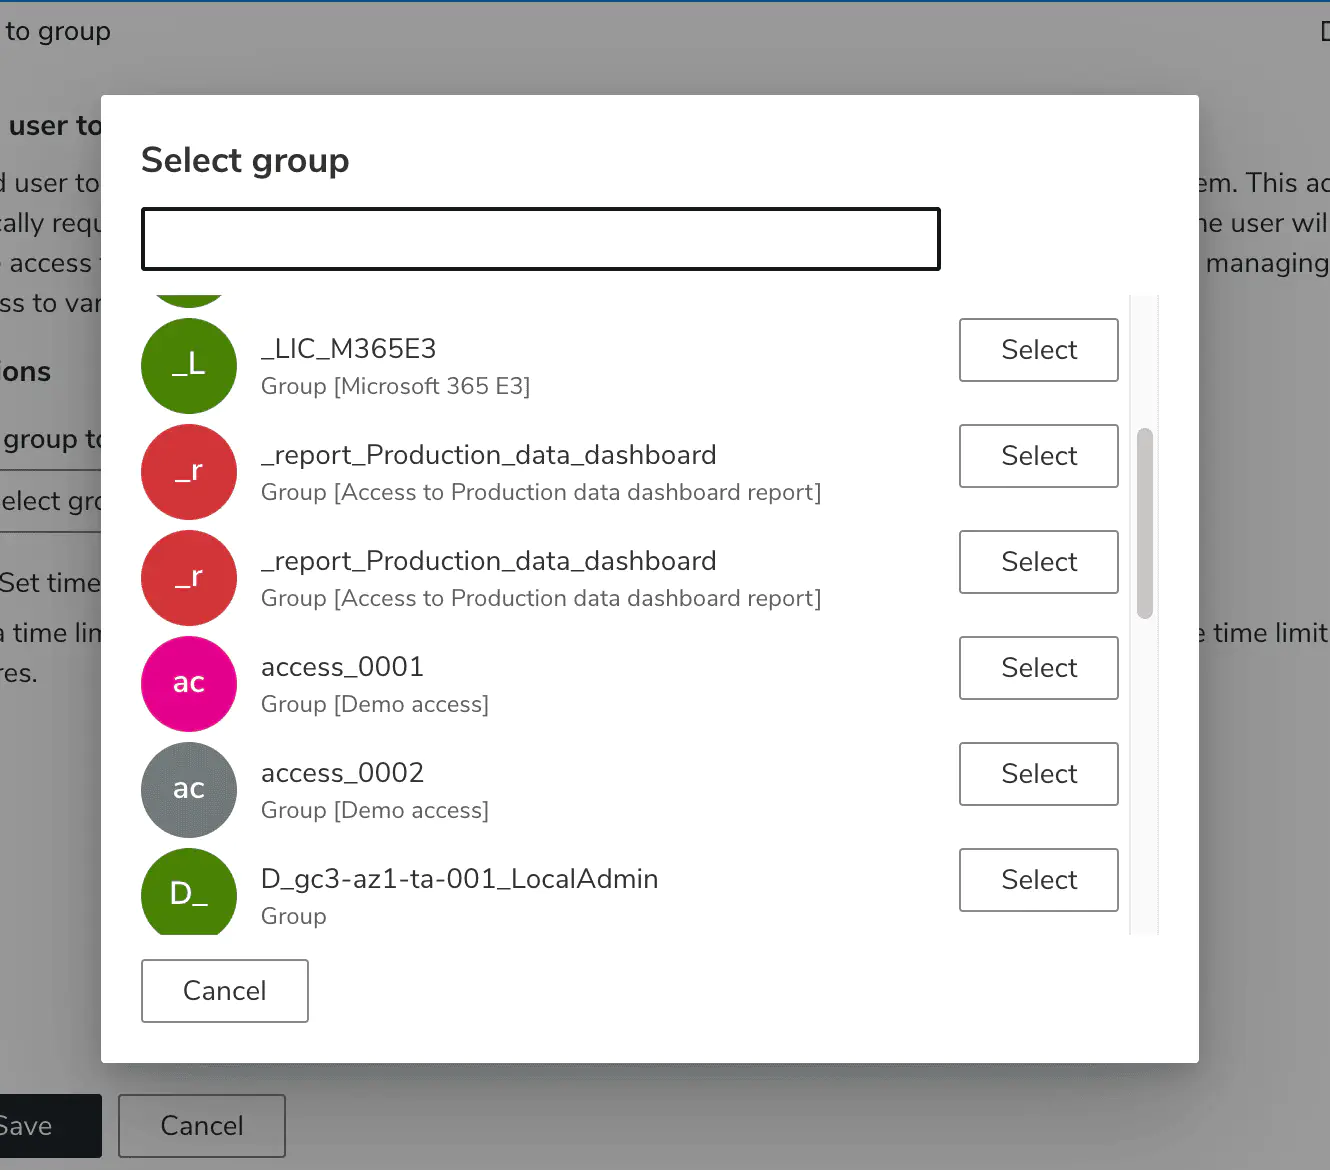
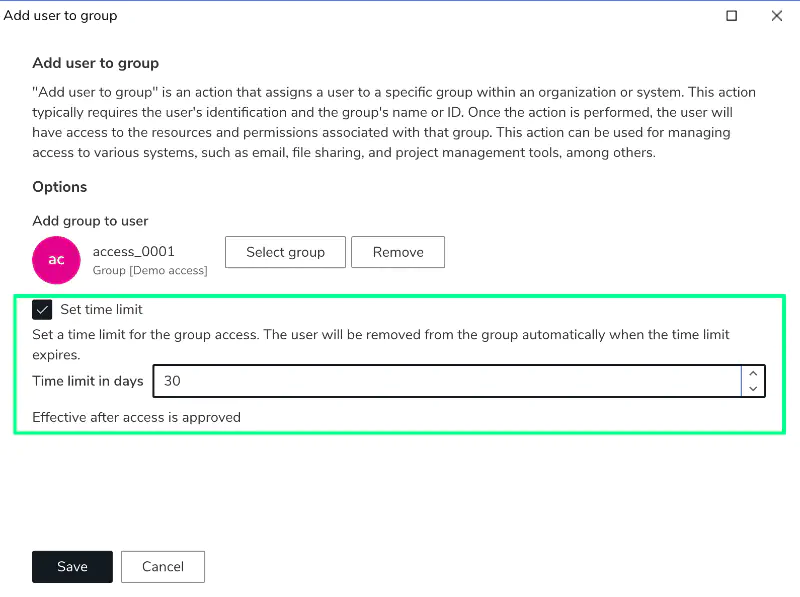
Add User to Group
Adds the requester to one or more Active Directory groups. You can also define a time limit (in days) for temporary group membership — after which the user will automatically be removed.
Hybrid environments: If your organisation uses Hybrid Sync, users may not be compatible with all groups in a product. An on-premises user cannot be directly added to a cloud-only group, and a cloud-only user cannot be directly added to an on-premises or directory-synced group. When this is the case, users will see an incompatibility warning before placing their order, and the incompatible groups will be skipped. If a product contains only incompatible groups for a given user, the order will be blocked entirely. Consider this when designing products that include mixed group types. Read more →
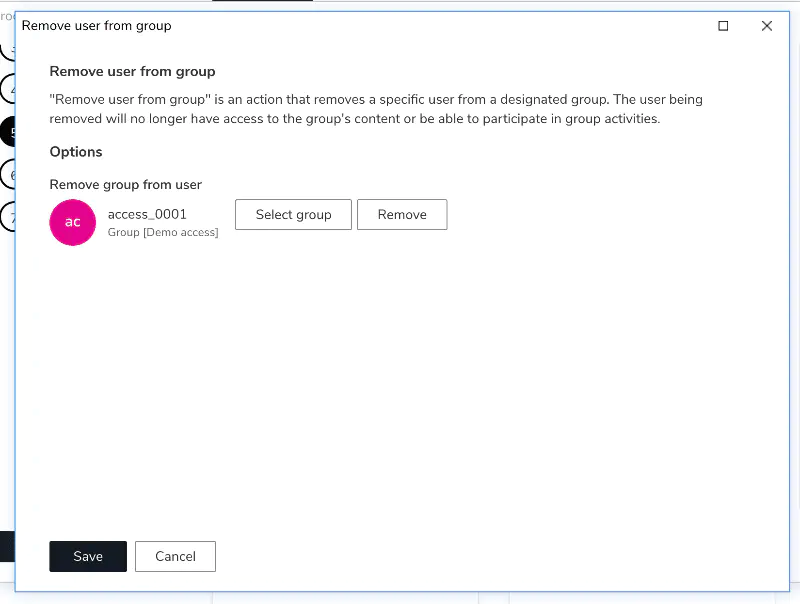
Remove User from Group
Removes a user from a specific AD group.
Useful for offboarding scenarios or when replacing an access type with another.
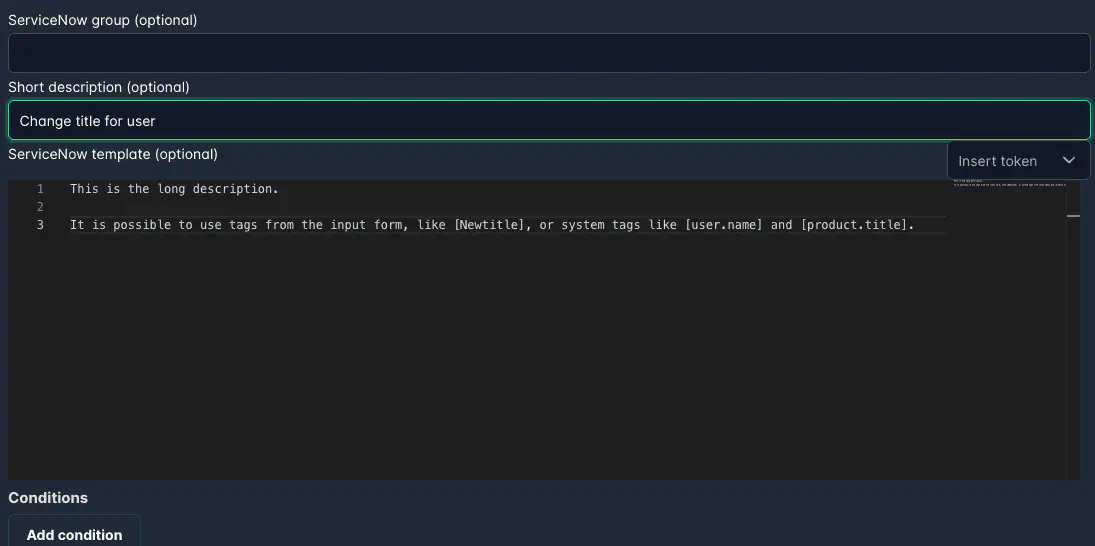
Create ServiceNow Request
Creates a ServiceNow ticket automatically upon order submission.
Use tokens to populate fields dynamically, and specify an assignment group if needed.
It is also possible to set a custom short description. This way, it is easy to redirect tickets to specific teams based on the short description content.
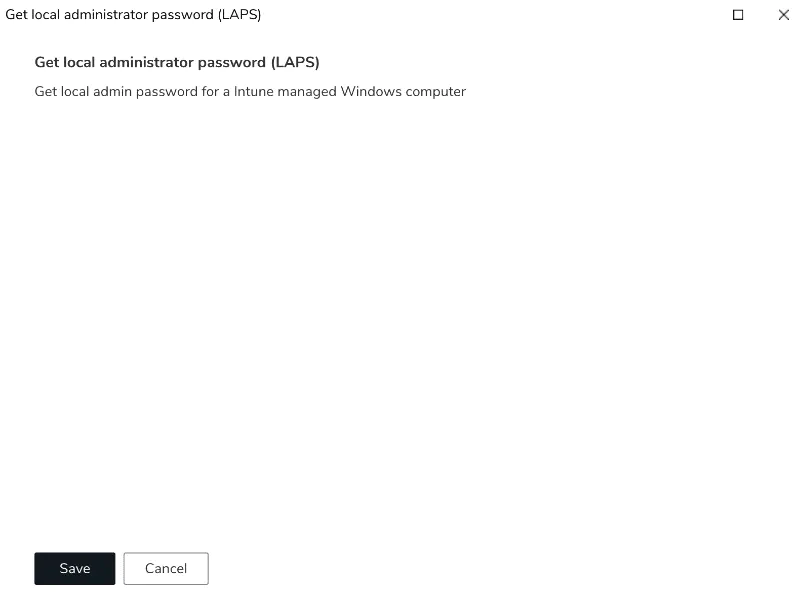
Get Local Administrator Password (LAPS)
Retrieves a computer’s local administrator password via Cetegra Client integration.
The user selects a device from the list, and once the order completes, receives the password via SMS.
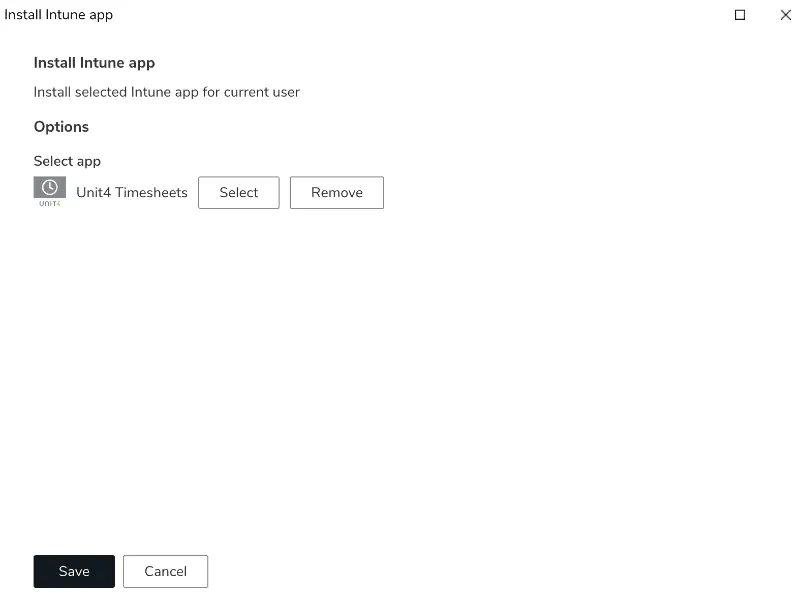
Install Intune App
Lets you configure a Catalog item that installs an Intune application on a device.
The user selects a supported device, and the system triggers the installation automatically.
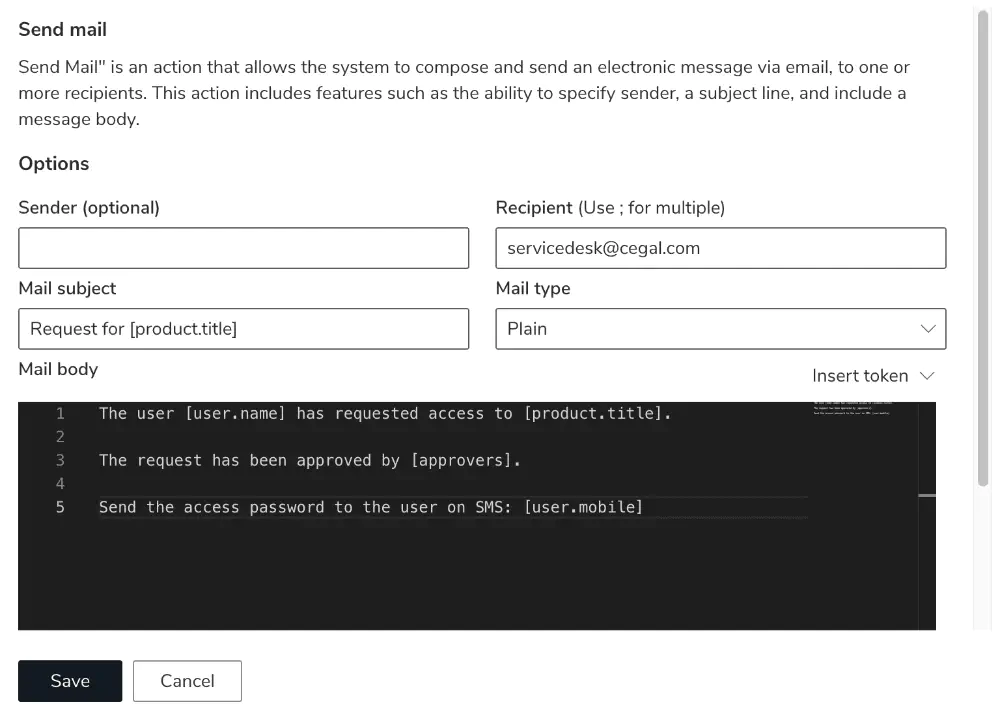
Send Mail
Sends an email to one or more recipients.
All fields (sender, recipient, subject, and body) support tokens for dynamic content.
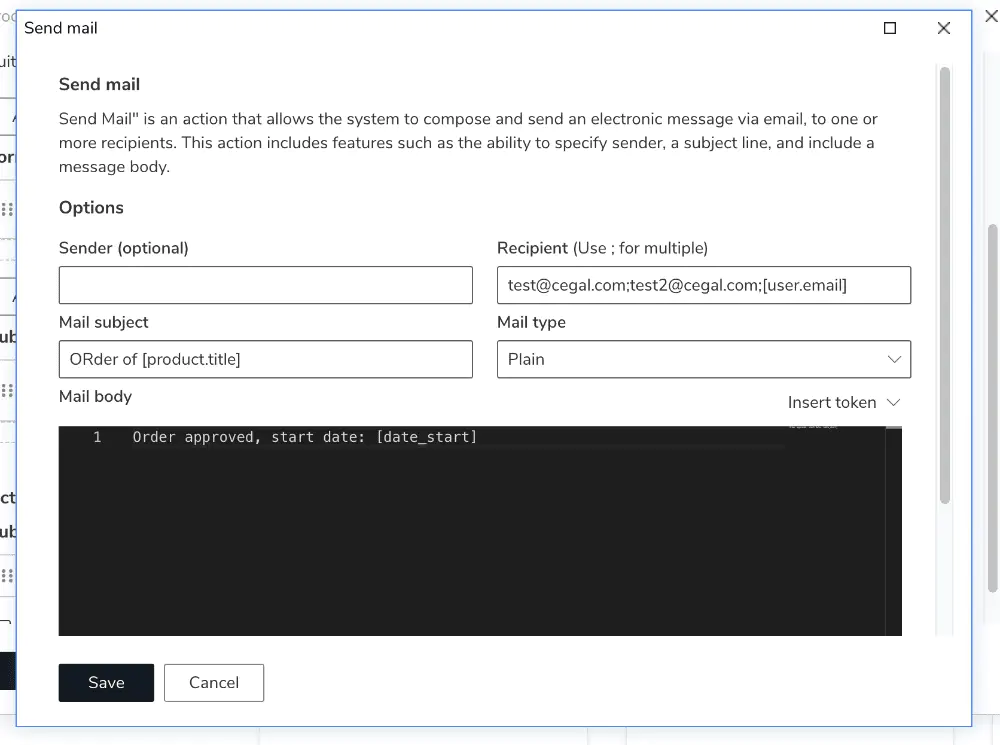
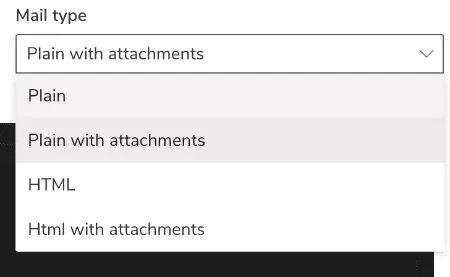
You can choose between HTML and Plain text formats.
If the form includes an Attachment input, attachments will automatically be included when using the mail type:
- Plain with attachments
- HTML with attachments
If no sender is set, the default sender is used (noreply@cegal.com).
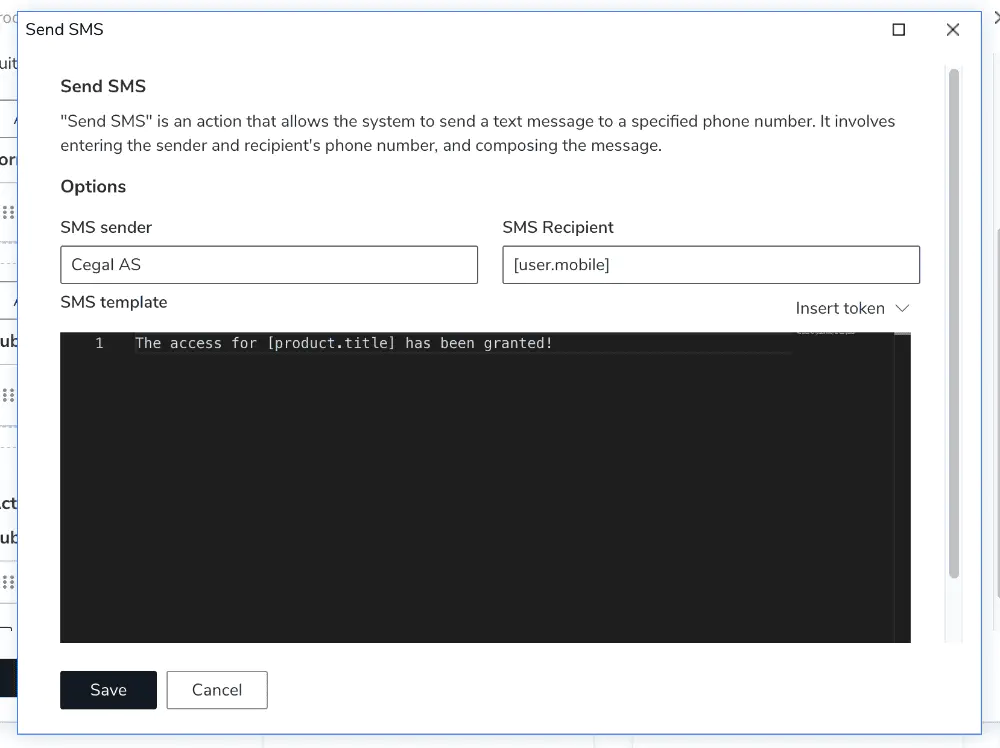
Send SMS
Use this action to send SMS notifications with dynamic content.
Tokens can be inserted into both the message and recipient fields.
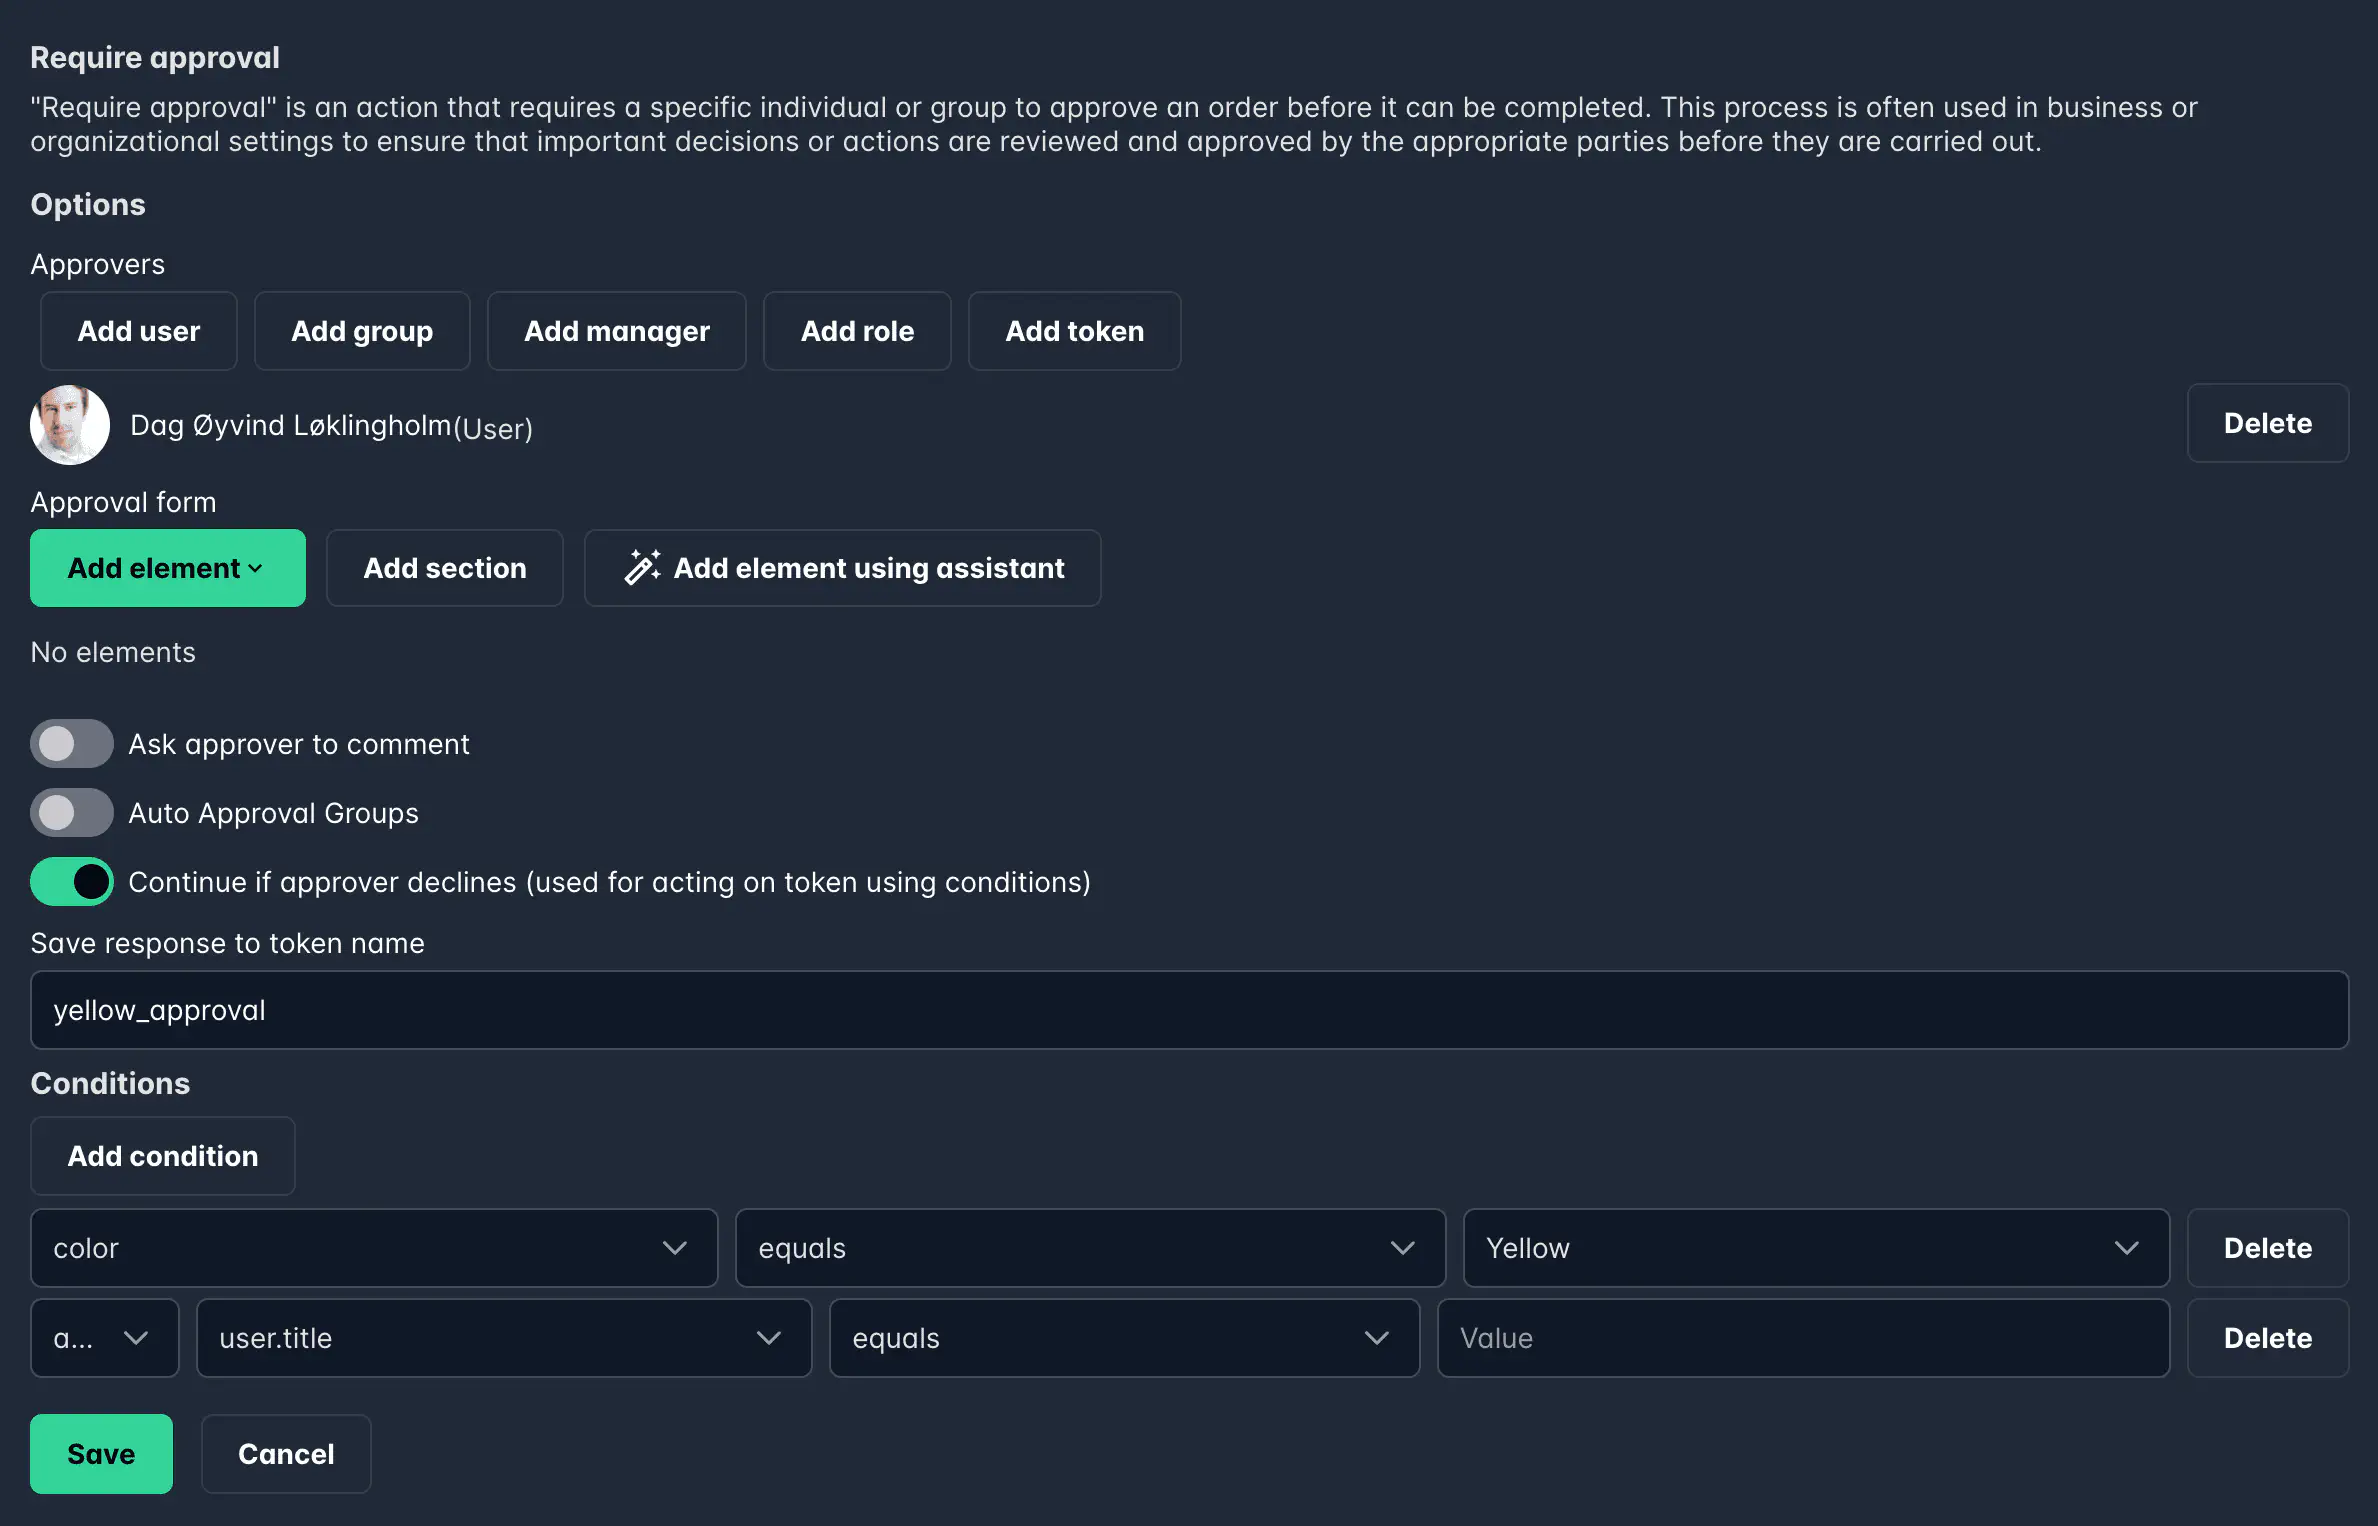
Require Approval
Triggers an approval step before continuing the workflow.
Read more about approvals in the Approvals section.
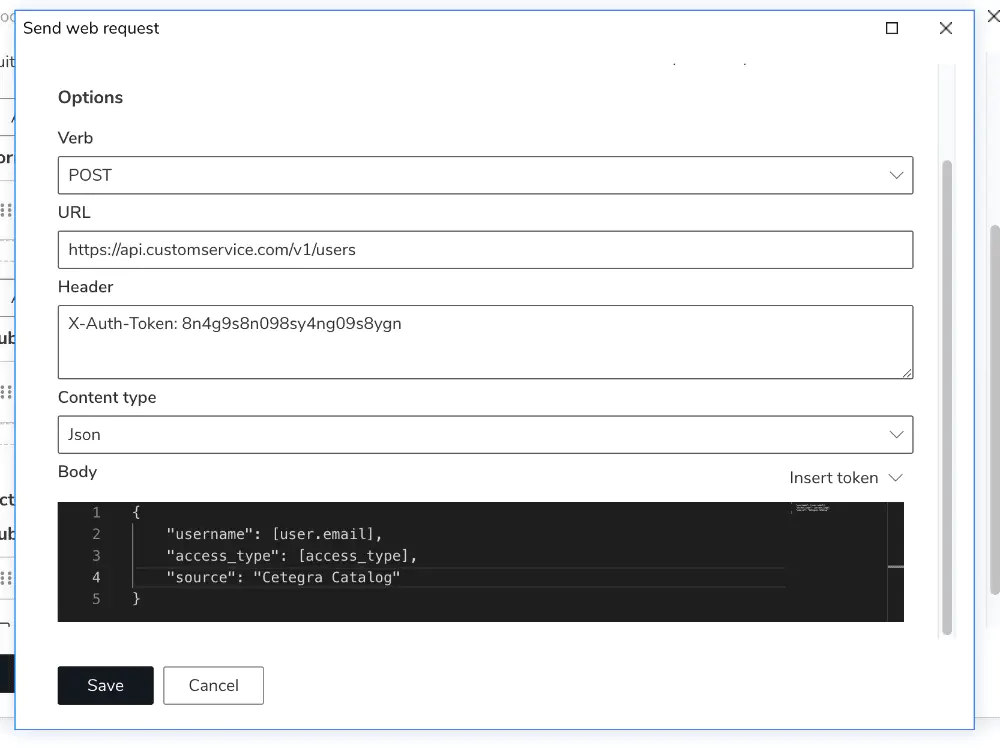
Send Web Request
Sends data to an external system using an HTTP request.
All common methods are supported: POST, GET, PUT, DELETE, and PATCH.
You can send data in JSON, XML, or raw format — and include tokens for dynamic values.
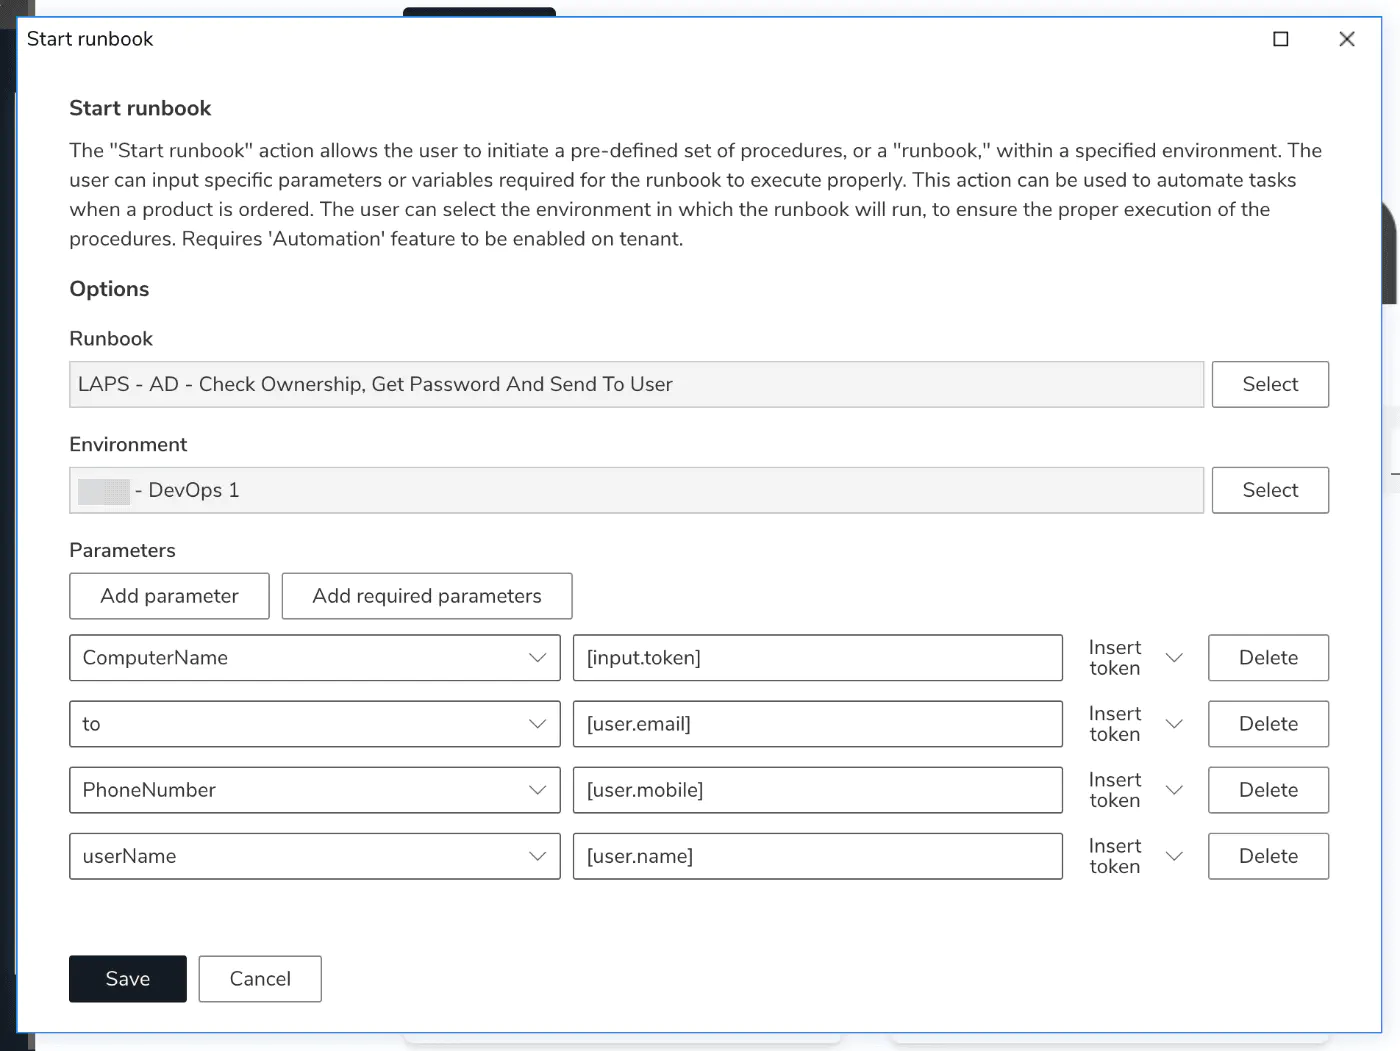
Start Runbook
Available for customers with Cetegra Automation enabled.
This action triggers a runbook in the Cegal automation system.
You can select the runbook, choose an environment, and configure parameters using tokens.
To learn more about Cetegra Automation, contact your Cegal representative.
Start Solution
Available for customers with Cetegra Automation enabled.
Similar to Start Runbook, but triggers a solution — a collection of runbooks that handle more complex processes.
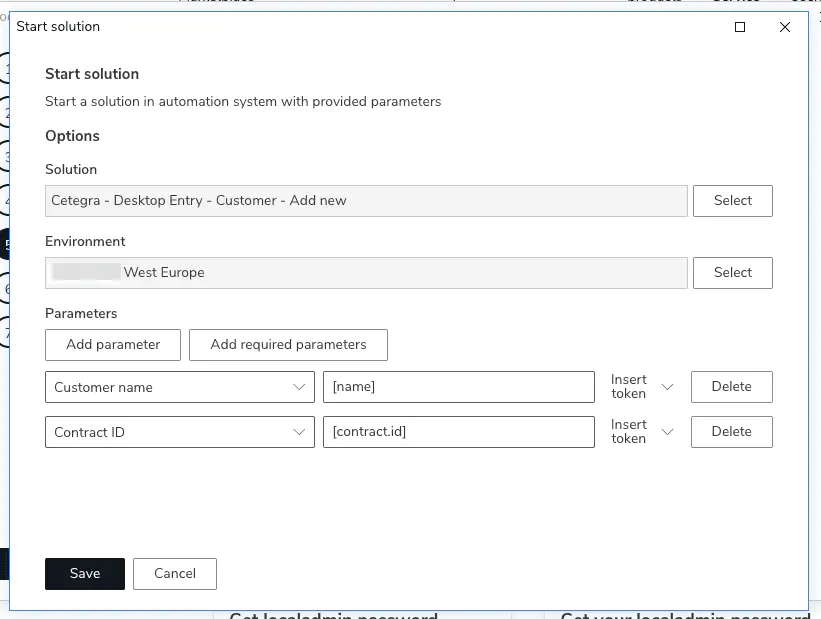
To learn more about Cetegra Automation, contact your Cegal representative.
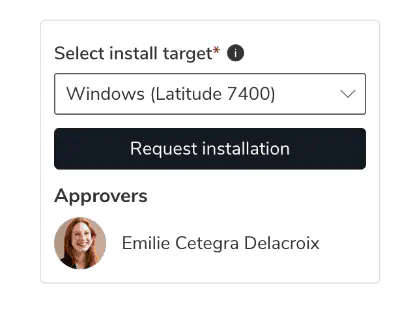
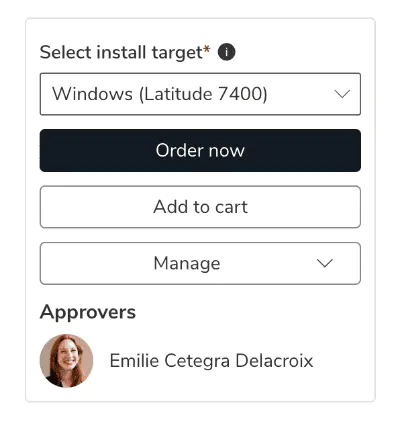
Use “Order Now”
By default, products are added to the cart when the user clicks Add to cart.
With the Order now action, you can skip the cart and send the user directly to the order page.
This can be configured per product and can replace or complement the Add to cart button.
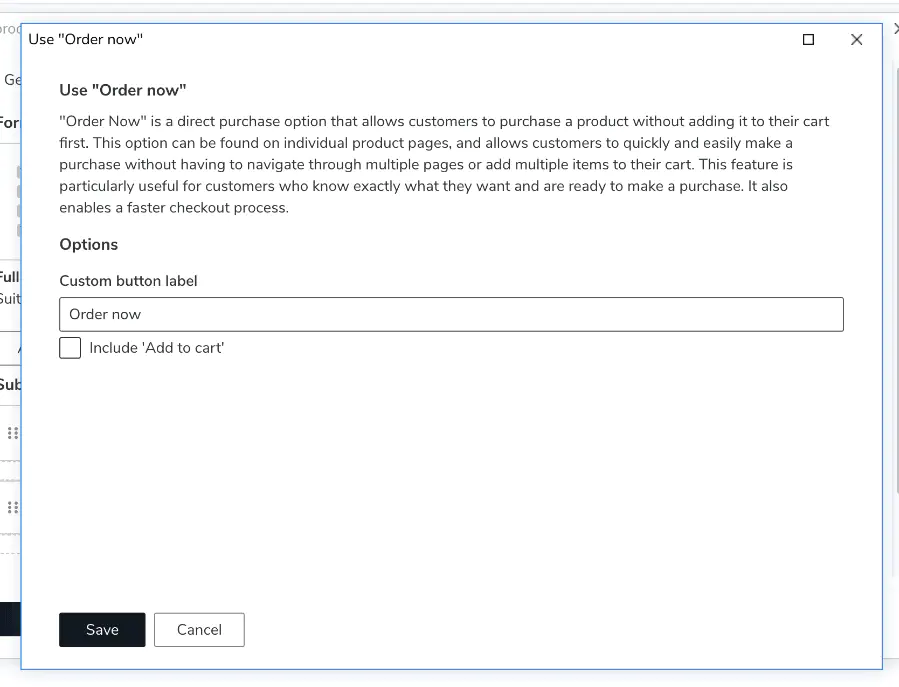
The button label can also be customized.
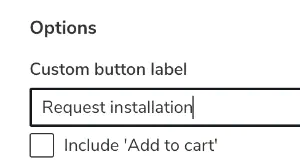
Example:
Instead of “Order now,” the button can be labeled Request installation.