User management
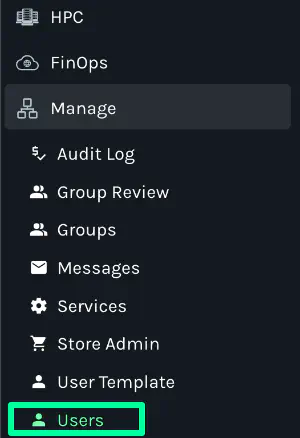
Navigate to the Manage tab located on the left-hand menu to access the user and group management options.
Audit Log
The Audit Log provides a comprehensive view of modifications made to Users and Groups. It displays both new and modified entries, showcasing the transition from the original to the updated state. This audit feature can also be accessed individually for groups and users.
Managing Users
Access the Users section to view all users and to create new ones. Users created here are instantly updated in Azure AD.
Creating a new user
Go to Manage > Users > Add.
Choose an appropriate user template.
Complete the user details. Fields marked with a red asterisk are mandatory.
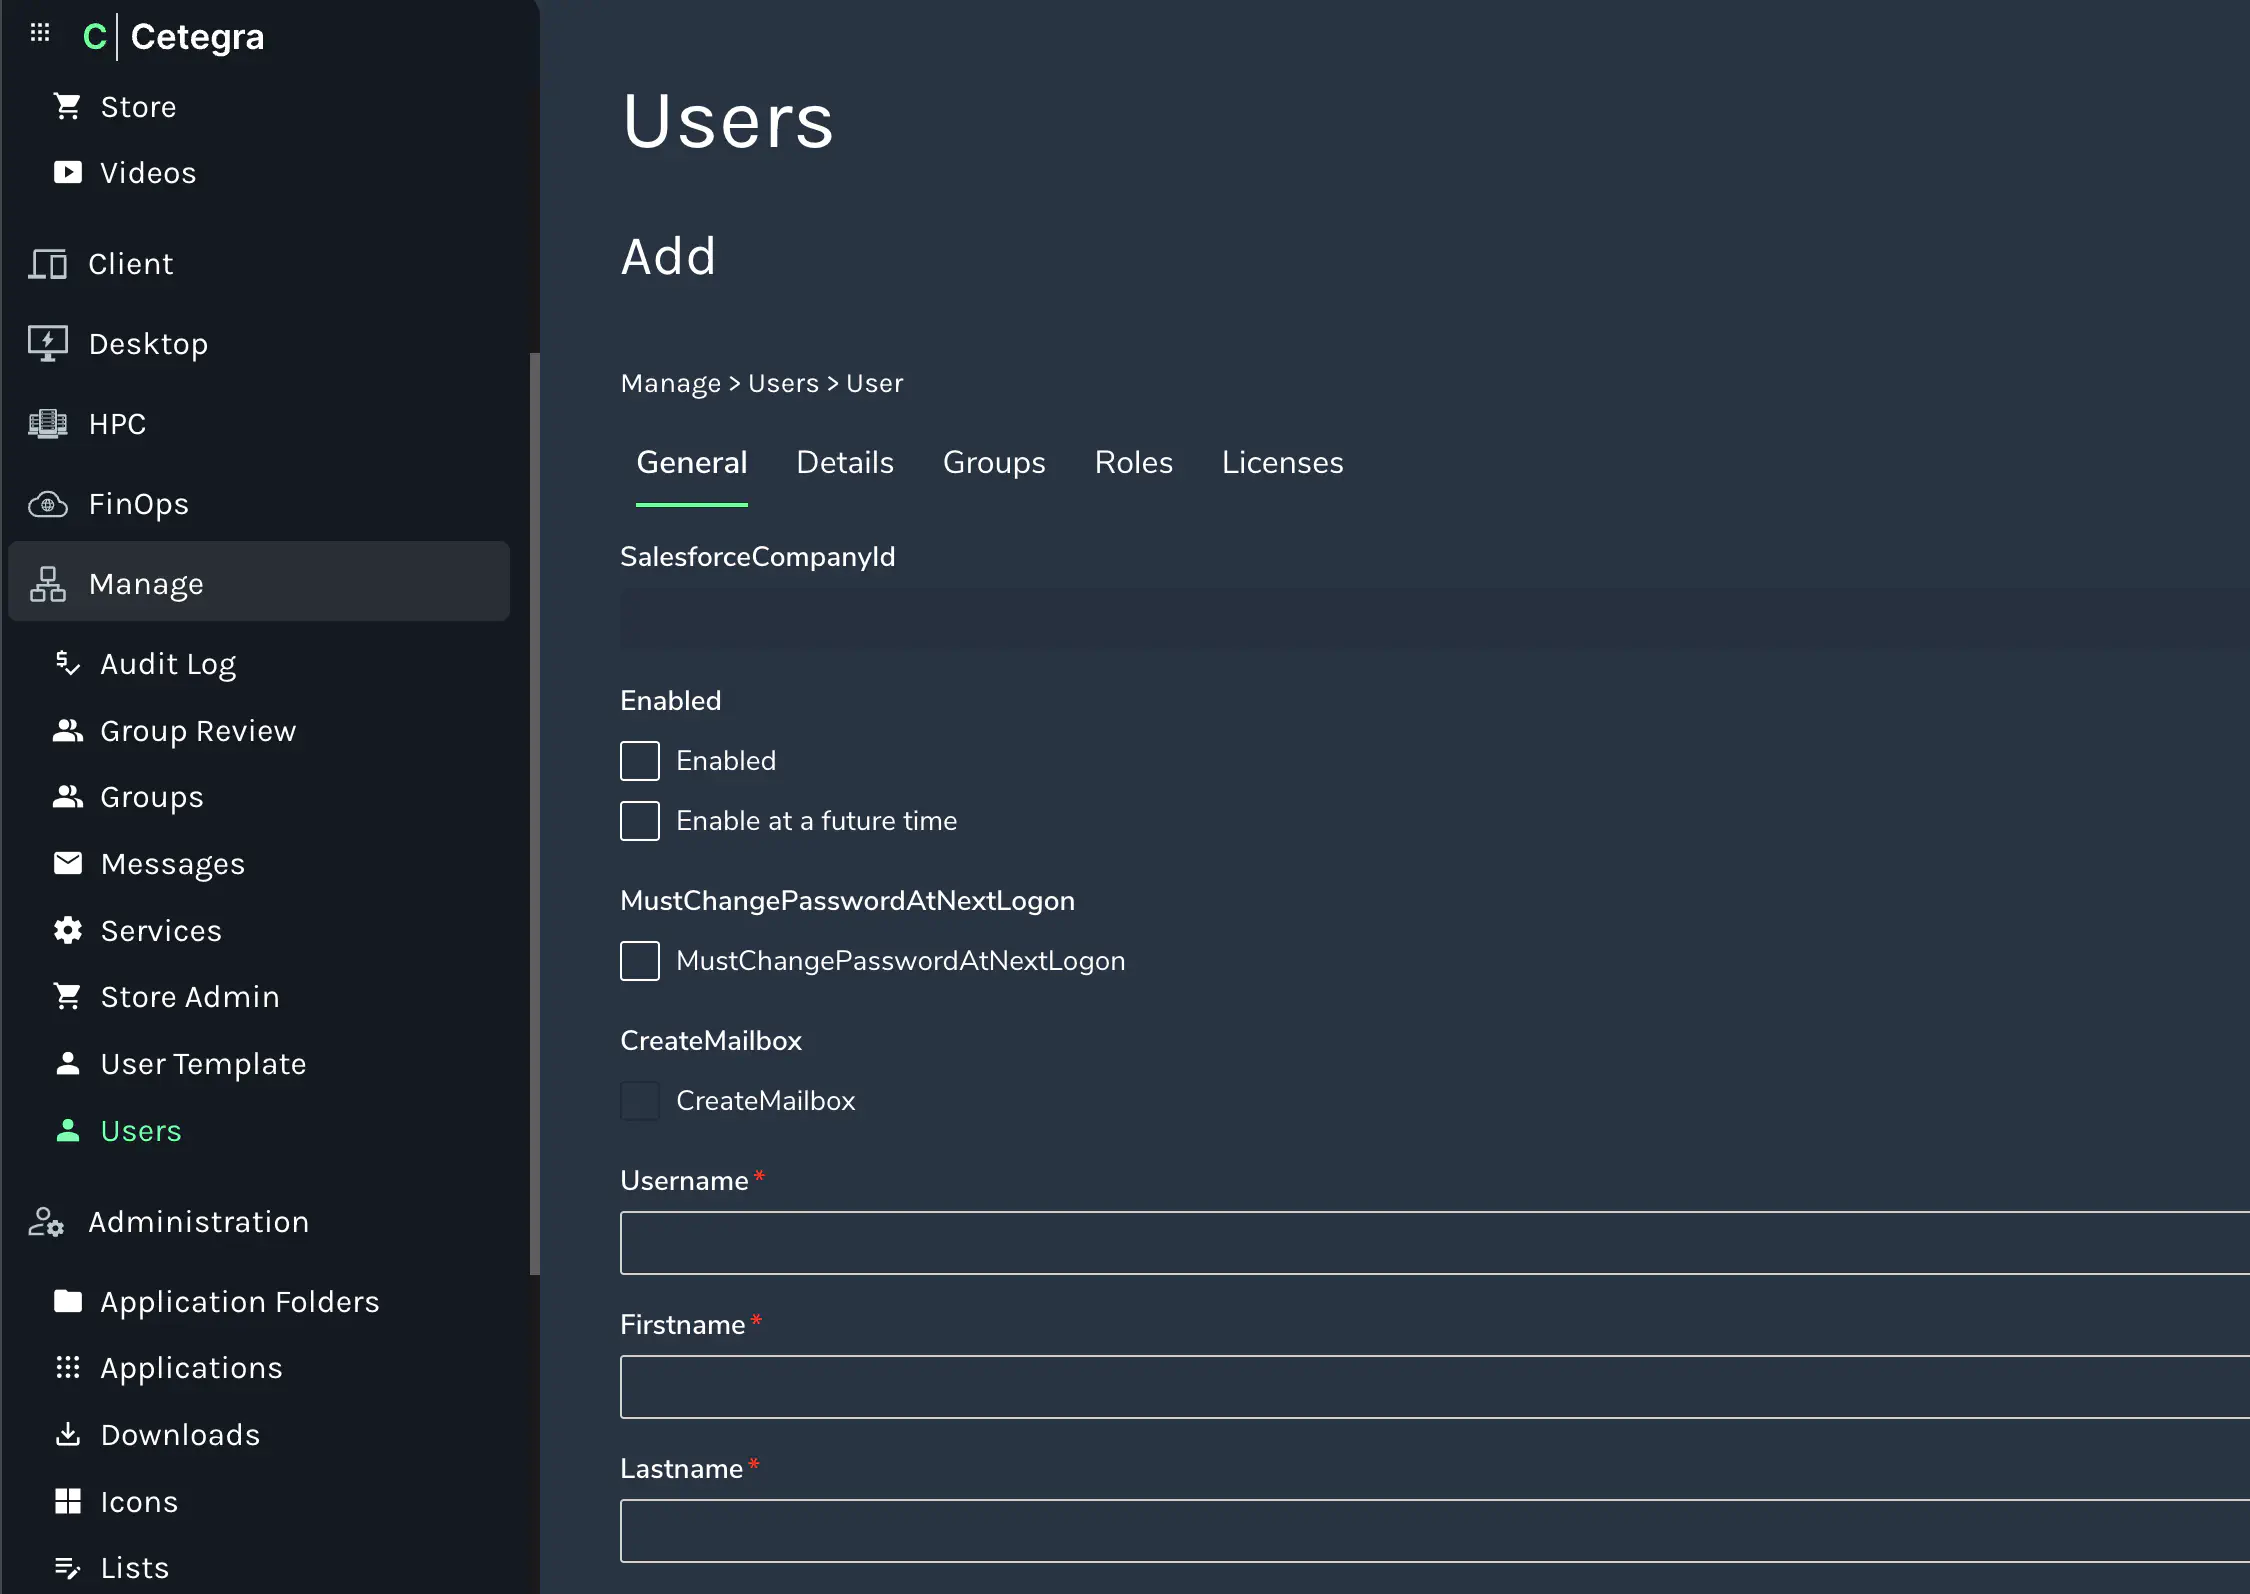
Ensure that the User Principal Name (UPN) matches the user’s email address format: givename.surname@company.com.
Activate the Enabled checkbox.
Add the user to the desired groups under the Groups tab.
Press Save user to create the account. If the user’s start date is in the future, use the Enable at future time option and select the appropriate date. The user will then receive an SMS containing their account password.
User Actions
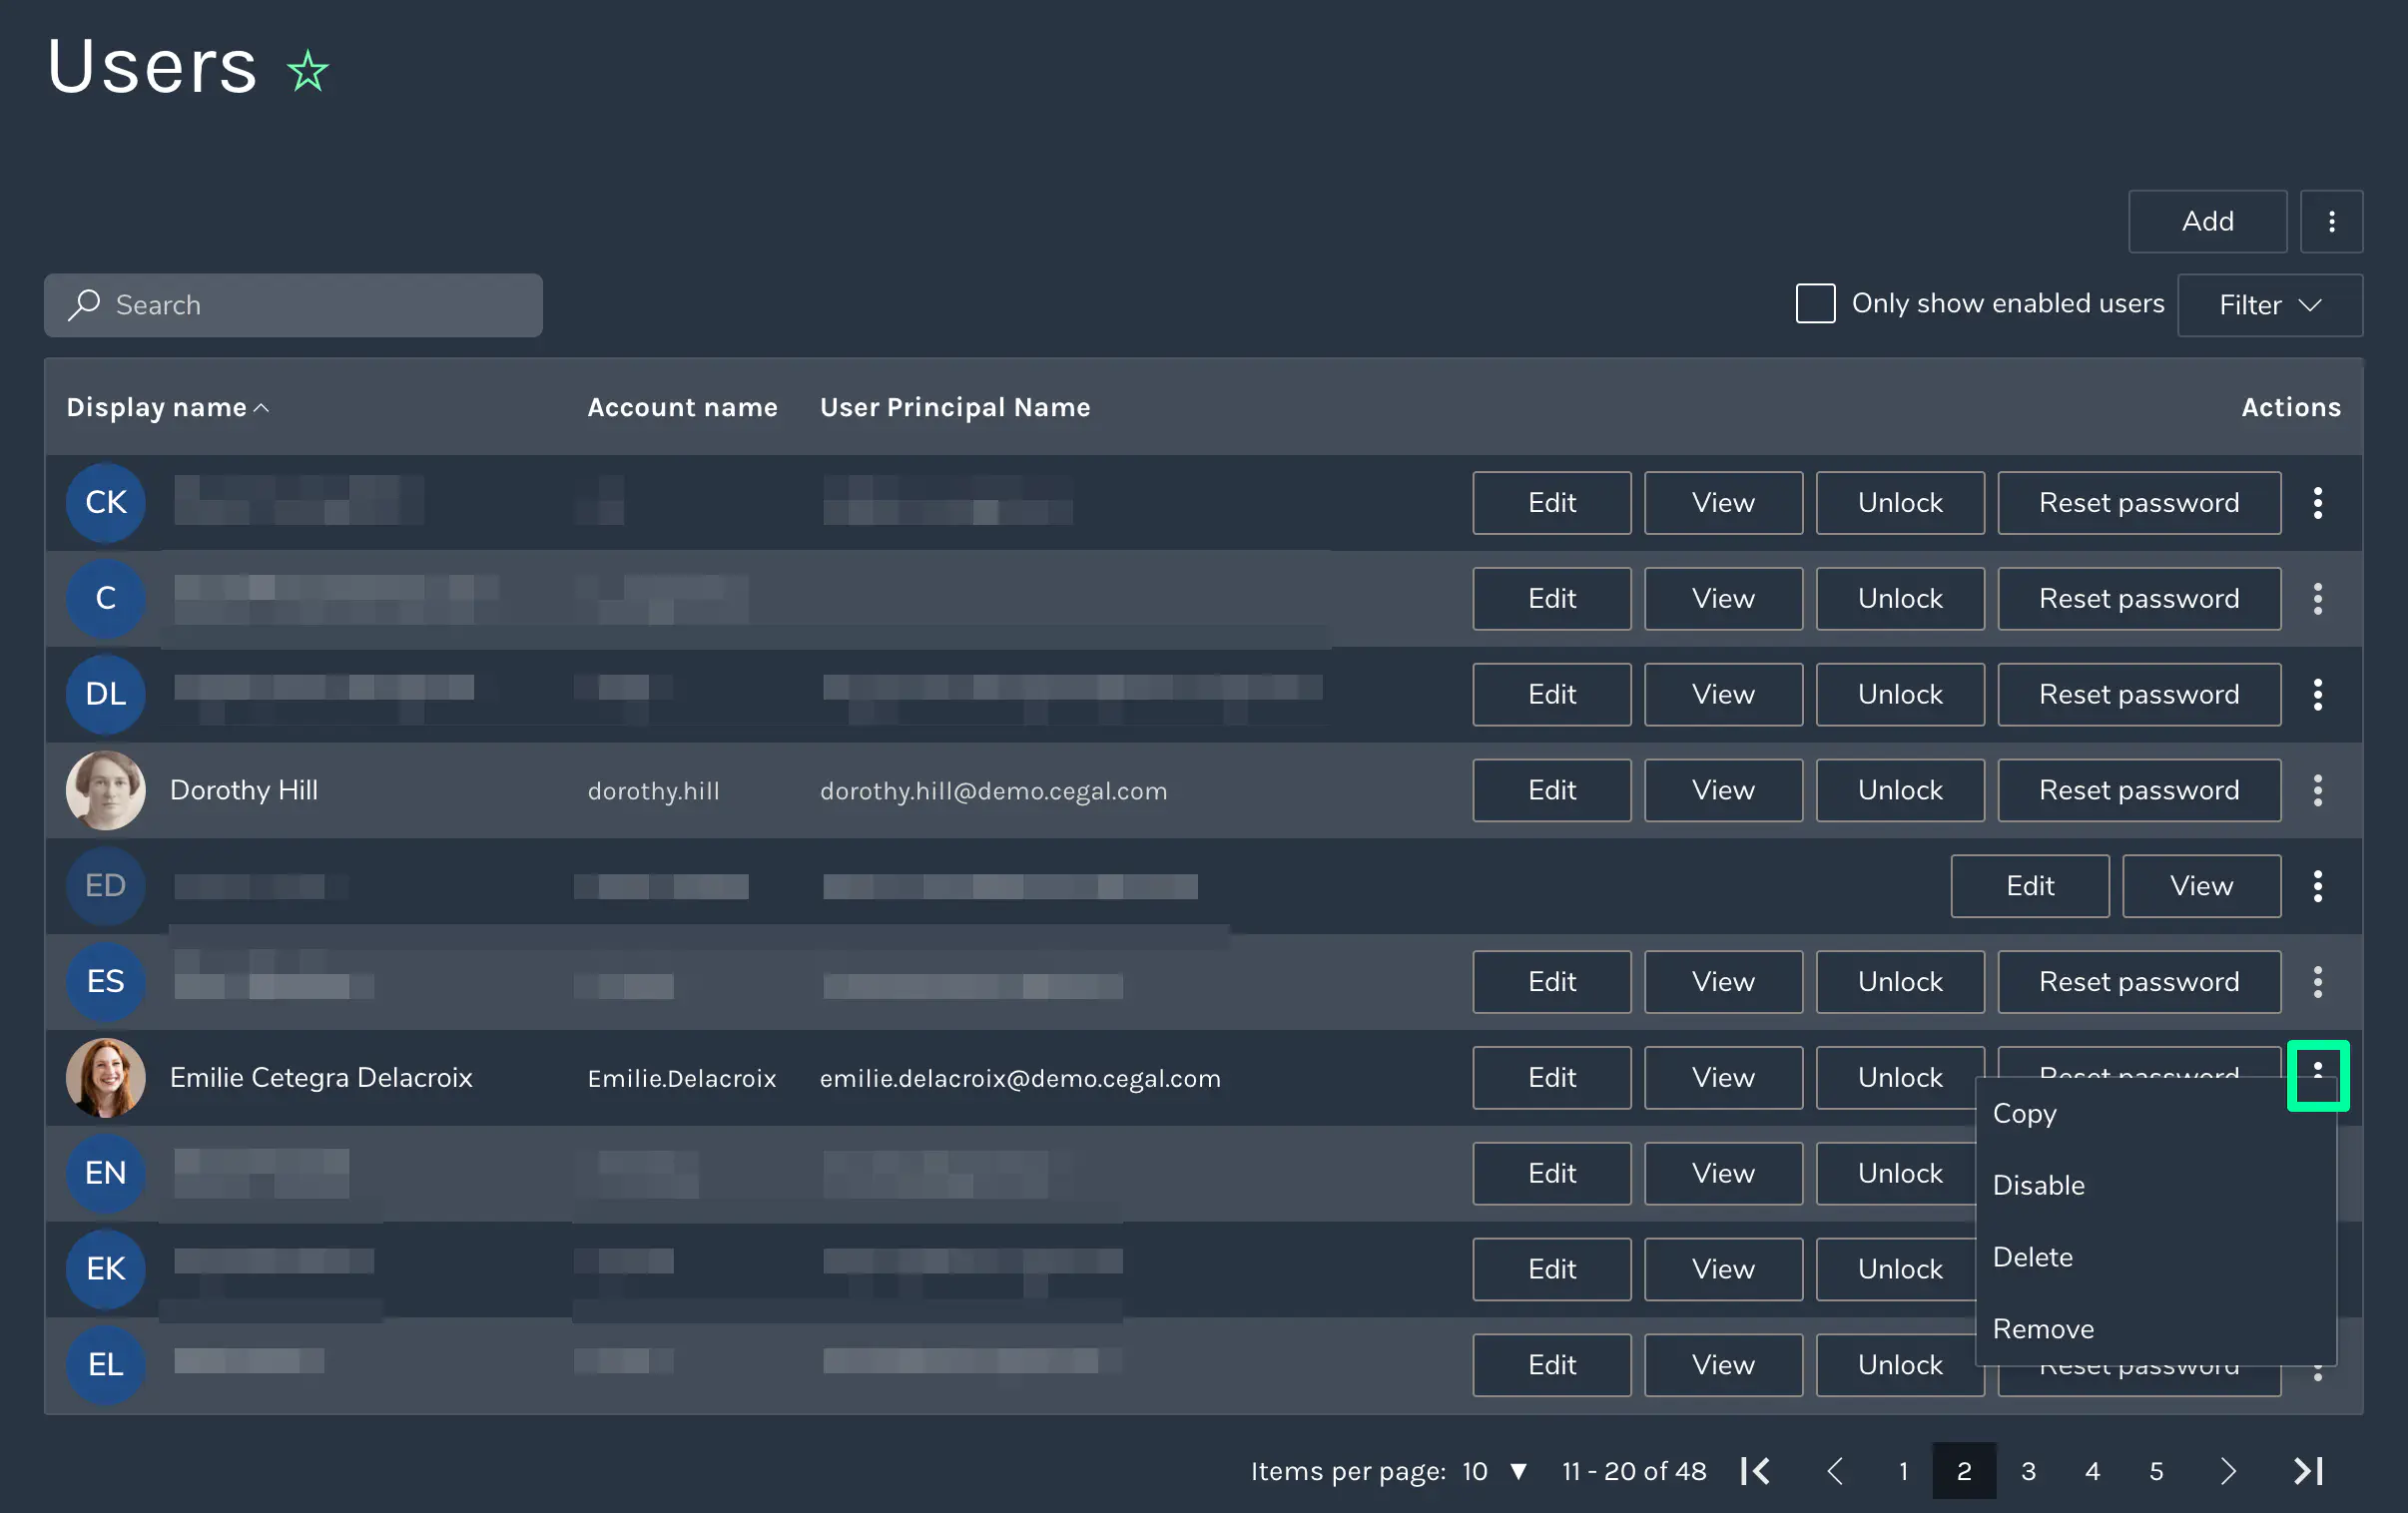
Some of the most used actions are:
- Edit: Modify user details. Changes are saved upon clicking save.
- View: For safely viewing user details without making changes.
- Unlock: Unlock a user’s account. This is useful if the user has entered the wrong password too many times and is locked out.
- Reset Password: Reset a user’s password. The new password is sent via SMS to the user and is only visible to them.
In the More actions-menu, you can find the following actions:
- Copy: Duplicate a user’s group memberships to create a new user. Required fields must be completed.
- Disable: Temporarily deactivate a user’s account, preventing login.
- Delete: To be described.
- Remove: To be described.
Lists
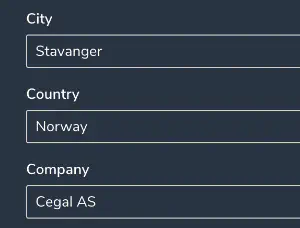
Configure predefined value lists for specific user fields. These lists replace free-text fields with dropdown menus to ensure consistent data input. Manage these lists under Administrator > Lists.
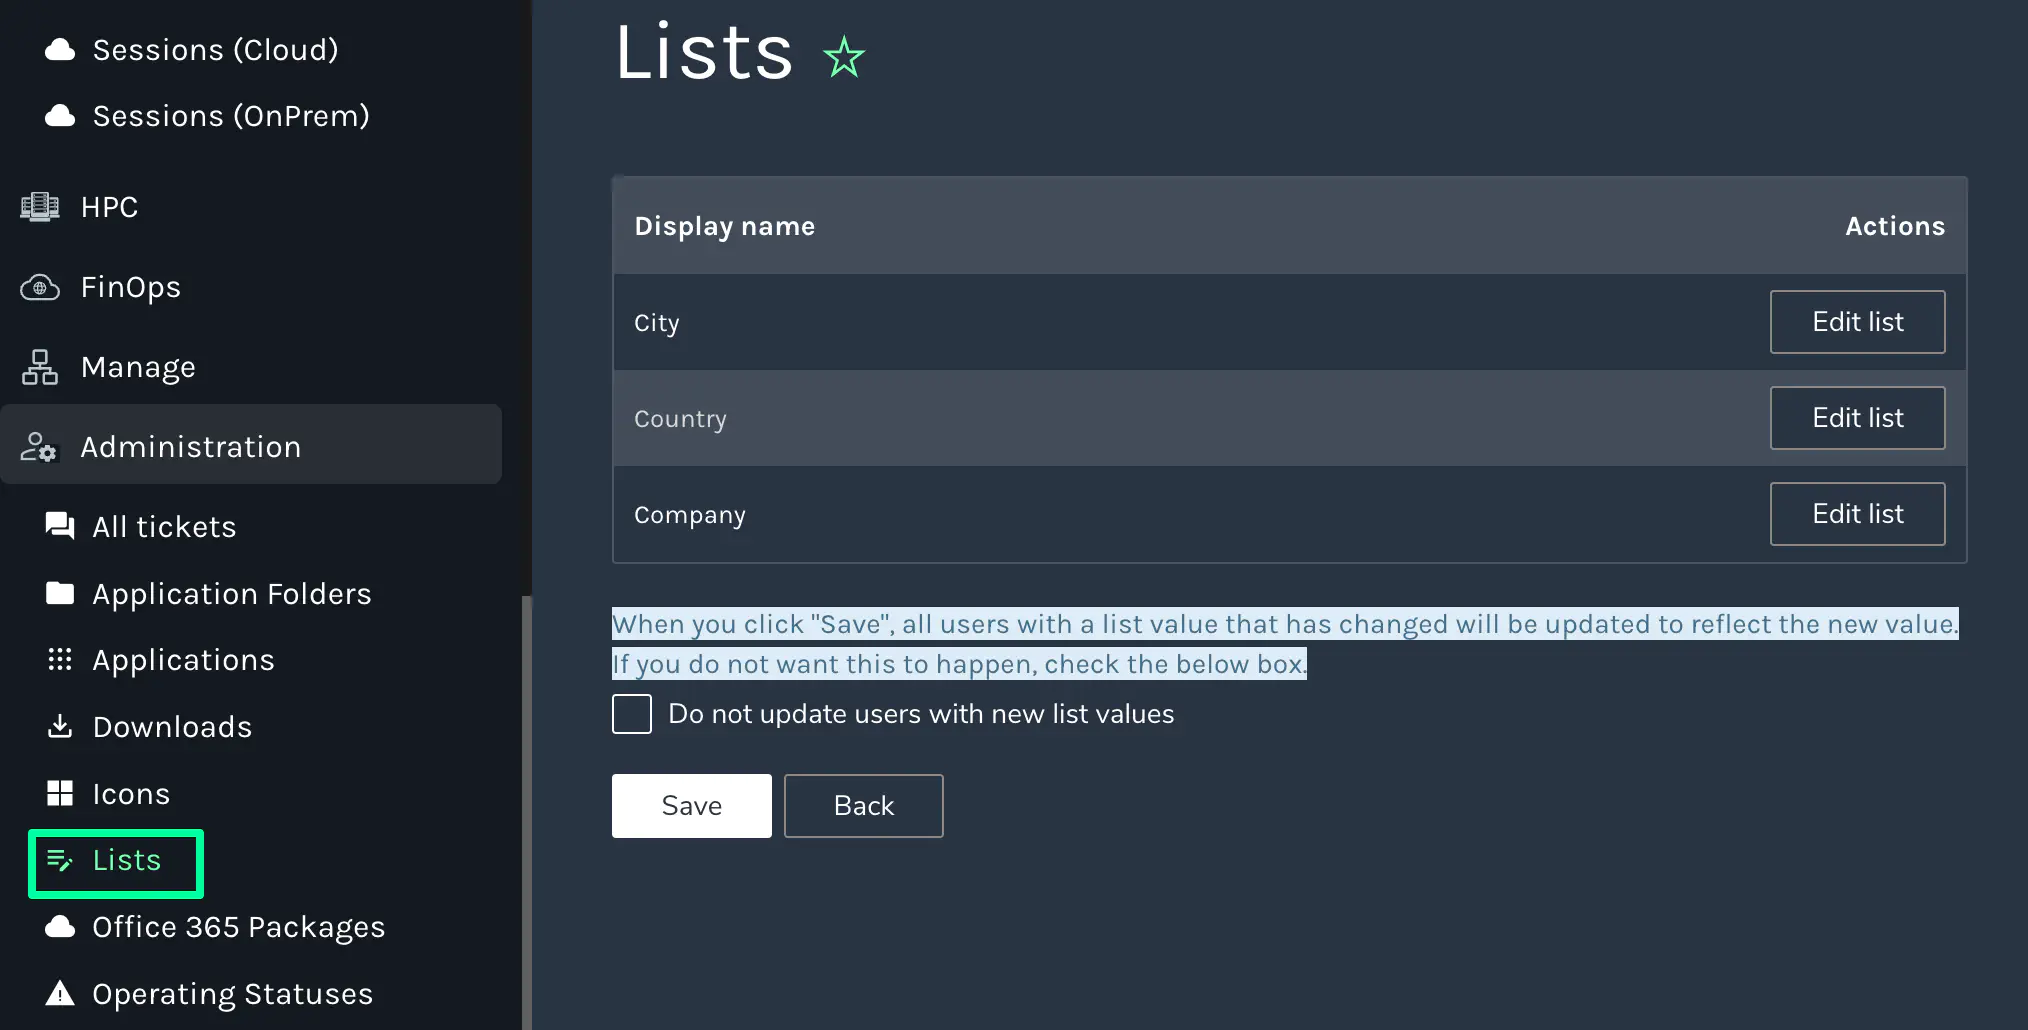
Click edit list to add/remove values.
Example of a user profile with enabled lists for City and Country:
Efficiently manage your organization’s users within the Cetegra Workspace using the comprehensive tools provided.