Users
Manage user accounts directly from the portal — changes are reflected in Azure AD immediately.
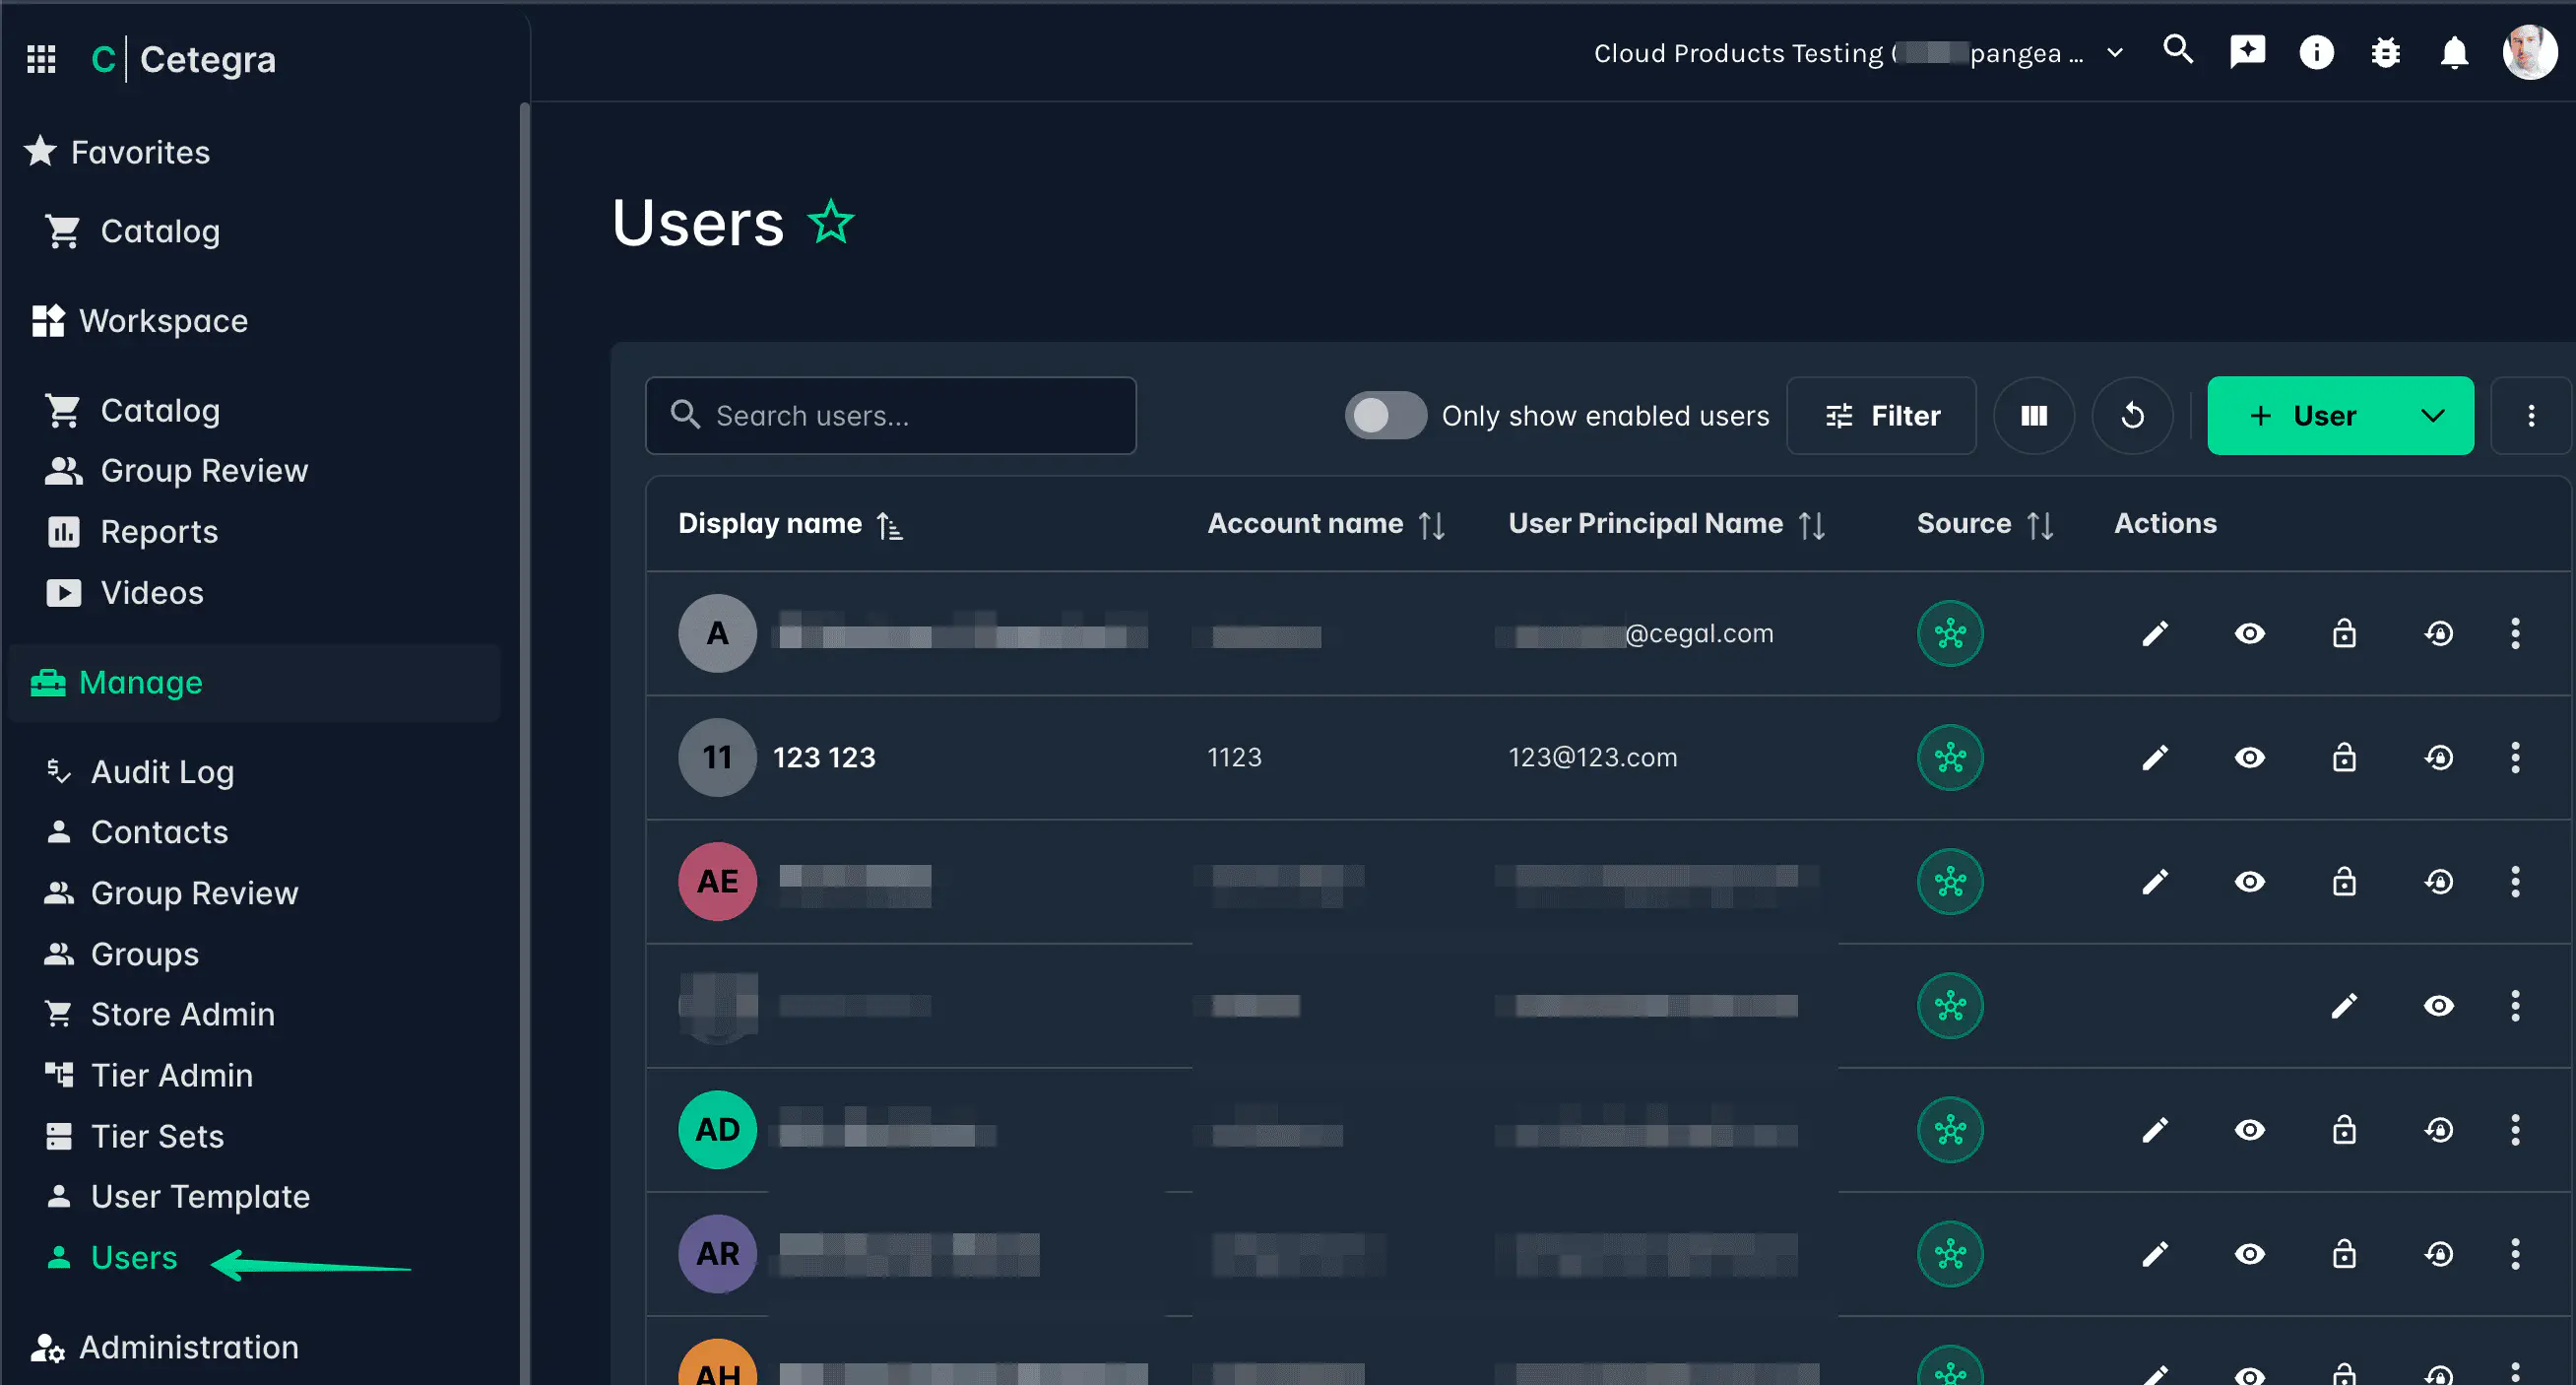
Go to Manage → Users to access the user list. From here you can search, create, and manage all users in your Workspace tenant.
User list
The user list shows all users in the directory. Use the search bar to filter by name, username, or other attributes.
Creating a user
Go to Manage → Users → Add.
Choose a user template if available — templates pre-fill common fields and group memberships for a given role or department.
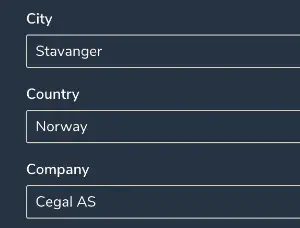
Fill in the user details. Fields marked with a red asterisk are required.
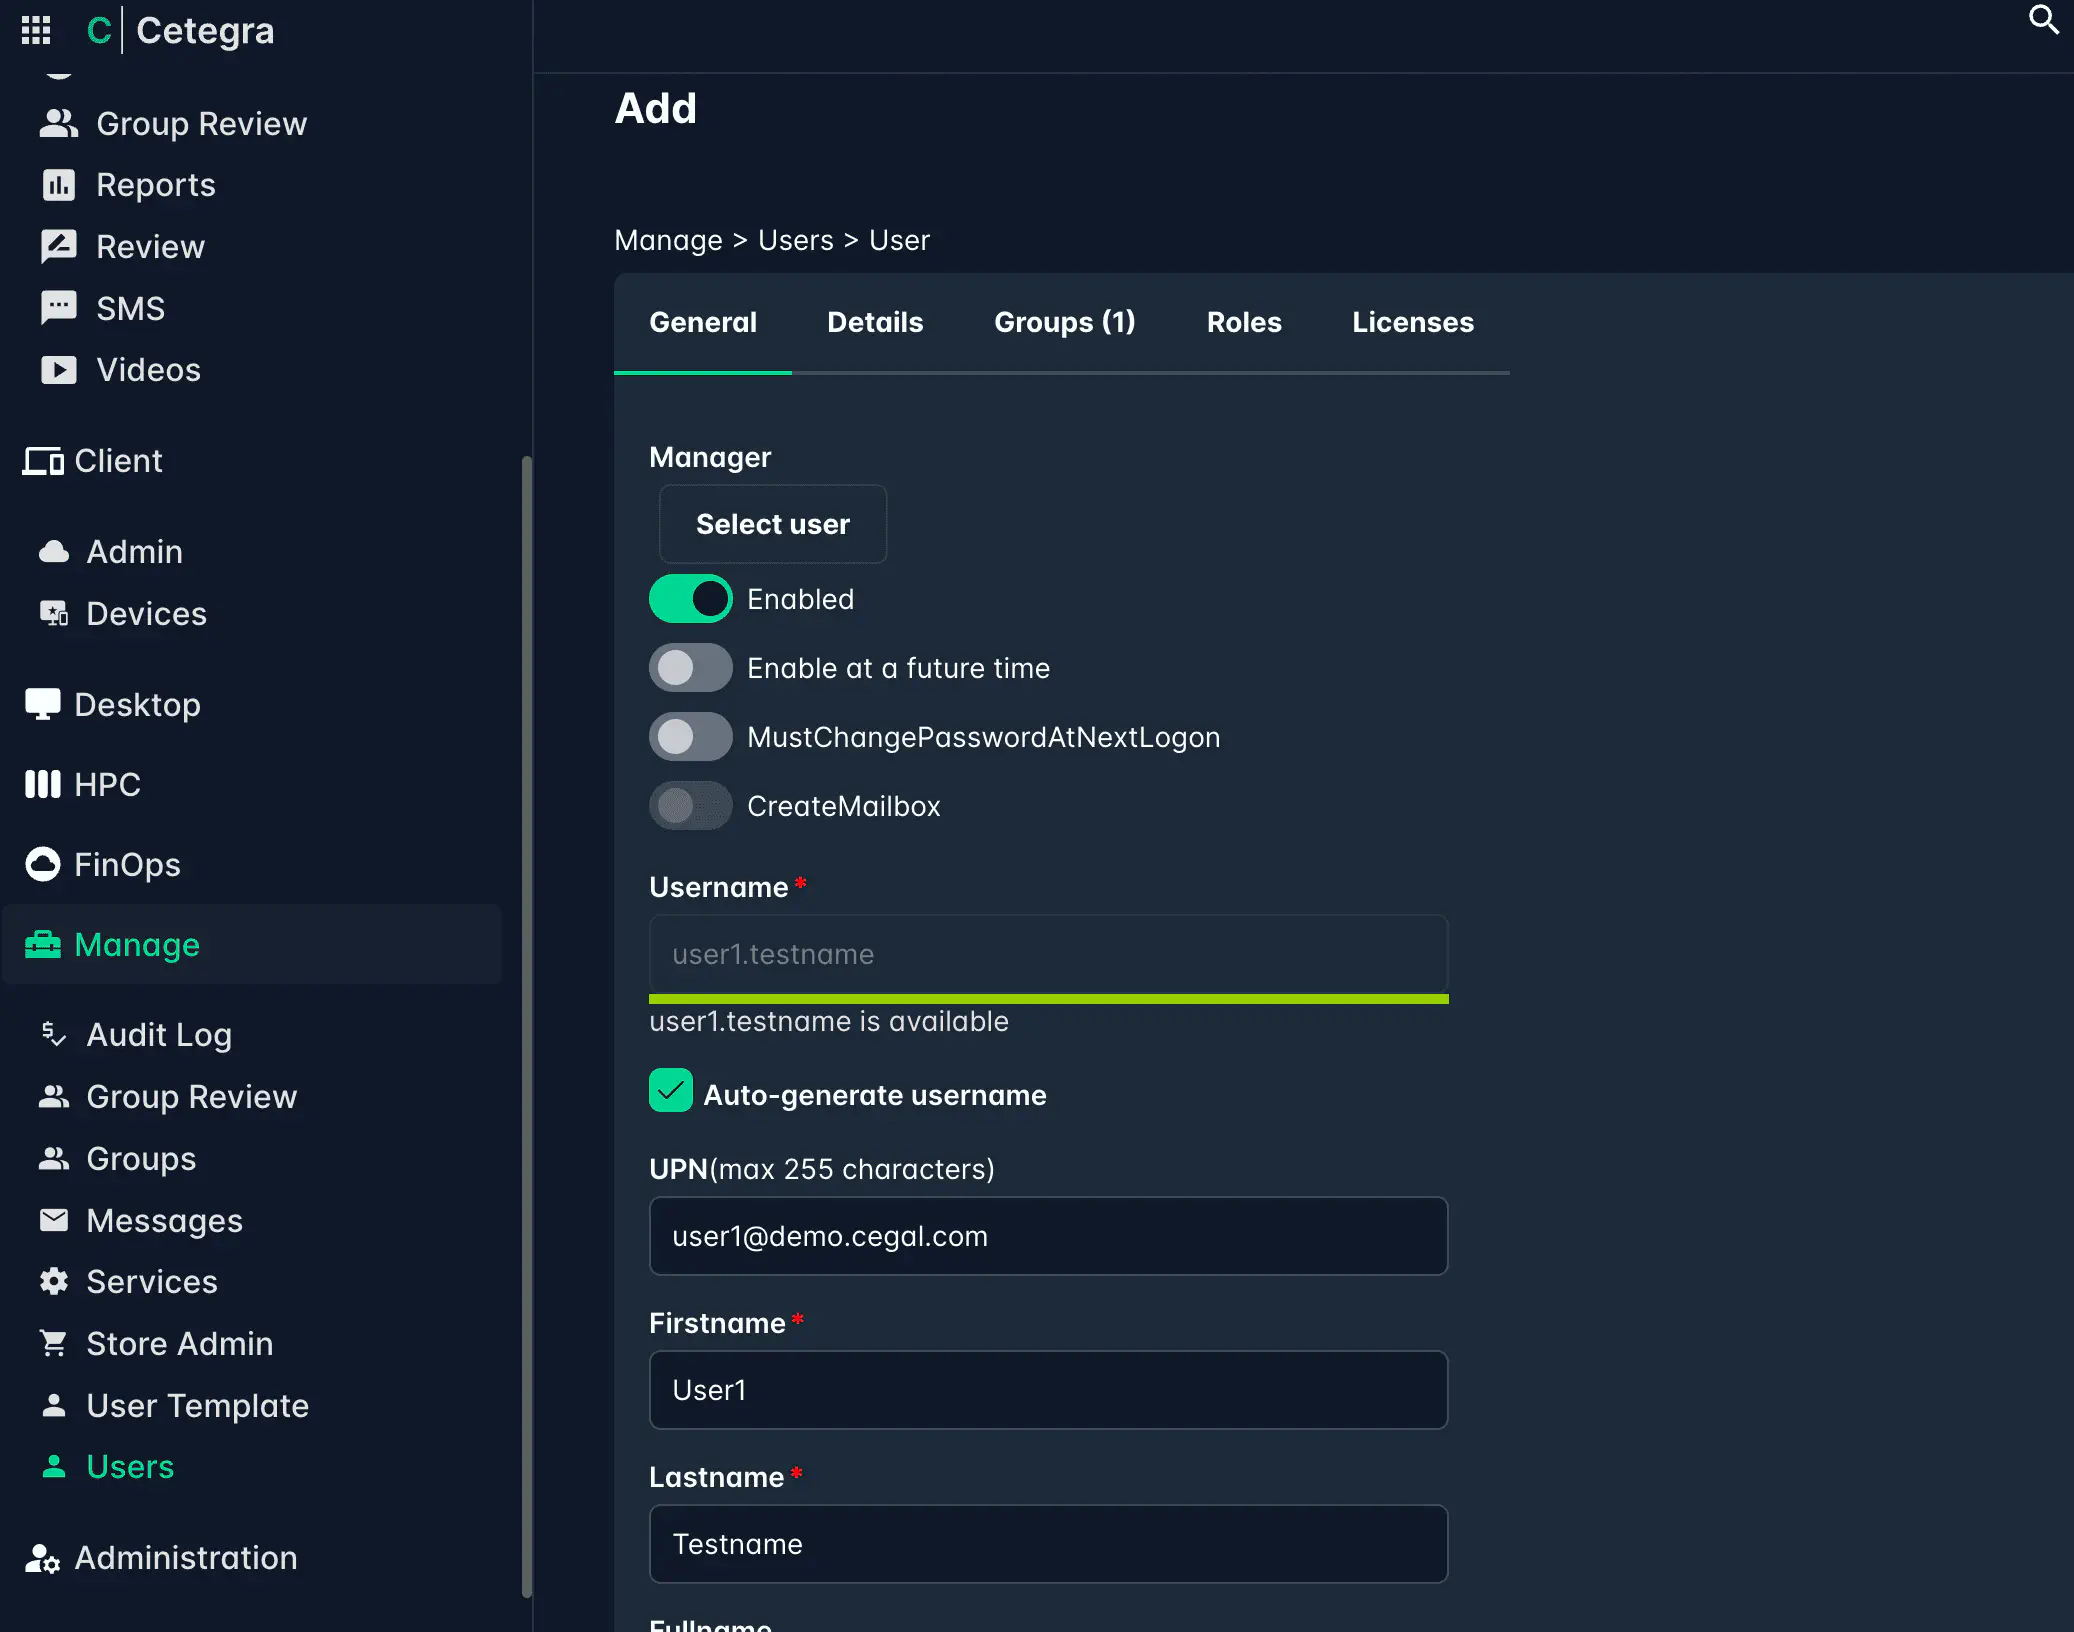
The User Principal Name (UPN) is the user’s login name in Azure AD and should match their email address format:
firstname.surname@company.com.Check Enabled to activate the account immediately.
Under the Groups tab, add the user to any relevant groups.
Click Save user to create the account.
Enabling a user at a future date
If the user should not be active immediately — for example, a new employee who starts next week — check Enable at future time and select the start date. The account will activate automatically on that date and the user will receive an SMS with their initial password.
User actions
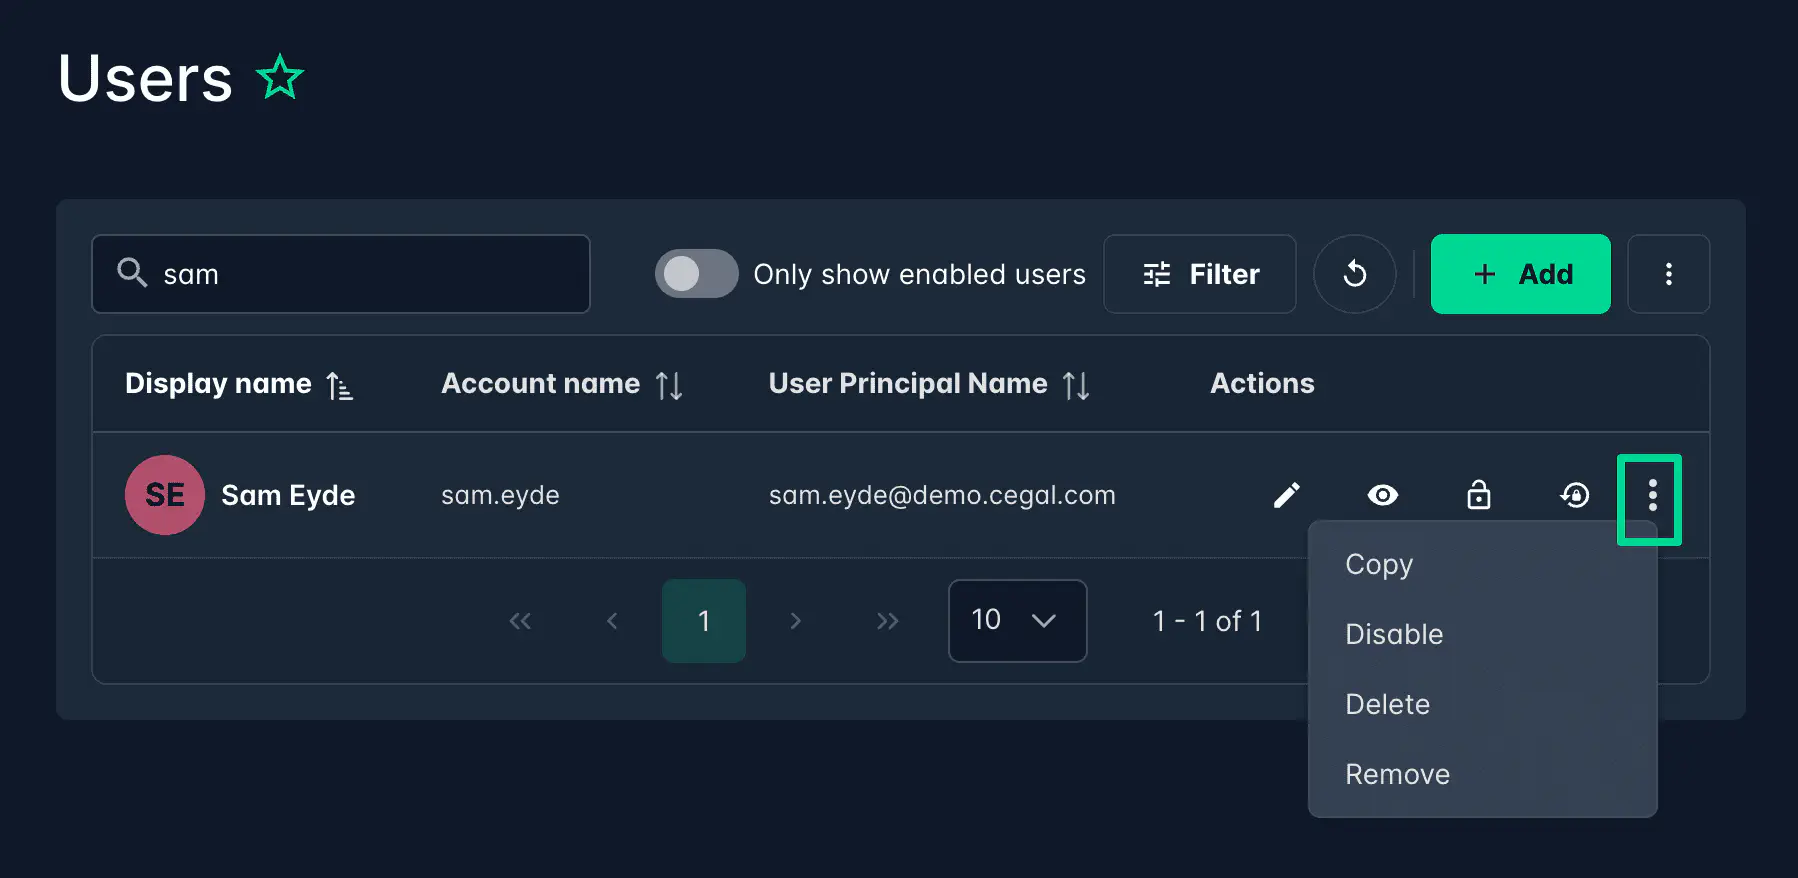
Select any user in the list to access the available actions.
| Action | Description |
|---|---|
| Edit | Modify user details. Changes are written to Azure AD when you click Save. |
| View | Read-only view of all user details — no changes can be made. |
| Unlock | Unlocks an account that has been locked due to too many failed login attempts. |
| Reset password | Generates a new password and sends it to the user via SMS. The password is only visible to the recipient. |
| Copy | Copies a user’s group memberships to pre-fill a new user form — useful when onboarding users with the same access profile. |
| Disable | Deactivates the account, preventing login without deleting it. |
| Delete | Permanently removes the user account. |
Lists
Lists let you replace free-text fields on the user form with predefined dropdown menus, ensuring consistent data input across all users.
Manage lists under Administrator → Lists.
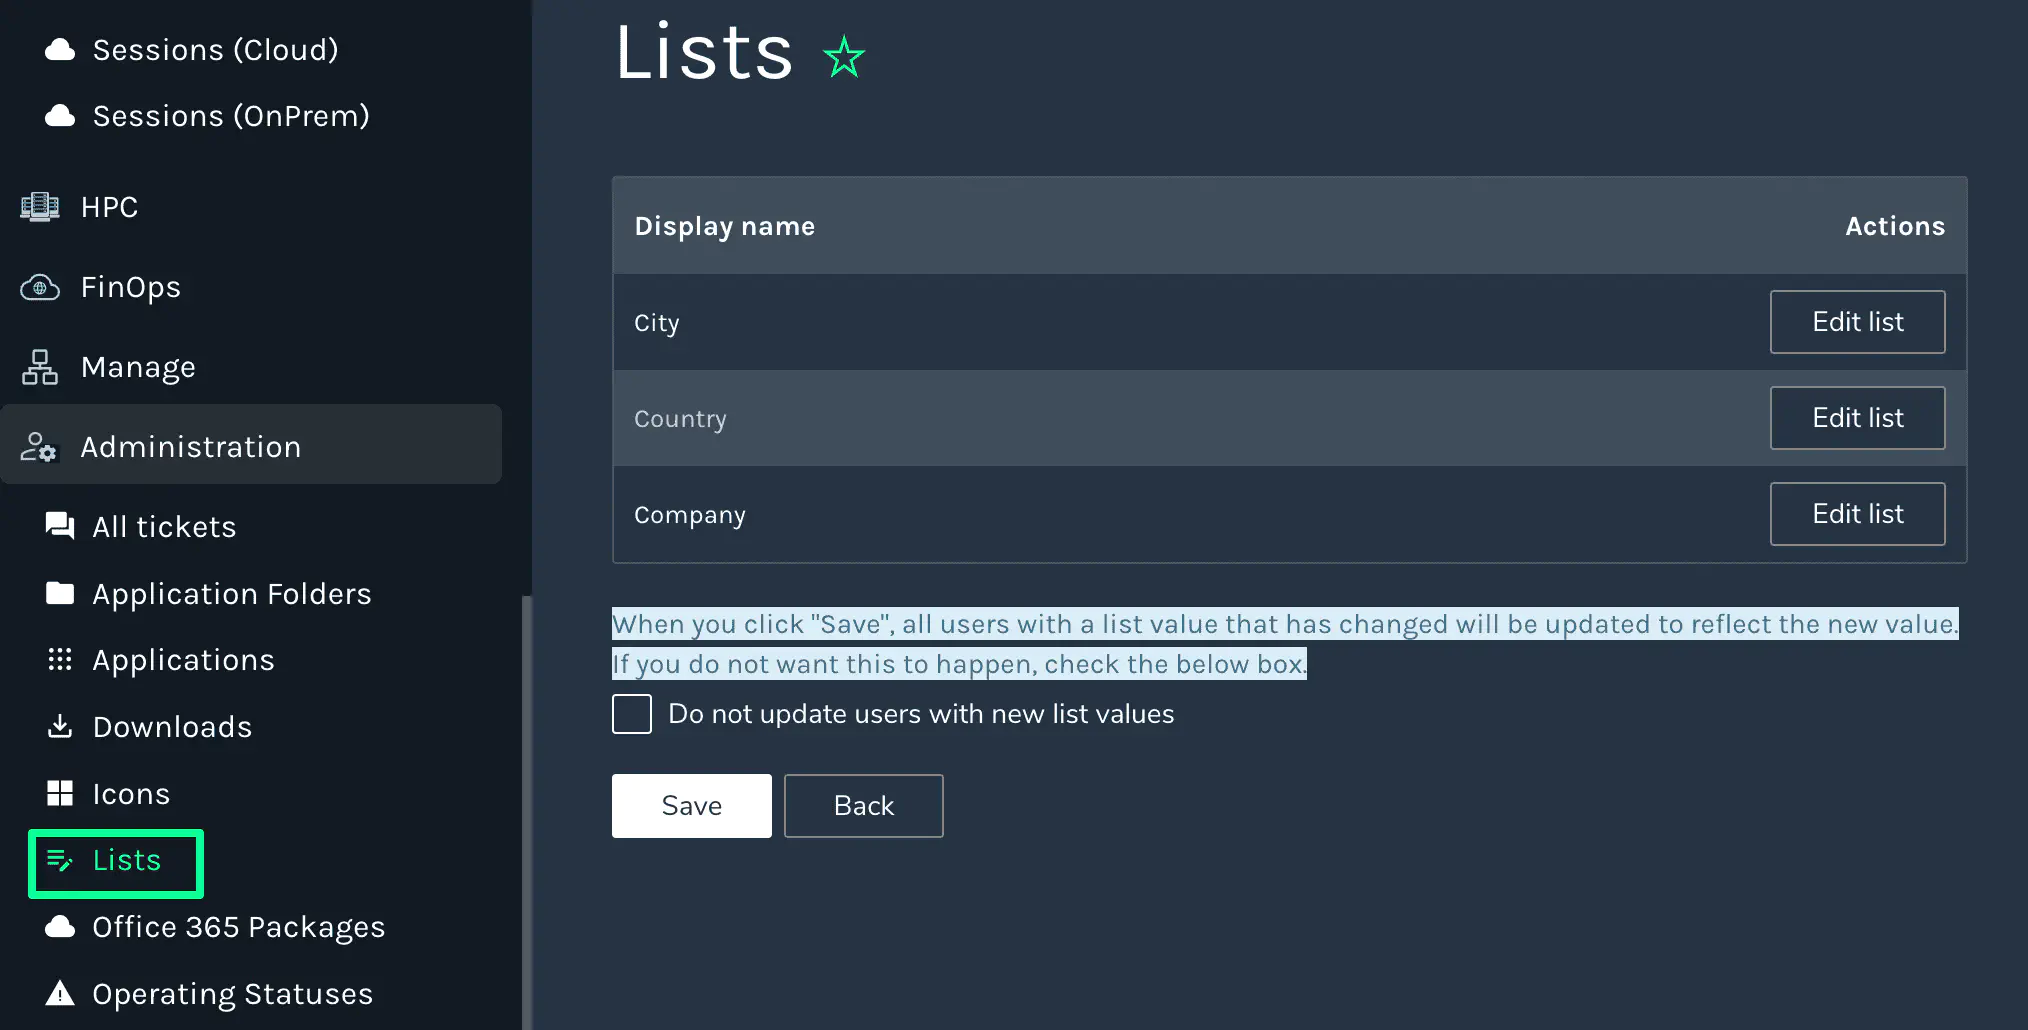
Click Edit list to add or remove values. Once a list is applied to a field, users creating or editing accounts will select from the defined options rather than typing freely.
Audit log
The Audit Log records all changes made to users (and groups), showing both the original and updated values for each modification. Access it from Manage → Audit Log, or from within an individual user’s detail view.
Users with Hybrid Sync enabled
If your organisation has the Hybrid Sync add-on enabled, the user list and detail view gain additional capabilities for working across on-premises and cloud directories.
Source column and filtering
Each user shows a Source indicator revealing where the account originates:
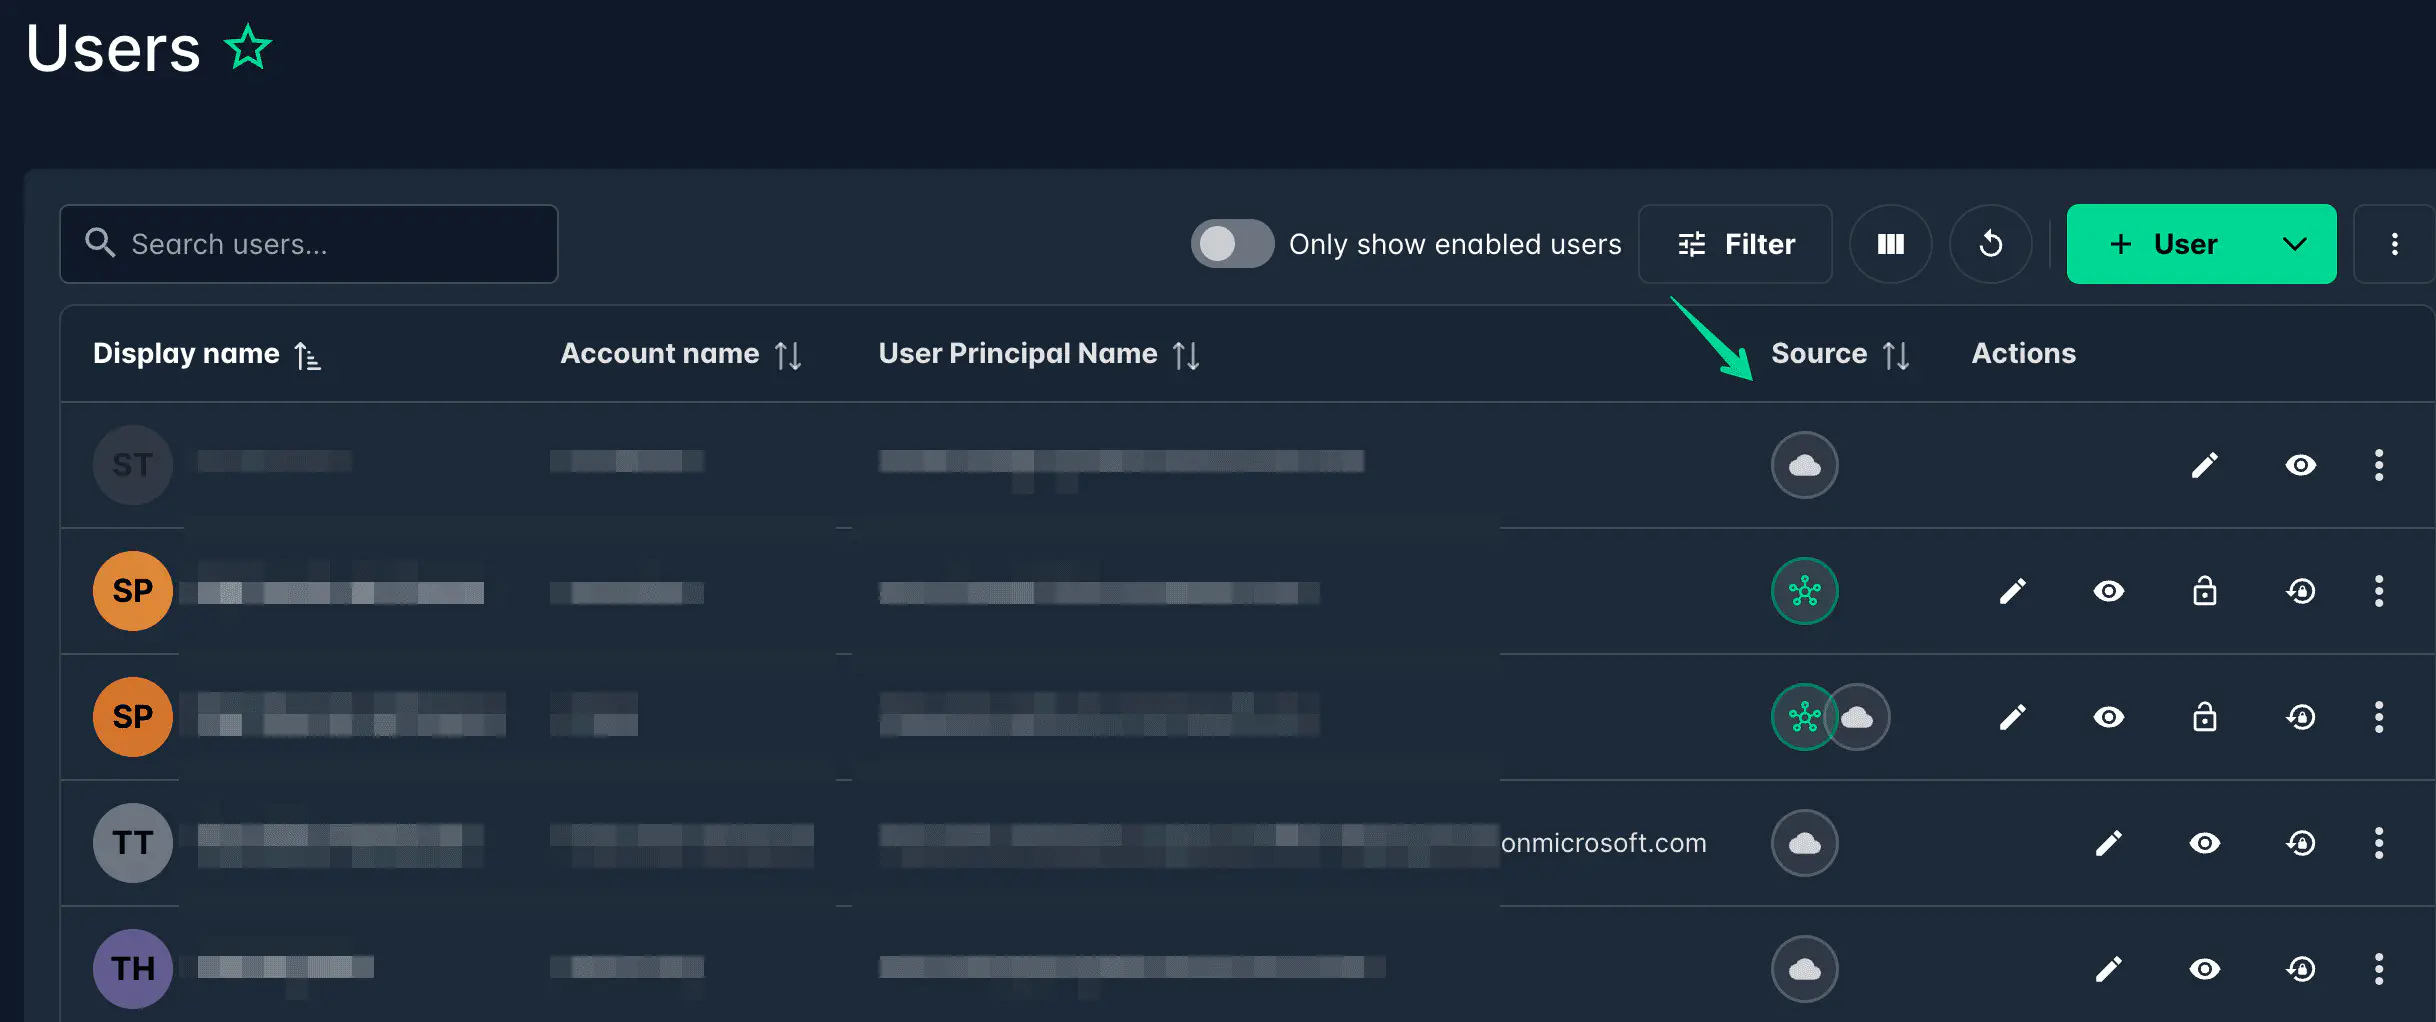
| Icon | Label | Meaning |
|---|---|---|
 | AD | User exists in on-premises Active Directory only |
 | Cloud | User exists in Azure AD / Entra ID only |
 | AD + Cloud | Hybrid user — exists in both on-premises and cloud |
Hover over the icon to see the label as a tooltip.
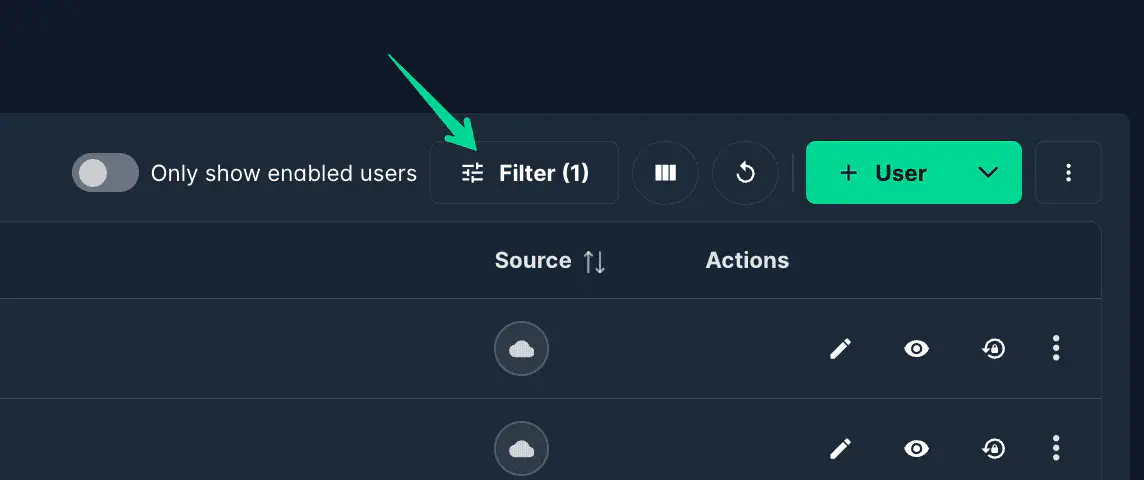
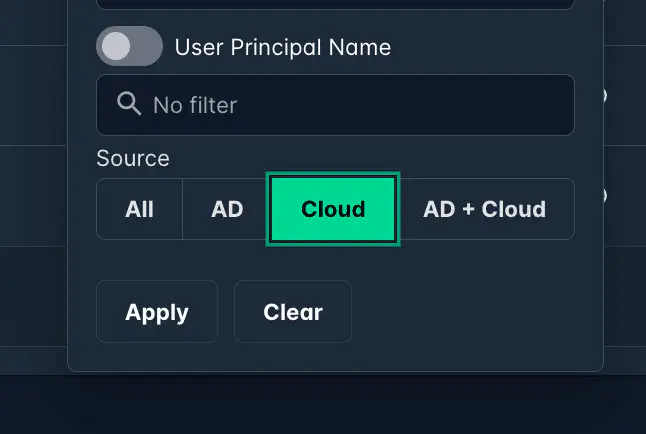
Use the Filter button to narrow the list by source type — choose All, AD, Cloud, or AD + Cloud.
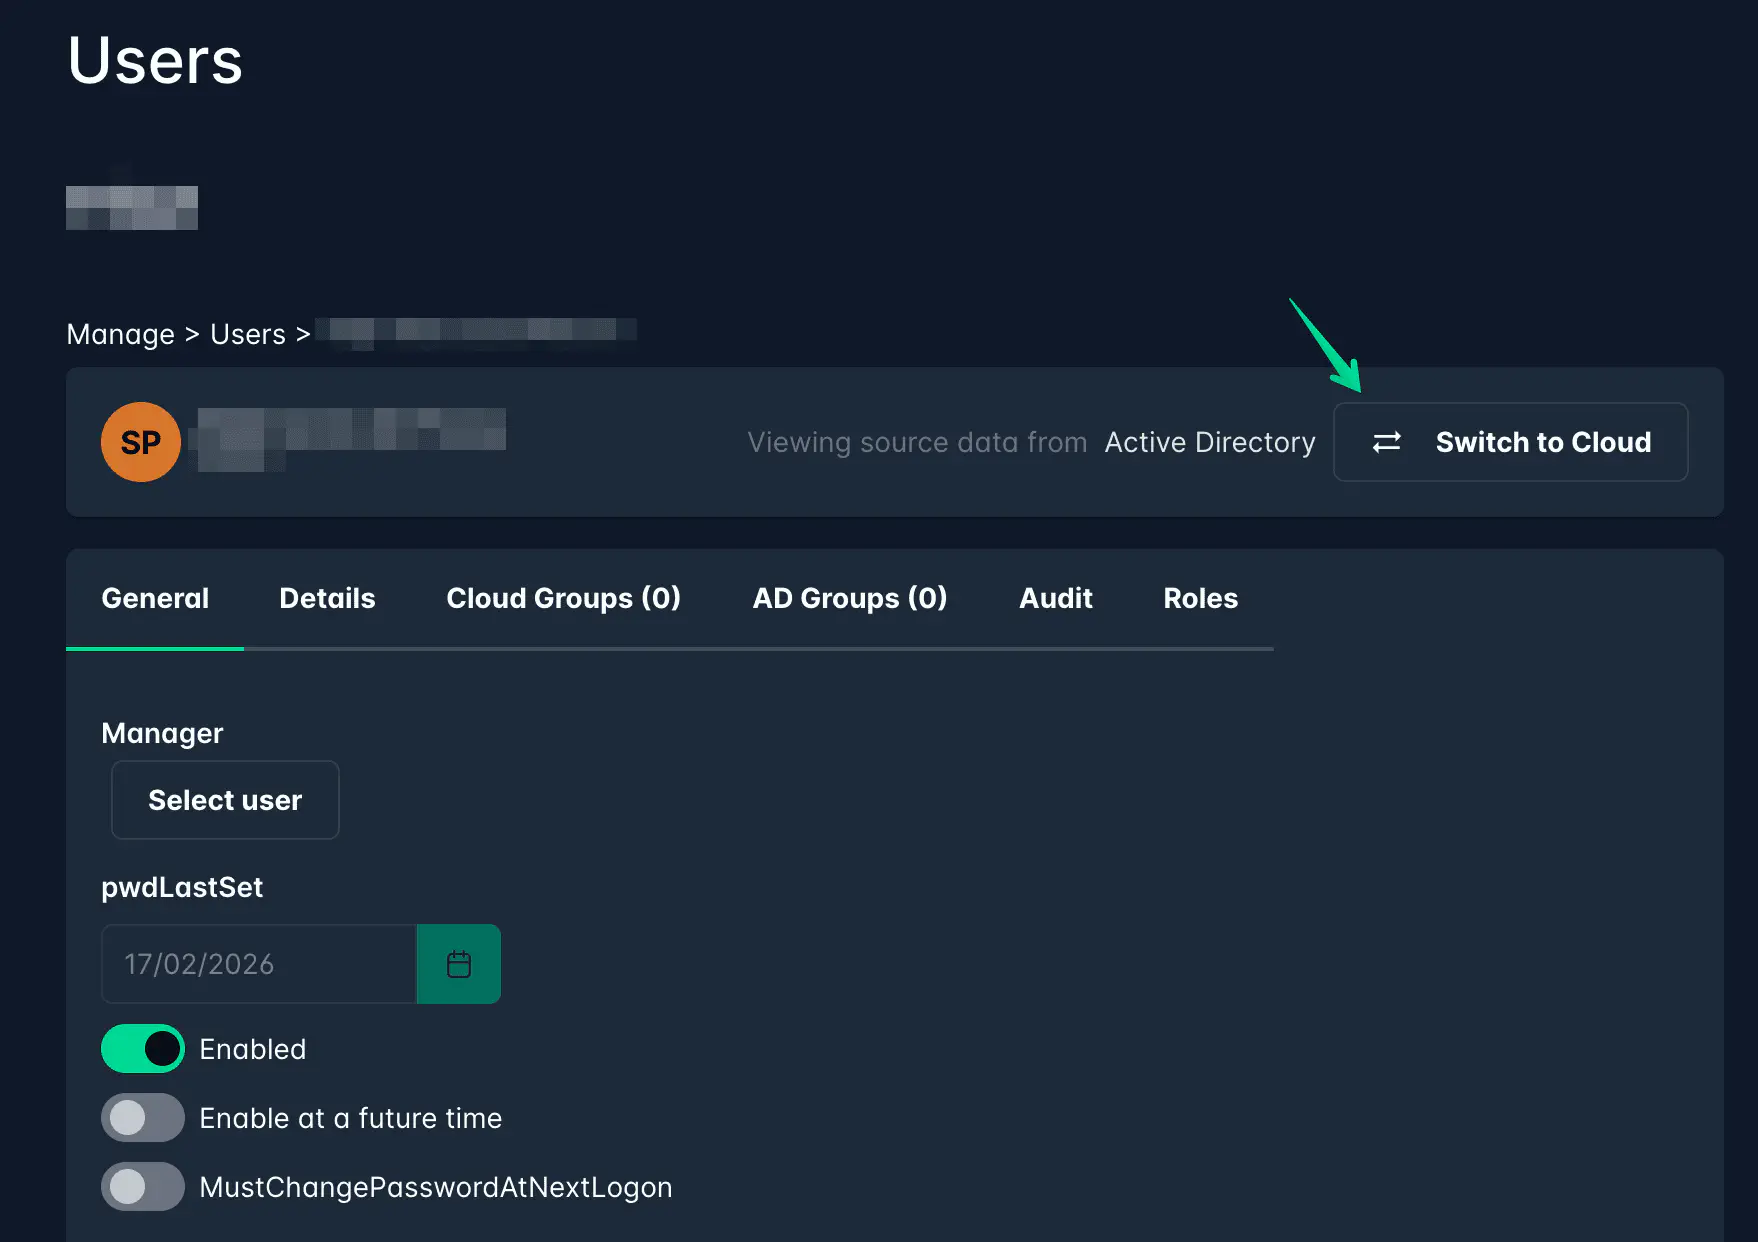
Source switch in the detail view
When viewing or editing a user that exists in both directories, a source switch is shown in the top right of the detail view. This indicates which directory the data is currently being read from and lets you toggle between the two.
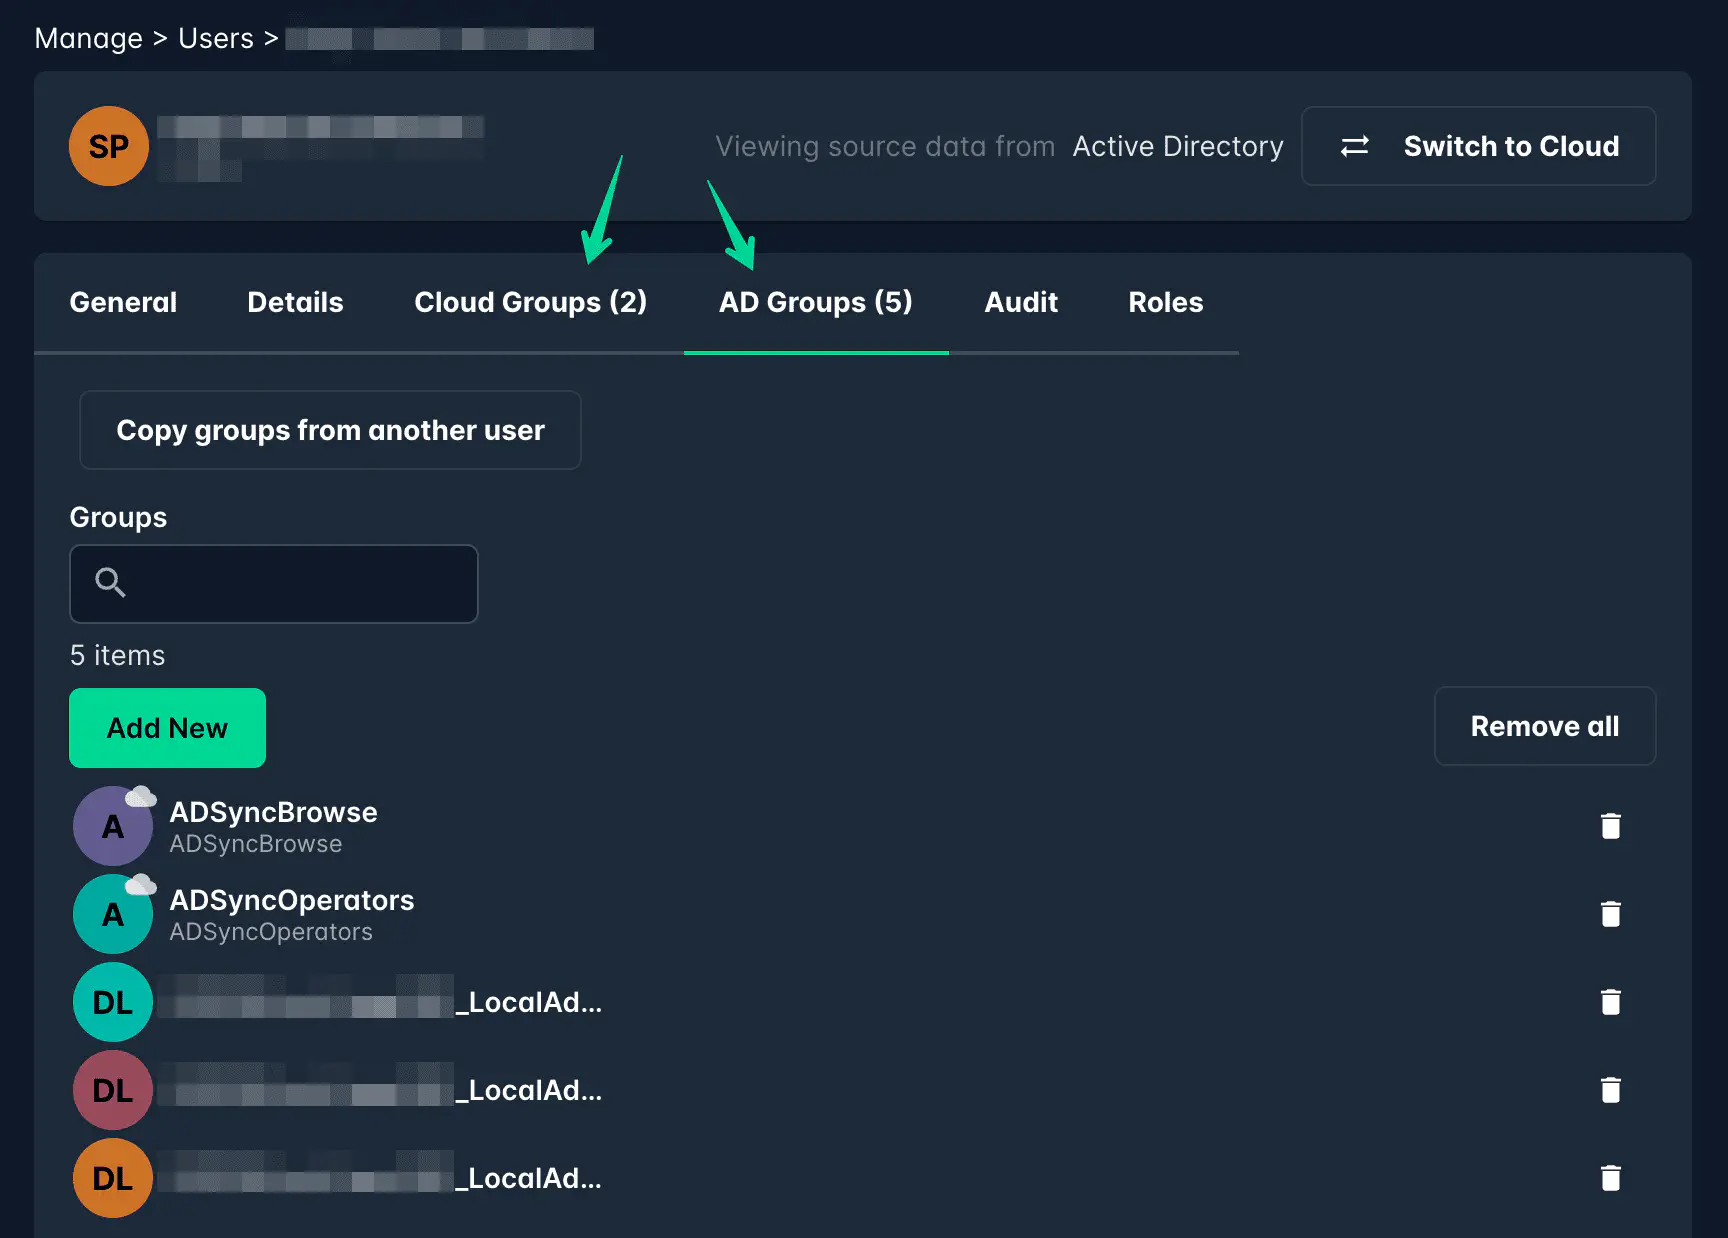
Hybrid users — AD and Cloud group tabs
For hybrid users (present in both directories), the detail view shows two separate tabs for group memberships:
- Active Directory groups — groups the user is a member of in the on-premises directory
- Cloud groups — groups the user is a member of in Azure AD / Entra ID
Sync behaviour
- Users imported via sync are created and updated automatically — you do not need to create them manually.
- Attribute changes (name, email, phone) should be made in the source directory and will sync across automatically.
- Manually created users (portal-created) are not affected by sync.